Wedding Photo Editing Mastery: Elevate Your Special Day Photos
Master the art of wedding photo editing with simple culling, color correction, and subtle retouching that wow clients and capture lasting memories.
Wedding photo editing is far more than applying a simple filter. It is the meticulous craft of culling, refining, and polishing every image from a wedding day to construct a cohesive, breathtaking gallery for clients. This professional process involves transforming thousands of raw files into a finished narrative by mastering color and exposure, executing flawless skin retouching, and applying a signature artistic style.
Why a Professional Editing Workflow Matters
Turning a raw photo into a timeless wedding memory is an art form built on a solid workflow, not just a few software tricks. The purpose of modern wedding editing is to enhance the emotion and perfect the story, not merely to fix technical issues. It is about taking what the camera captured and elevating it to reflect how the day actually felt.
This process is substantially more involved than a one-click preset. According to wedding photographer Zoe Larkin, "a photographer’s real work often kicks off after the wedding is over." The editing suite is where raw, unprocessed files are meticulously transformed into the final images that populate a client's gallery. This represents a dedicated journey from camera to client.
The Foundation of a Flawless Gallery
A rock-solid workflow ensures every single image receives the attention it deserves, which is the key to creating consistency across hundreds—or even thousands—of photos. The ultimate goal is to deliver a gallery where each image feels like it belongs to the same beautiful story, from the nervous getting-ready moments to the last dance.
This process breaks down into a few essential stages:
- Culling and Organizing: This is the first, and arguably most important, step. It’s where you select only the very best images that truly tell the day's narrative.
- Technical Corrections: Before you get creative, you have to nail the basics. This means adjusting essentials like white balance, exposure, and contrast to build a clean, accurate foundation.
- Artistic Enhancements: Here’s where the magic happens. Applying your signature color grade and style is what defines your brand as a photographer and creates a specific mood.
"I don’t look for reasons to get rid of photos, I look for reasons to keep them. So if it’s the only photo of a particular person or moment, it’s in. #memoriesoverperfection" - Sarah Vivienne, Wedding Photographer
This commitment to quality post-production has fueled significant industry growth. The global photography services market, which leans heavily on professional editing, reached $55.6 billion in 2023 and is projected to grow, as reported by The Business Research Company. This boom demonstrates the high value clients place on professionally edited images that will endure for a lifetime. You can find more insights on this market trend on YouTube.
To help visualize this, here’s a high-level look at how raw wedding photos become a final, delivered gallery.
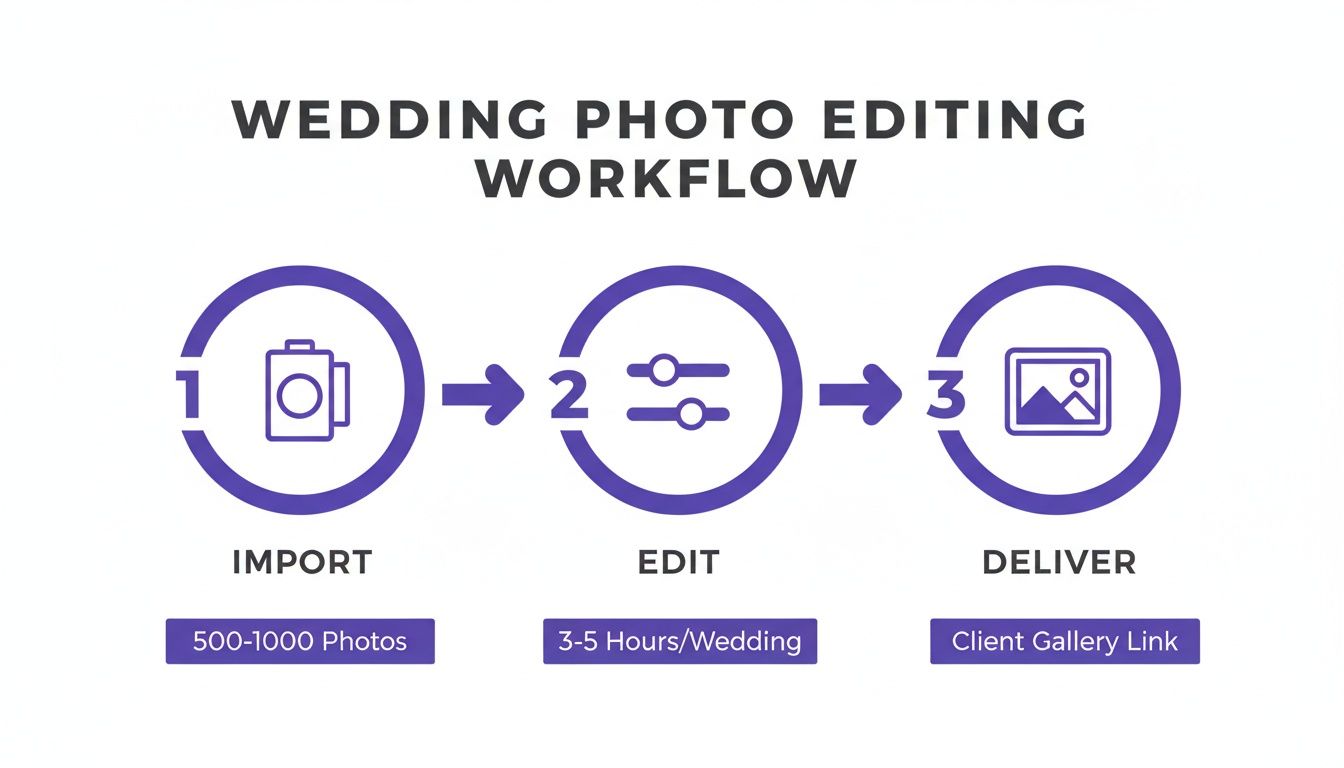
This chart simplifies the journey into three core phases—Import, Edit, and Deliver—making it clear that editing is the central, most intensive part of the entire post-production process.
Professional Wedding Photo Editing Workflow at a Glance
Before we dive deep into each step, let's look at a high-level overview of the essential stages that transform raw captures into a finished wedding gallery. Think of this as your roadmap from the memory card to the final client delivery.
| Stage | Objective | Key Tools and Techniques |
|---|---|---|
| 1. Culling & Organizing | Select the best images and structure them logically. | PhotoMechanic, Adobe Bridge, flagging/rating systems. |
| 2. Basic Adjustments | Correct technical issues like exposure and white balance. | Adobe Lightroom Classic (Develop Module), Capture One. |
| 3. Retouching & Clean-Up | Remove distracting elements and perfect skin. | Adobe Photoshop (Spot Healing, Clone Stamp), Frequency Separation. |
| 4. Color Grading & Style | Apply a signature artistic look for a cohesive gallery. | Presets, LUTs, manual color adjustments in Lightroom/Photoshop. |
| 5. Batch Processing | Sync edits across similar images to ensure consistency. | Lightroom's Sync feature, creating custom presets. |
| 6. Final Review & Export | Perform a final quality check and export for web/print. | Lightroom Export Module, JPEGmini, resizing for different platforms. |
Each of these stages plays a crucial role in producing a professional, polished final product that will leave your clients thrilled. Now, let’s break down exactly how to tackle each one.
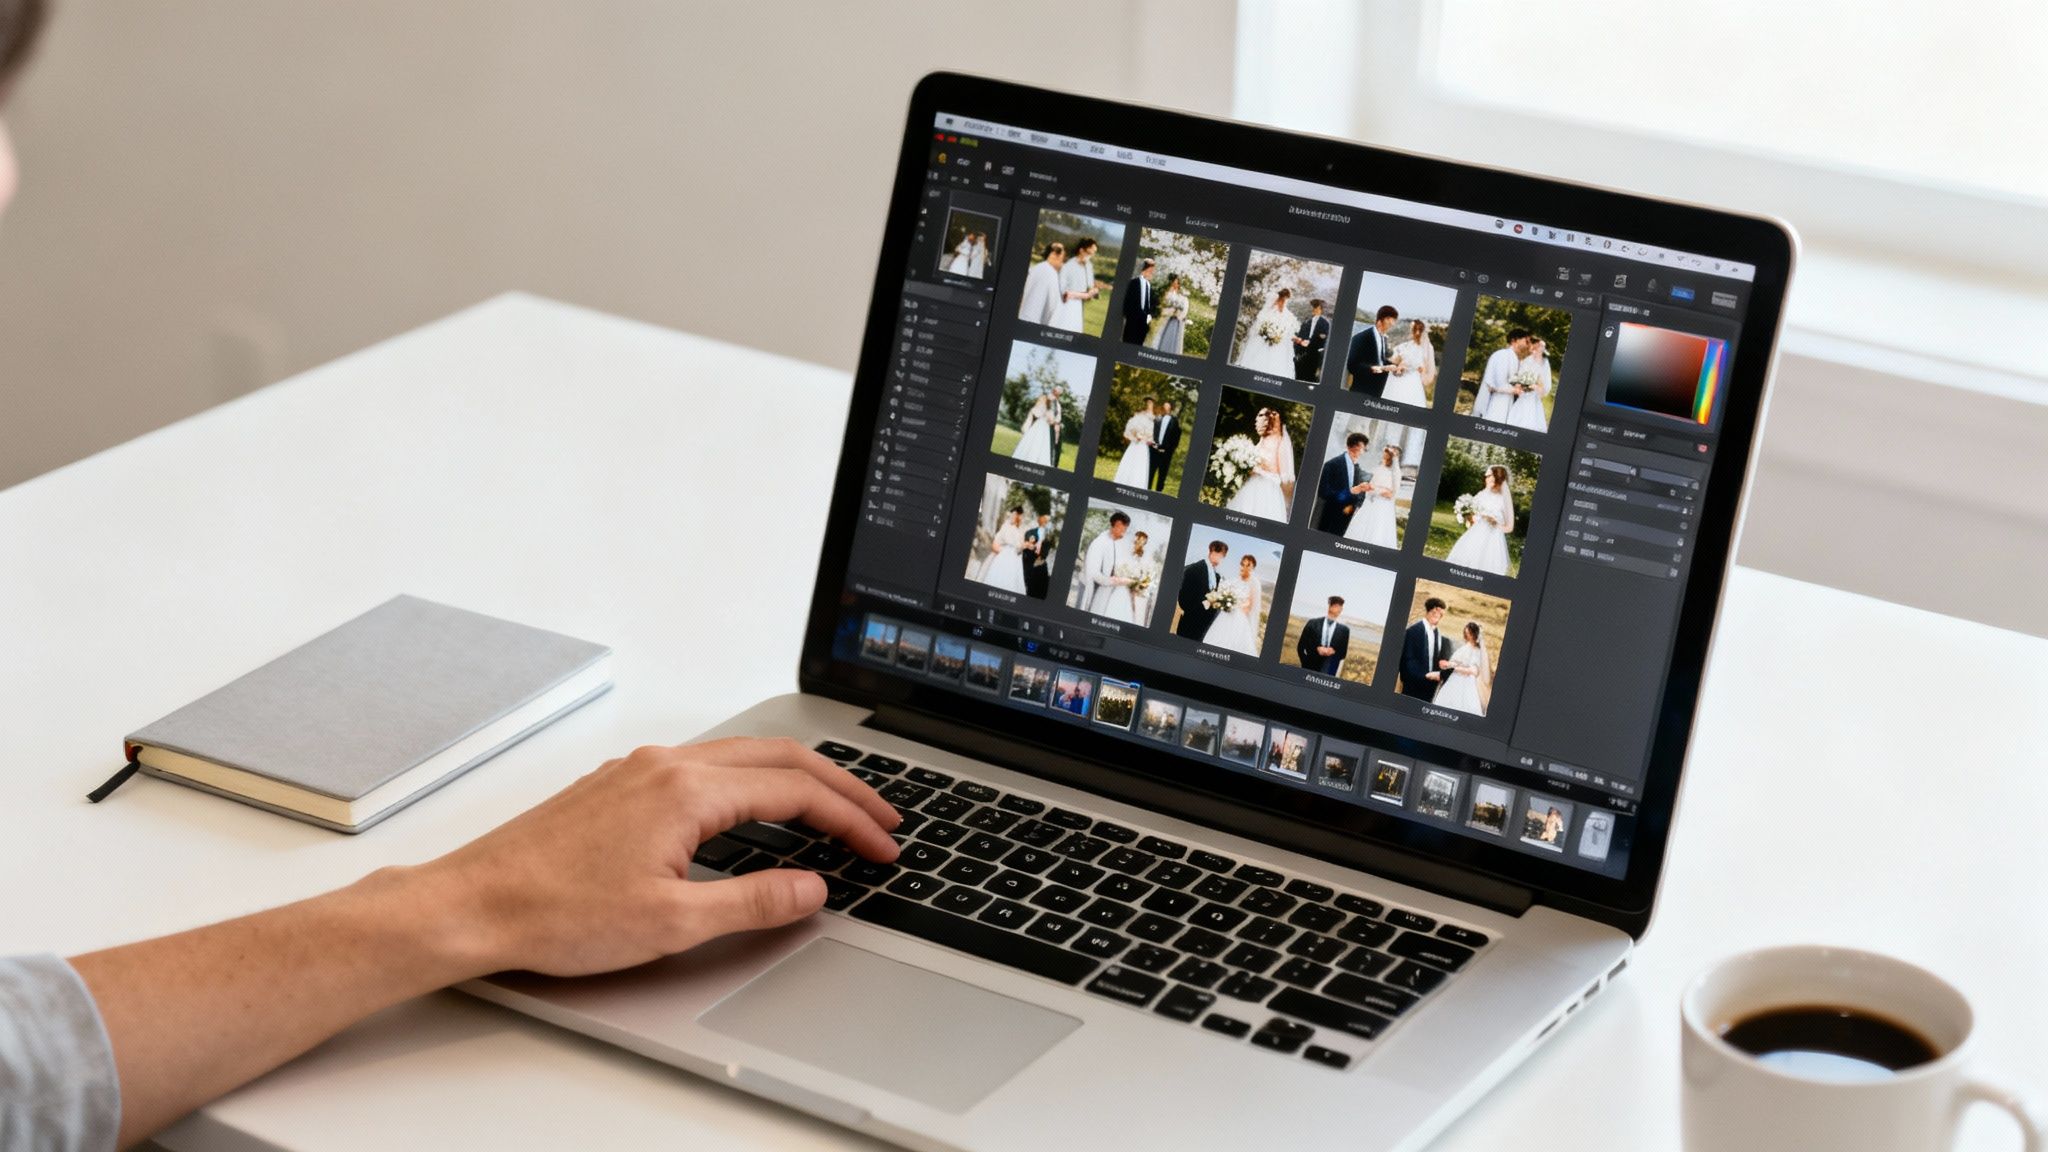
Before you even think about touching a slider or tweaking a color, the real work of wedding photo editing begins. The first step, and honestly one of the most crucial, is culling. This is where you sift through the mountain of images from the day and pick the absolute winners.
It's far more than just deleting blurry shots; it's about constructing the narrative. A typical wedding day can yield 2,000 to 3,000 photos—sometimes even more. Your responsibility is to distill that volume down to a few hundred hero images that perfectly tell the couple's story. A misstep here not only wastes hours but also risks creative burnout before the artistic work begins.
The Three-Pass Culling Method Pros Swear By
Attempting to select the best photos in a single pass is a recipe for indecision and inefficiency. That’s why so many seasoned professionals employ a systematic 'three-pass' method. It breaks the entire process into manageable stages, promoting speed and decisiveness.
For this, a tool like PhotoMechanic is invaluable. It renders RAW previews in a fraction of the time required by Lightroom, enabling a rapid workflow.
- First Pass: The Purge. Speed is paramount here. Your sole objective is to eliminate obvious technical failures. Avoid second-guessing. If an image is out of focus, a test shot, a flash misfire, or captures a mid-blink moment—it’s gone. Use a keyboard shortcut to flag them for deletion and proceed.
- Second Pass: The Keepers. Now, review the remaining images with a more discerning eye. This time, you're identifying reasons to keep a photo. Does it have strong composition? Does it capture a genuine emotion? Is it a pivotal moment? If it's a definitive "yes," flag it as a keeper.
- The Final Pass: The Heroes. This is where you review your 'keepers' and select the absolute showstoppers. These are the portfolio-worthy shots, the images destined for the album cover, and the ones you'll share for a sneak peek. I assign these a five-star rating for easy identification later.
A Folder Structure That Won't Let You Down
Once you have your final selection, organization becomes critical. A disorganized folder system is a professional liability, leading to lost files and immense frustration. Establishing a logical, redundant structure from the outset is a non-negotiable component of any professional workflow. To manage the sheer volume of files from a wedding, it is critical to organize digital photos effectively. This single habit will streamline your entire editing process.
A robust system ensures every file is secure and easily accessible. I begin with a main client folder and then create subfolders with clear, distinct purposes.
Here's a simple, effective structure:
- Client Name & Date (e.g., 2024-10-26_Smith-Jones-Wedding)
- 01_RAW_Originals: All original, untouched RAW files from the memory cards reside here. No exceptions.
- 02_Selects: This folder contains your culled 'keepers'. This is your primary working directory.
- 03_Exports_Web: For all JPEGs sized for the online gallery and social media.
- 04_Exports_Print: For the high-resolution JPEGs prepared for printing.
As wedding photographer Sarah Vivienne states, her first step is entirely about backup. "My very first task...is to download your photos from the memory cards onto my computer hard drive. Then, I back everything up … not once, not twice, but three times, onto two separate hard drives and secure cloud storage."
This is the professional standard. Multiple copies, on separate physical drives, plus a cloud backup, serve as an insurance policy against hardware failure, theft, or unforeseen disasters.
This meticulous organization does more than protect your work; it makes every subsequent step of the wedding photo editing process significantly smoother. For a deeper exploration, our complete guide for any aspiring wedding photo editor breaks down how to build a truly seamless workflow from start to finish.
Mastering Color Correction and Exposure
Okay, you've culled the keepers and organized your files. Now for the fun part—this is where the real magic happens in your wedding photo editing workflow. We're moving beyond organization and into artistry. Getting your color and exposure right isn't just a technical step; it's about making the photo feel the way the moment felt.
The objective here is to establish a clean, accurate, and consistent baseline for the entire gallery. You want an image from the bright, sun-drenched ceremony to feel stylistically connected to one from the dimly lit reception hall.
Nail the White Balance for Natural Skin Tones
Nothing compromises a professional image faster than incorrect white balance. It's the primary cause of unnatural skin tones that may appear orange, blue, or even green. Cameras often struggle in mixed lighting scenarios—such as a room with tungsten lamps and daylight from windows—so manual correction is essential.
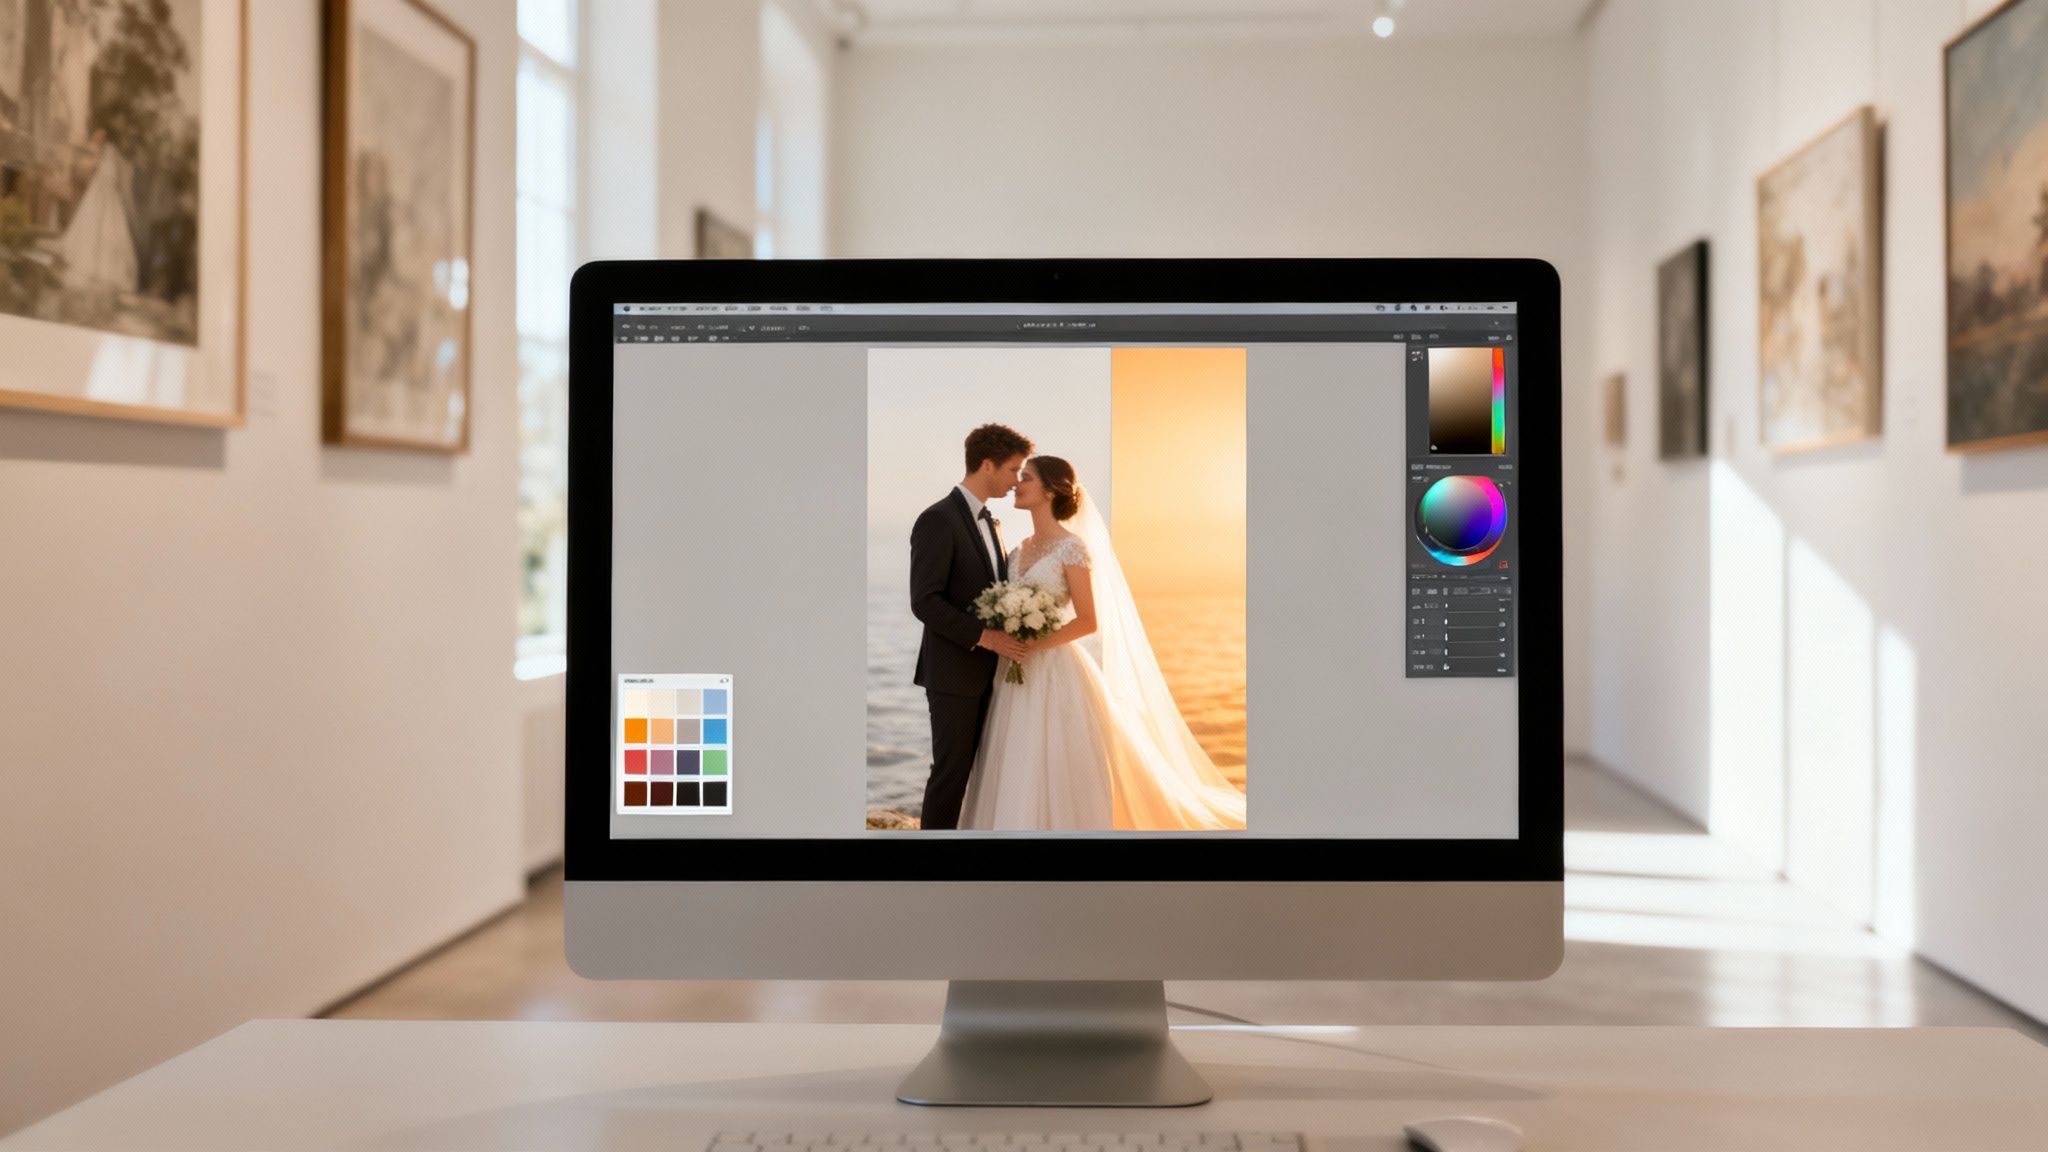
Your most effective tool for this is the White Balance Selector (the eyedropper icon) in Adobe Lightroom. Simply identify an object in the photo that should be a neutral gray or white. The bride's dress is often ideal, but a napkin or white wall can also suffice. Clicking on this point allows Lightroom to instantly recalibrate the image's colors.
However, a technically perfect white balance can sometimes feel cold and sterile. As wedding photographer Sarah Vivienne notes, the true goal is to "adjust the colours so they’re true-to-life" and reflect the day's ambiance. A sunset portrait should feel warm and golden, not clinically neutral. Do not hesitate to use the Temperature and Tint sliders to manually fine-tune the colors until the skin appears natural and the mood is authentic.
Recovering Details in the Brights and Darks
Wedding days present a minefield of lighting extremes, from the brilliant white of a wedding dress to the deep black of a tuxedo. Camera sensors rarely capture this entire dynamic range perfectly, often resulting in "clipped" highlights (blown-out whites with no detail) or "crushed" shadows (pure black areas). Your task is to recover this detail without creating an artificial look.
Begin by gently manipulating the Highlights and Shadows sliders.
- Lowering the Highlights slider is crucial for rescuing delicate lace details in a wedding dress or restoring texture in the clouds.
- Lifting the Shadows slider can reveal a guest's expression in a dark corner or uncover the texture in a dark suit jacket.
"I want the finished images to look polished but natural. Consistency is such a big thing too, that takes time to learn and have the eye for." - Zoe Larkin, Wedding Photographer
Zoe's point is critical; it is a balancing act. In fact, a 2023 survey by Shotkit revealed that 62% of photographers believe over-editing is the most common mistake made by beginners. Pushing these sliders to their limits will produce a crunchy, artificial HDR effect that is stylistically dated. Use these tools to gently sculpt the light, not to completely reconstruct it.
Using the Tone Curve for Pro-Level Contrast
While the basic Contrast slider offers a quick fix, the Tone Curve provides surgical control. It allows you to fine-tune brightness and contrast in specific tonal ranges—the deepest shadows, the mid-tones, and the brightest highlights—independently.
A gentle "S-curve" is a classic technique for good reason: it adds a beautiful, cinematic punch. To create it, place a point on the lower third of the curve and drag it down slightly to deepen the blacks, then add a point on the upper third and lift it to brighten the whites. This single adjustment introduces a pop of contrast and depth that brings an image to life. For any professional wedding photo editing workflow, mastering the Tone Curve is non-negotiable for crafting a signature look.
Advanced Retouching and Artistic Cleanup
With the foundational edits locked in, it’s time to zoom in and get meticulous. This is where we move from big-picture adjustments in Lightroom to the pixel-level magic of Adobe Photoshop, turning a great photo into a flawless piece of art.
The objective is not to create an artificial, plastic-like appearance. The true art lies in removing minor, temporary distractions so the raw emotion of the day can command full attention.
"Great retouching is invisible; it removes distractions so the emotion can shine through."
Subtlety is paramount. The goal is to polish the image in a way that feels completely natural, ensuring the final photograph is a true—yet perfected—memory.
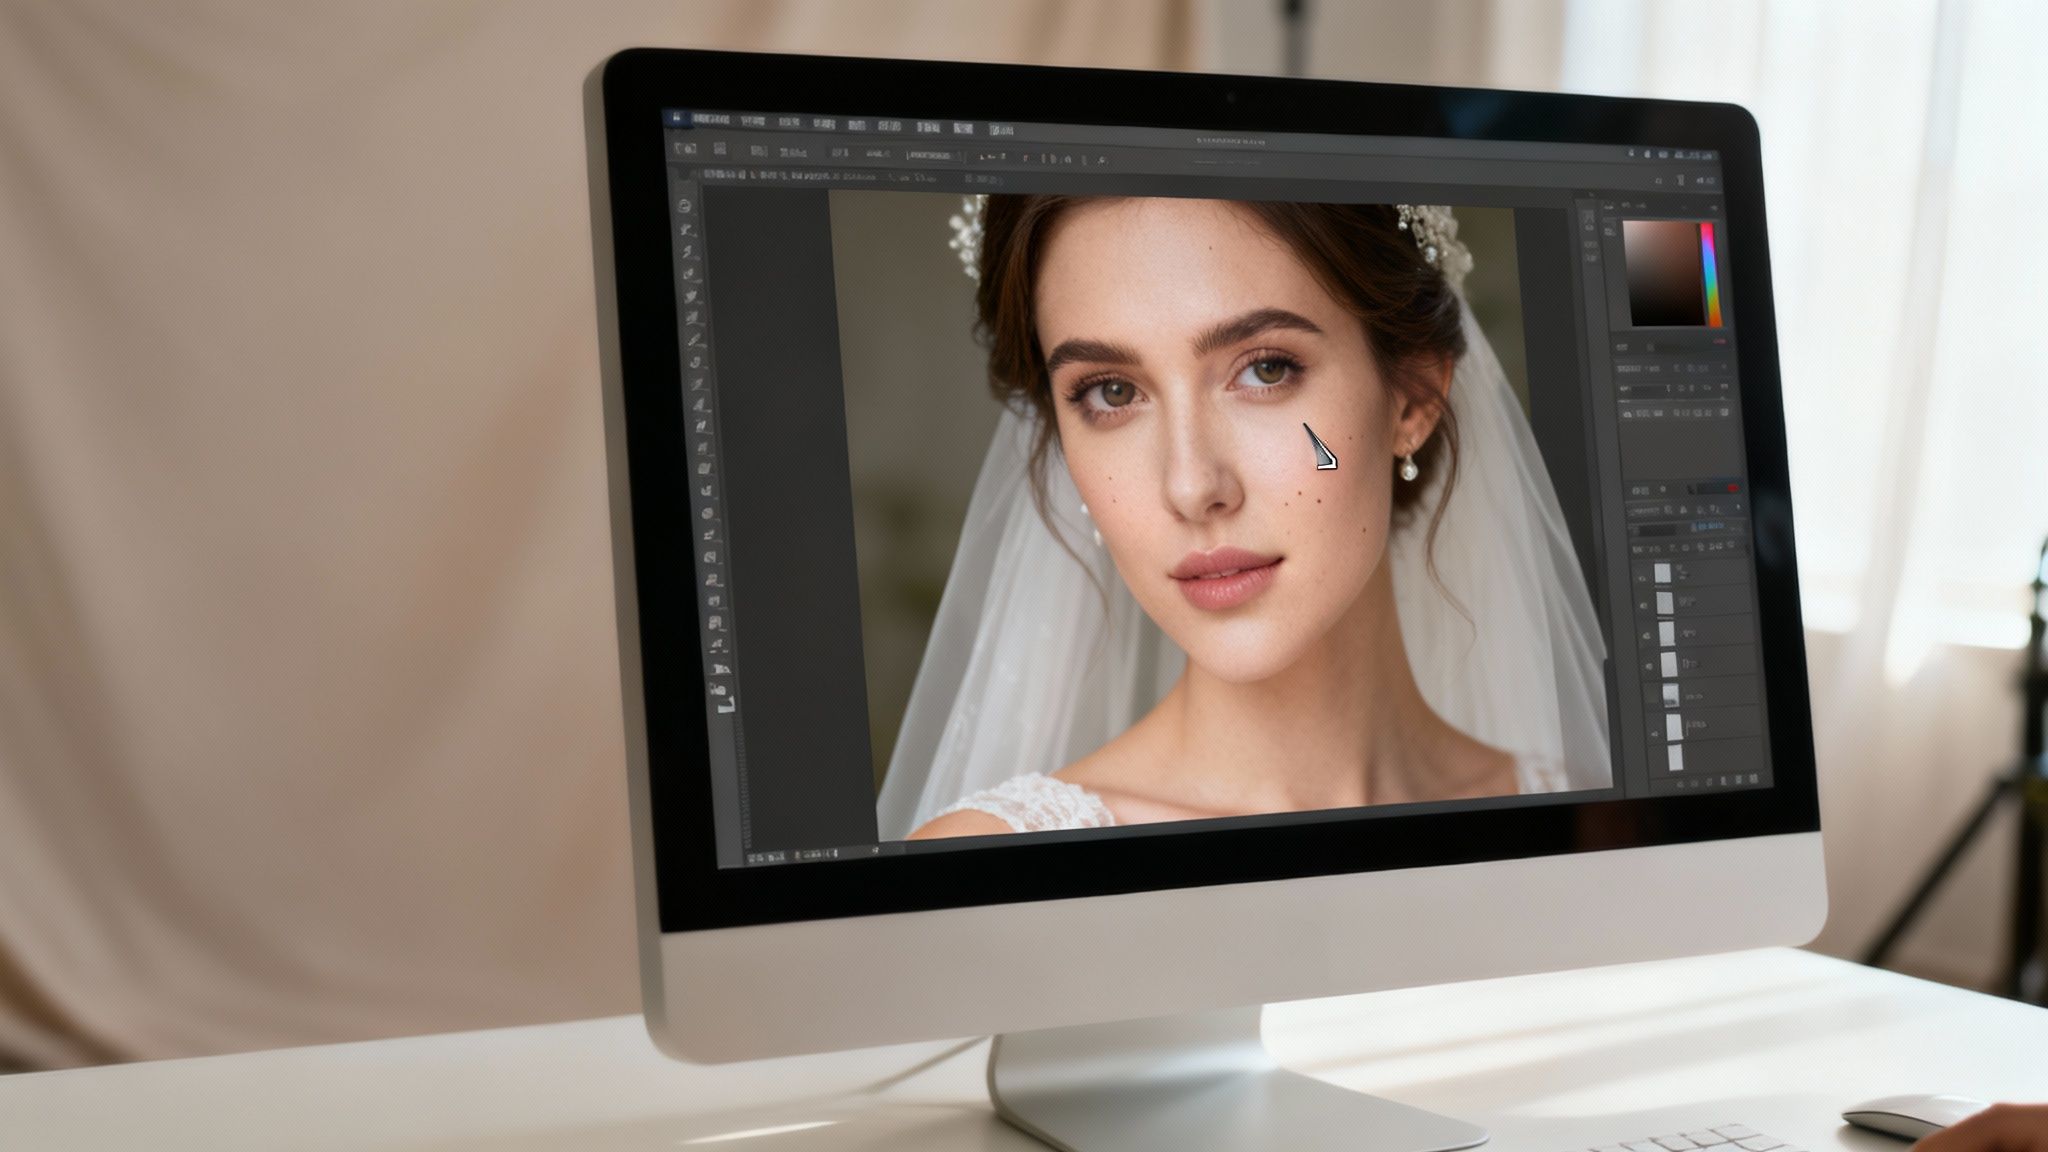
The Art of Natural Skin Retouching
Forget the blurry, over-the-top filters from the early days of digital. Professional skin retouching today is all about preserving natural texture. Think of it less like airbrushing and more like digital grooming.
The rule of thumb is simple: remove anything that wouldn't be there a week later.
- Blemishes: A temporary pimple or minor skin irritation should be removed.
- Flyaway Hairs: Taming rogue hairs that catch the light and cross the face is essential.
- Flushed Skin: Emotional moments, such as the ceremony, can cause skin to appear red. Gently toning this down restores balance.
A recent industry survey revealed that over 80% of couples expect this level of professional retouching. They want temporary imperfections removed and skin smoothed, but they are adamant that the results look authentic, not "overly Photoshopped." Achieving this delicate balance is crucial.
Tools like the Spot Healing Brush and Healing Brush in Photoshop are your best friends here. They intelligently sample texture and tone from the surrounding skin to seamlessly cover an imperfection. For more complex areas, the Clone Stamp tool provides the surgical precision required to copy pixels with complete control.
Eliminating Distractions From the Background
We’ve all been there. The perfect shot of the first dance, ruined by a bright green exit sign glowing in the background. Or a beautiful portrait with a stray electrical cord snaking its way across the floor. These small elements distract the viewer's eye and undermine the mood.
This is where Photoshop’s Content-Aware Fill functions like magic. Simply draw a selection around the offending object, execute the command, and watch as Photoshop intelligently fills the gap. It’s perfect for removing a fire extinguisher from a clean wall or a piece of trash from the grass.
For more complex jobs, you'll need to roll up your sleeves with the Clone Stamp and Healing Brush. A classic challenge is removing a tiny smudge or stain from a wedding dress. The technique involves using the Clone Stamp at a very low opacity, gradually painting over the mark with clean texture from another part of the dress. It requires a delicate hand, but the result is completely unnoticeable.
If you want to go deeper on this, we have a whole guide on how to remove unwanted objects from photos. Honestly, mastering these cleanup skills is what separates the pros from the rest.
Final Polish and Authenticity Check
Before considering an image finished, a final quality check is essential. Zoom in to 100% and then zoom out completely. Do your edits stand out? Does the skin texture look consistent and real? The best retouching is the kind no one ever notices.
Always remember, the mission is to enhance, not alter. Photographer Sarah Vivienne puts it perfectly: her philosophy is to remove distracting elements but keep the image true to the memory. The distracting fire notice on the wall can be removed, but she would never fundamentally alter a person's appearance unless specifically requested.
This is the ethical line professionals walk. It ensures the final gallery is not only beautiful but also an honest reflection of the day—preserving the integrity of the couple's memories for decades to come.
Finding Your Signature Color Grade
With all the technical fixes and clean-up work done, we can finally get to the fun part. This is where you transition from a technician to an artist, breathing life and emotion into the images through color grading. It's how you develop the signature style that makes your work instantly recognizable.
Let's be clear: color correction is about accuracy—getting whites white and skin tones looking natural. Color grading, on the other hand, is all about emotion. It's where you intentionally shift colors to create a specific mood.
From Moody to Airy: Defining Your Unique Style
Your color grade is your photographic fingerprint. Perhaps you are drawn to a "light and airy" aesthetic with soft, pastel tones and glowing highlights. Or maybe you prefer a "dark and moody" look characterized by deep, crushed shadows and rich, desaturated colors. Whatever your preference, consistency is paramount. A gallery where every photo shares the same color DNA feels professional and complete.
You have powerful tools at your disposal to achieve this:
- The HSL Panel: The Hue, Saturation, and Luminance panel in software like Adobe Lightroom is your color command center. You can adjust the greens to be more olive-toned for a timeless look or deepen the blues in the sky for added drama, all without affecting your skin tones.
- Split Toning: This classic technique allows you to add different color tints to the shadows and highlights of an image. A touch of cool blue in the shadows paired with a warm, golden hue in the highlights can create a stunning cinematic feel that adds significant depth.
- LUTs (Look-Up Tables): Think of these as advanced color grading presets. LUTs remap all the colors in your image to a predetermined palette, providing an excellent starting point for a filmic or highly stylized look that you can then refine to perfection.
Achieving Gallery-Wide Consistency
The true mark of a professional is the ability to apply a signature look consistently across hundreds, sometimes thousands, of photos from a single wedding. The secret? Creating your own presets.
Once you have perfected the color grade on a key "hero" image from a specific lighting situation (like a sun-drenched outdoor ceremony), save those exact settings as a new preset.
“I use my own custom preset which creates consistency and my signature look.” - Zoe Larkin, Wedding Photographer
As wedding photographer Zoe Larkin emphasizes, presets are the foundation of a consistent style. You can then sync that preset across all other photos from that part of the day, making only minor adjustments to exposure or white balance as needed. This is how you ensure that even as moments and compositions change, the mood and color story remain perfectly synchronized.
If you want to dive deeper into the nuts and bolts, our detailed guide on photo colour grading breaks down these professional techniques step-by-step.
The Final Polish: Sharpening and Grain
Before you hit export, there are a couple of final touches to add that really elevate the final product. This involves applying just the right amount of sharpening and, if it suits your style, a bit of grain for a timeless, film-like quality.
Remember, the sharpening required for a large canvas print is vastly different from that needed for an Instagram post.
Getting this stage right is more important than ever. Physical products are making a significant comeback. According to the latest State of the Photography Industry report, many photographers are boosting their revenue by up to 20% by offering albums and prints through personalized viewing sessions—a major shift from the digital-only packages of the past.
Print vs Web Export Settings
To achieve the best results, you must tailor your export settings to the image's final destination. Here’s a quick reference guide for getting it right in Lightroom.
| Setting | Best for Print | Best for Web |
|---|---|---|
| Sharpening | Higher amount, applied for specific paper type (matte/glossy). | Lower amount, standard screen sharpening. |
| Grain | Subtle grain can add texture and a filmic feel. | Minimal to no grain to keep file sizes small and images clean. |
| Color Space | Adobe RGB or ProPhoto RGB for a wider color gamut. | sRGB is the universal standard for web browsers. |
| Resolution | 300 PPI (Pixels Per Inch) for high-quality prints. | 72 PPI is sufficient for screen viewing. |
Dialing in these settings ensures your images look just as incredible hanging on a wall as they do on a screen. It’s the final step in delivering a truly professional gallery.
The AI Revolution in Wedding Photo Editing
Let's be honest, the painstaking, hours-long process of editing a full wedding gallery is undergoing a massive shift. Artificial intelligence isn't some far-off concept anymore; it's a real, powerful partner for photographers who want to reclaim their time and get more creative. This isn't about replacing your artistic eye—it's about supercharging it with incredible speed.
The integration of AI has rapidly evolved from a niche experiment to a standard component in many professional workflows, completely transforming the wedding photo editing landscape. The right tools can slash editing time while unlocking new creative possibilities for both photographers and their clients.
Automation That Actually Frees You Up
Platforms like DreamShootAI are leading this charge by taking on some of the most mind-numbing tasks we all face. Imagine an AI that intelligently culls thousands of images for you, instantly flagging the blurry shots or near-duplicates with frightening accuracy. It can also apply consistent, baseline color corrections across an entire gallery in minutes, a job that could easily eat up a whole afternoon.
"I believe AI will become an indispensable tool for photographers, handling 80% of the tedious work so we can focus on the final 20%—the creative storytelling and unique artistic touches that clients hire us for." - Liam Crawley, Professional Photographer
This efficiency is a game-changer. It liberates you from hours of repetitive edits, allowing more time for what truly matters: nuanced skin retouching, developing your signature color grade, and engaging with clients.
New Creative Horizons for Photographers and Couples
AI's role extends far beyond speed. Tools like DreamShootAI are packed with features that unlock creative ideas that were previously too complex or cost-prohibitive to execute.
- Themed Photoshoots: Your clients can generate unique, themed photos—imagine a vintage gala or a cyberpunk romance—using the photos you already took at their wedding.
- AI Video Invitations: Animate a favorite engagement photo into a stunning video invitation. It's a modern, memorable touch that adds significant value.
- Magic Upscaler: Prepare any photo for large-format printing. The upscaler intelligently enhances resolution and clarity, ensuring wall art and album prints are absolutely crisp and beautiful.
To see this in action, playing around with different AI image editing tools can make a huge difference in your workflow. The "Photo Edit by prompt" feature, for instance, is a total game-changer.
This kind of interface demonstrates how simple text commands can execute complex edits in seconds. Instead of manipulating dozens of sliders, you can simply type "make the sky more dramatic" or "remove the distracting sign in the background." The AI performs the task, fundamentally changing the speed and ease of advanced editing.
Answering Your Wedding Photo Editing Questions
When you’re in the thick of wedding season, questions about the editing process are bound to come up—from clients and fellow photographers alike. Getting a handle on everything from timelines to the tech involved helps everyone feel confident and sets the right expectations for that final, beautiful gallery. Let's clear up some of the most common questions I hear.
How Long Does Wedding Photo Editing Actually Take?
The honest answer? A full, professionally edited wedding gallery usually takes anywhere from 4 to 8 weeks to deliver.
While this may seem like a long time, the timeframe is crucial for quality. It allows the photographer the necessary space to execute the job correctly: carefully culling thousands of images, making individual color corrections, performing detailed retouching on key portraits, and applying a consistent, signature look across the entire narrative.
It is a massive undertaking. A 2023 survey by Zippia found that photographers spend, on average, one hour editing for every hour they spend shooting. Rushing this stage is the fastest way to compromise the quality and artistry for which you were hired.
What’s the Best Software for Editing Wedding Photos?
For the vast majority of professionals, the go-to combination is a powerful duo from Adobe.
Adobe Lightroom Classic is the undisputed workhorse. It’s designed for organizing and culling massive galleries and applying consistent edits across hundreds, or even thousands, of photos at once. It’s where the bulk of the color and exposure work happens.
Then, for fine-tuning, professionals switch to Adobe Photoshop. This is where the magic of detailed, pixel-level editing comes in—removing distracting elements, perfecting skin, and handling any complex cleanups that require a surgeon's touch.
As wedding photographer Zoe Larkin puts it: "Lightroom is like when you put a picture from your phone through your favorite photo editing app, but on a much grander scale. Photoshop... I do some ‘invisible Photoshopping’ on a handful of images in each gallery to remove some distracting elements."
Together, they offer the perfect workflow: Lightroom for speed and consistency, Photoshop for detailed perfection.
Can AI Just Edit an Entire Wedding for Me?
Not entirely, but it is becoming an incredibly effective assistant. Think of AI as a powerful tool that can dramatically accelerate the most tedious parts of the job, such as culling out-of-focus shots or applying a solid baseline for your edits.
What it cannot do—at least not yet—is replace the human artist. The nuanced storytelling, creative decisions, and unique style that define your work still require a photographer's eye and heart. The most efficient modern workflow is a hybrid one: let AI handle the heavy, repetitive lifting, which frees you up to focus on the creative polish that truly makes the gallery shine.
Curious how AI can fit into your workflow and open up new creative avenues? See how DreamShootAI can take over the time-sucking edits and even help you generate incredible themed photoshoots with just a few clicks. Take a look at the future of photo editing at https://dreamshootai.com.
Written by Jocelyn Grey for the DreamShootAI blog.
Spotted something out of date? Tell us at [email protected] and we'll fix it.