How to Remove Blemishes from Photos for a Flawless Finish
Learn how to remove blemishes from photos using AI prompts and manual tools. Get pro tips for natural-looking headshots, wedding photos, and portraits.

In modern digital imaging, two primary pathways exist for achieving a pristine finish: leveraging the efficiency of AI-powered tools for rapid, intelligent correction, or engaging in meticulous manual techniques like the spot healing brush for absolute, granular control. In either case, the objective is uniform: to produce a clean, professional-grade photograph by eliminating transient imperfections while rigorously preserving authentic skin texture.
Why a Perfect Portrait Matters in a Visual World
We operate in an environment saturated with visual information. A polished photograph is no longer a luxury; it's a critical component of one's digital identity. From a LinkedIn headshot to an Instagram post, this image serves as the initial point of contact, shaping perceptions before any direct interaction occurs. This is not about vanity—it is about strategic self-presentation, removing minor distractions to allow the subject's core message and personality to resonate clearly.
This imperative for flawless imagery is a significant cultural and economic driver. Consider the high stakes of wedding photography, where a single, ill-timed blemish can mar a cherished memory. This concern is amplified by the fact that acne affects an estimated 85% of individuals aged 12-24, a demographic highly active on visual platforms. The global post-acne scar remediation market alone was valued at USD 3.12 Billion in 2023 and is projected to reach USD 7.42 Billion by 2032, underscoring the profound societal value placed on clear skin—a preference that extends seamlessly into our digital representations.
The Psychology of a Polished Image
A clean, blemish-free photograph communicates professionalism, attention to detail, and confidence. The objective is not to create a synthetic, idealized version of a person but to manage temporary imperfections—a pimple, a stray hair—that can divert a viewer's focus from what is truly important in the image.
"A great portrait is one that tells a story about who you are," states Alex Thompson, a professional portrait photographer with over a decade of experience. "Removing small distractions ensures that your story, not a temporary skin issue, is what people see first."
This guide provides a definitive methodology for achieving this polished aesthetic. We will explore two highly effective approaches for removing blemishes from photographs:
- AI-Powered Editing: Utilizing intelligent, high-speed tools like DreamShootAI to achieve natural-looking results in seconds with text-based commands.
- Manual Touch-Ups: Employing precision tools for images that demand a more nuanced, artistic touch and total operator control.
Modern tools have democratized complex editing processes, placing professional-level results within reach of the average user. The pervasive practice of filtering picture-perfect social media images is a testament to the universal desire for a flawless digital persona. Ultimately, mastering these skills empowers individuals to control their own visual narrative.
The Instant Fix with AI Photo Editing Prompts
For time-sensitive blemish removal, AI-powered platforms are the definitive solution. The era of laborious, manual correction with clone stamps and healing brushes has been supplanted by intelligent systems. With features like DreamShootAI's 'Photo Edit by prompt,' one can simply articulate the desired outcome in natural language, and the AI executes the complex task.
However, speed without precision is counterproductive. A generic command like "fix skin" often yields an unnatural, overly smoothed result. The key to successful AI editing lies in specific, descriptive language. This enables the AI to execute precise adjustments while preserving the essential micro-textures that lend a photograph its authenticity.
Crafting Prompts That Actually Work
Effective AI prompting requires the user to think like a professional retoucher directing an assistant. Clarity of instruction is paramount; ambiguous prompts produce ambiguous, often unsatisfactory, outcomes. This is where mastering AI for blemish removal distinguishes expert users from novices.
For example, instead of a vague request like "remove acne," a more effective prompt would be:
"Subtly remove the small pimple on the chin and even out the slight redness on the cheeks, keeping the original skin texture."
This command provides the AI with three distinct, actionable tasks: target a specific blemish, correct a color imbalance, and, crucially, preserve natural dermal texture. This level of specificity is essential for avoiding the "airbrushed" effect that signals heavy-handed editing.
The efficiency gains are staggering. A professional retoucher might dedicate 15-20 minutes to a single portrait. AI tools can achieve a comparable result in mere seconds. This shift is part of a larger trend reflected in the global photo rejuvenation market, which, according to market analysis by The Brainy Insights, is projected to grow from USD 688.5 million in 2025 to over USD 1.7 billion by 2032. The demand is clear: high-quality results, delivered instantly.
Effective AI Prompts for Blemish Removal
Crafting the perfect prompt is an art grounded in precision. The methodology involves clearly identifying the target imperfection and describing the desired final state.
This table provides a framework for prompting different types of skin imperfections in DreamShootAI.
| Blemish Type | Basic Prompt Example | Advanced Prompt Example |
|---|---|---|
| Single Pimple | "Remove the red spot on the forehead." | "Gently erase the small whitehead on the left cheek, blending it seamlessly with the surrounding skin." |
| Minor Acne | "Clear up the pimples on my chin." | "Reduce the appearance of the acne breakout on the chin, evening out the skin tone while retaining natural pores." |
| Fine Lines/Wrinkles | "Soften the lines around the eyes." | "Lightly soften the crow's feet and forehead lines for a rested look, but do not remove them completely." |
| Redness/Rosacea | "Reduce the redness on my cheeks." | "Even out the blotchy redness across the nose and cheeks to create a more uniform, natural complexion." |
| Scars/Marks | "Remove the small scar on my lip." | "Lighten the visibility of the surgical scar on the jawline, making it less distracting without erasing it entirely." |
Users are encouraged to adapt and experiment with these prompts to develop an intuitive sense of what works best for their specific images.
This workflow illustrates the synergy between AI and manual retouching.
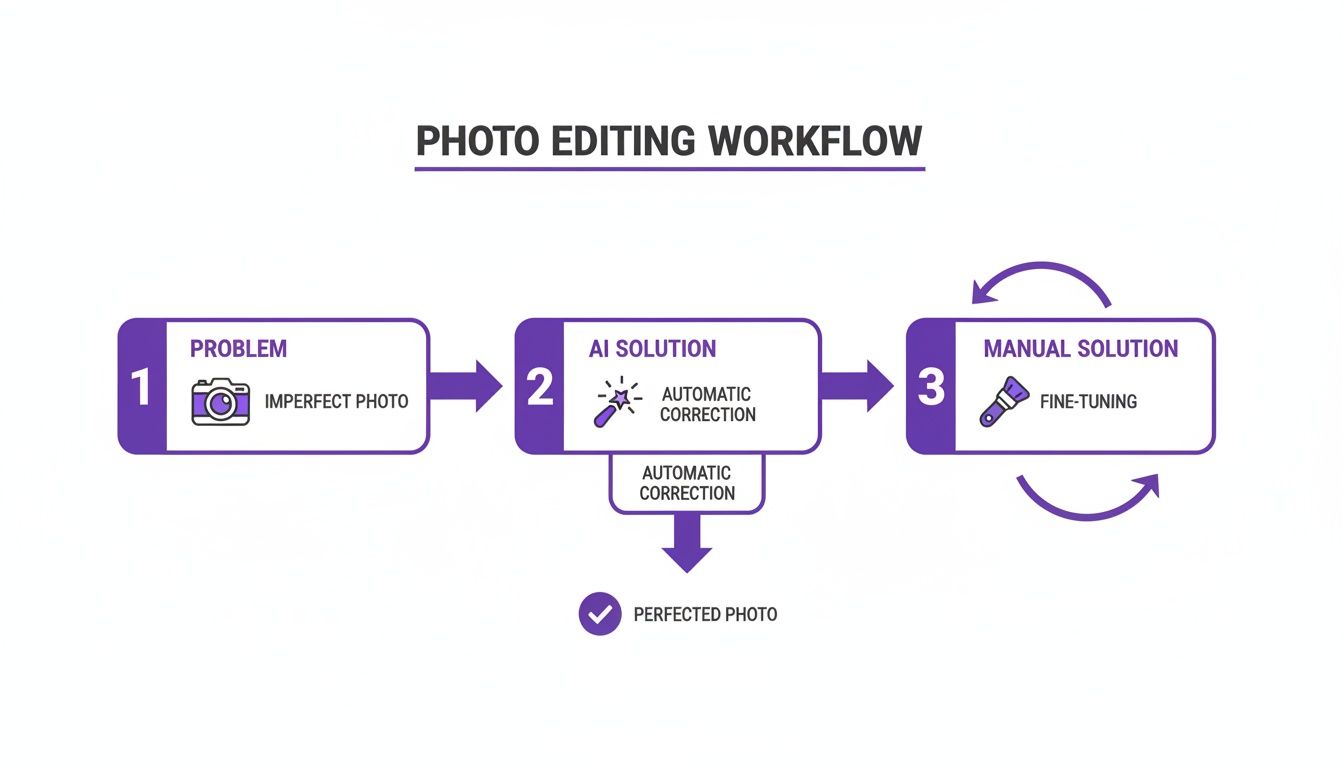
The optimal strategy involves leveraging AI for the initial, time-intensive corrections, followed by manual intervention for final, precise adjustments. This hybrid approach represents the modern standard for achieving professional results efficiently. For further instruction, our guide on using an AI photo editor online for free offers valuable insights into working smarter, not harder.
Mastering Manual Touch Ups for Precision Control
While AI offers unparalleled speed, certain situations demand the nuance and control of a human hand. For pixel-perfect, completely undetectable edits, a mastery of manual tools within professional photo editing software is non-negotiable.
This process is akin to digital microsurgery. The two primary instruments for this detailed work are the Spot Healing Brush and the Clone Stamp Tool, standard features in any professional-grade software. Though functionally similar, understanding their distinct applications is what elevates an edit from competent to masterful.
The Spot Healing Brush is the first line of attack for simple, isolated imperfections. It intelligently samples pixels from the immediate vicinity of the brushstroke, blending them over the targeted flaw. It excels at removing isolated pimples or small marks on areas of uniform texture, such as a cheek or forehead, often requiring just a single click.
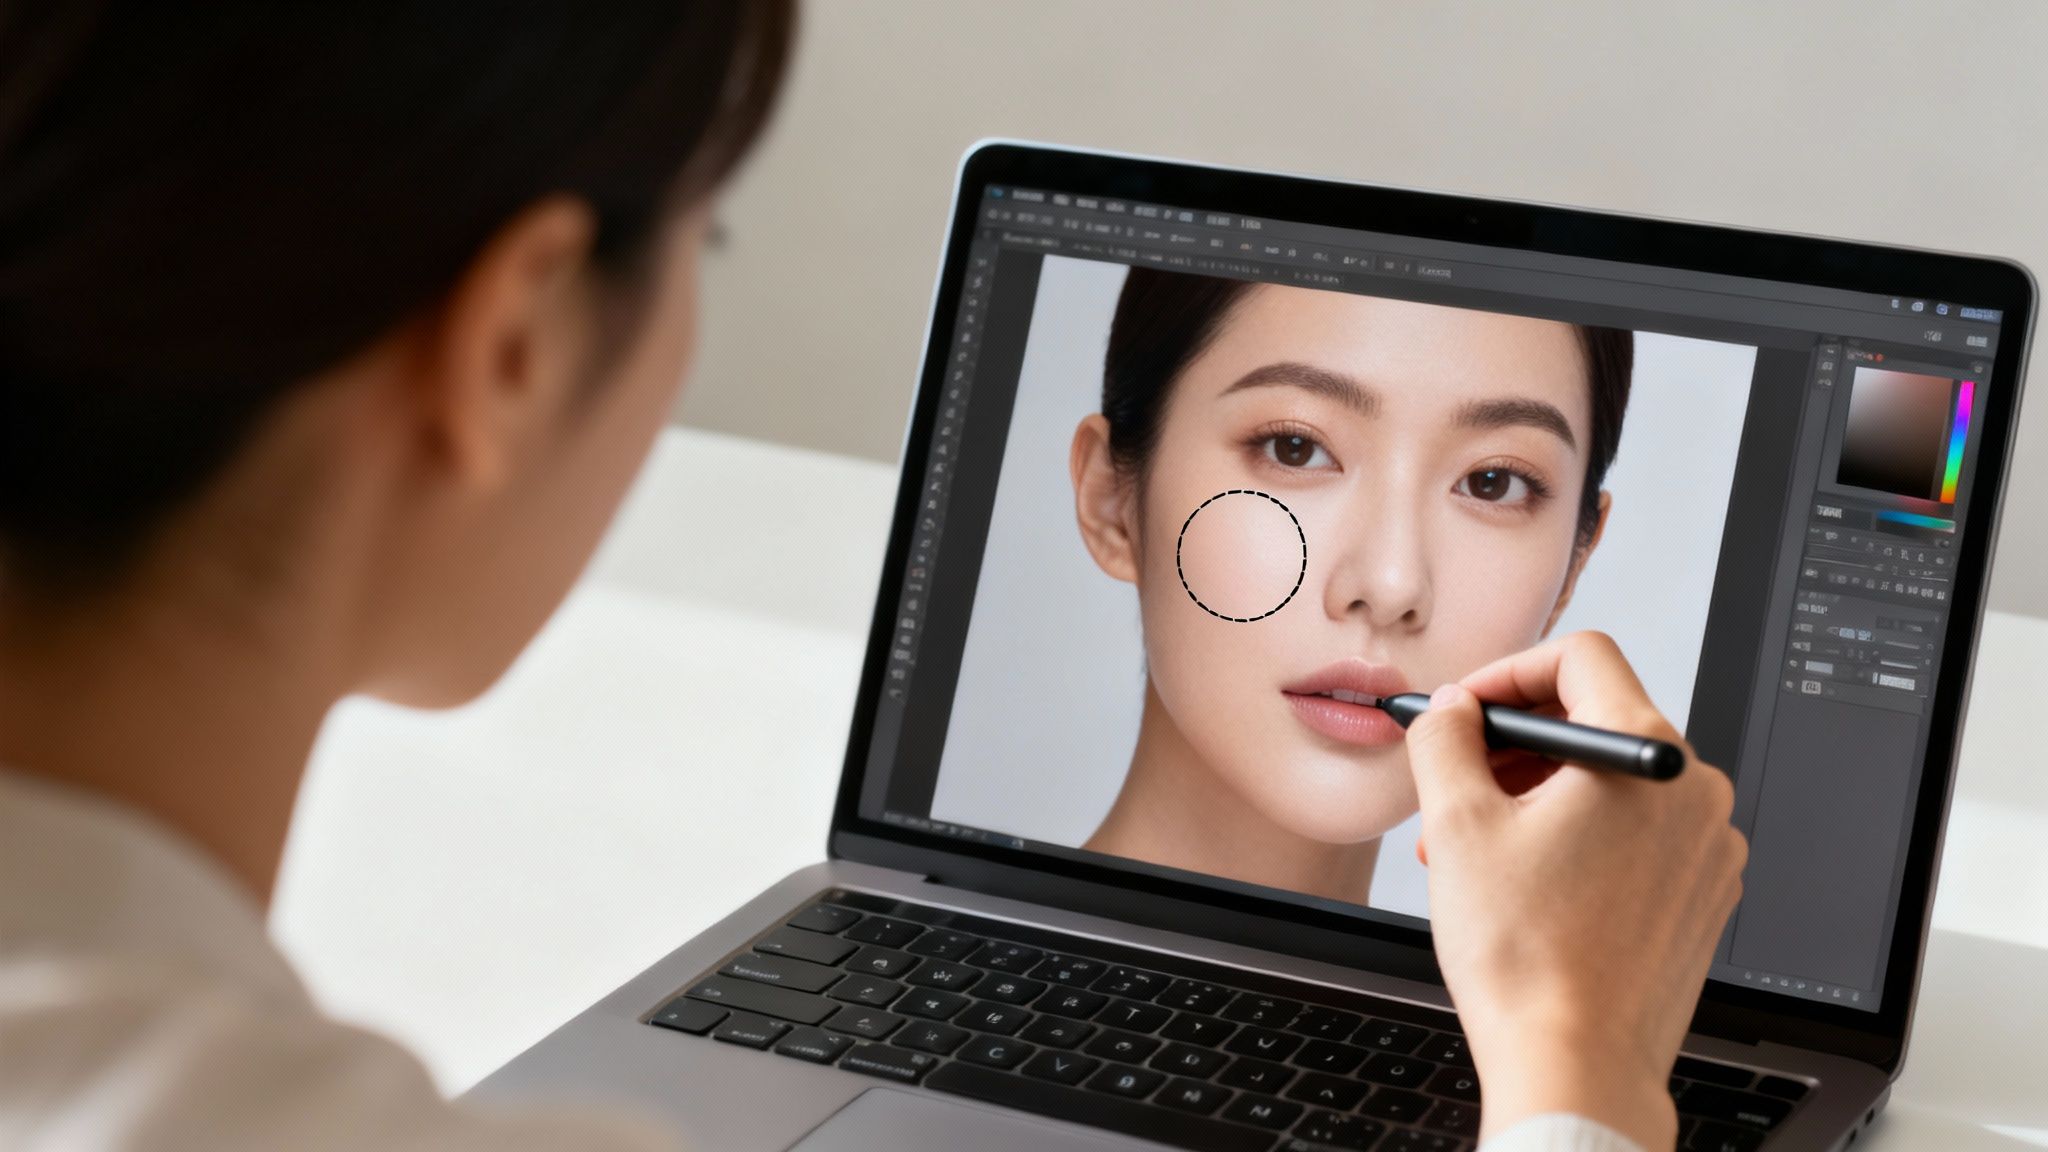
However, for more complex scenarios demanding absolute control, the Clone Stamp Tool is indispensable. This tool operates more deliberately, requiring the user to manually select a "source" area from which to copy pixels before painting them over the blemish. This precision is critical in complex areas where the Spot Healing Brush's algorithm might falter and introduce incorrect textures.
Choosing the Right Tool for the Job
A professional workflow is systematic. For a simple pimple on a uniform skin surface, the Spot Healing Brush is the logical first choice. For any greater complexity, the Clone Stamp becomes the primary tool.
The Clone Stamp excels in these scenarios:
- Textured Areas: When removing a blemish from skin with freckles, pores, or stubble, one can precisely sample an identical texture from an adjacent area, ensuring no smudging or blurring.
- Tricky Edges: For imperfections located on a hairline, next to an eyebrow, or near the edge of clothing, the Clone Stamp allows for the definition of a clean source point that will not compromise critical details.
- Rebuilding Patterns: If a blemish disrupts a subtle pattern in fabric or a background element, the Clone Stamp enables the flawless, pixel-by-pixel reconstruction of that pattern.
"The difference between an amateur and a professional retouch is often in the details," notes Sofia Chen, a leading Digital Imaging Specialist. "Manual tools give you the power to make edits that are not just clean, but completely invisible to the viewer."
Pro Tips for Flawless Manual Edits
Achieving a natural look with these tools is a matter of technique. Hasty application or incorrect settings invariably result in a blotchy, obvious edit that undermines the photograph's integrity.
To ensure undetectable work, adhere to these professional practices:
- Zoom In Generously: Detail work requires magnification. Operating at 100% or even 200% zoom is standard professional practice.
- Adjust Brush Hardness: A soft-edged brush (low hardness) is crucial for creating a smooth, natural blend. A hard brush leaves a discernible circular outline. A starting hardness of 20-30% is a reliable baseline.
- Sample Frequently and Nearby: This is paramount when using the Clone Stamp. Constantly re-sample the source point (Alt/Option + click), always selecting a source in close proximity to the blemish to ensure a perfect match in texture and lighting.
- Vary Brush Size: The brush should be marginally larger than the blemish itself. An overly large brush will unnaturally soften the surrounding area, a tell-tale sign of manipulation.
These manual methods are foundational skills in photo editing, closely related to other powerful techniques like those automated in tools like Content-Aware Fill. Mastery of these tools provides the confidence to address any imperfection and deliver portraits that are both polished and authentic.
Tailoring Your Edits for Every Occasion
A universal approach to blemish removal is ineffective; the context of the photograph must dictate the editing strategy. A soft, romantic treatment suitable for a wedding album would be entirely inappropriate for a corporate headshot, where authenticity and credibility are paramount.
Understanding the image's purpose is the first step. The context demands a specific balance of correction and realism to achieve the intended aesthetic.
The market reflects this drive for perfection. The global acne treatment market is projected to reach $12.19 billion by 2025, a figure that highlights the deep-seated desire for unblemished appearances. For professionals—from wedding planners managing a portion of the 2.5 million U.S. weddings annually to social media influencers—the pressure to produce flawless imagery is immense. In this environment, the ability to produce high-quality results efficiently is a significant competitive advantage. Prompt-based AI editing, which can outpace manual methods by up to 90%, is a game-changing technology. You can read the full research about post-acne scar remediation to understand the depth of this market trend.
For Wedding and Engagement Photos
The goal is timeless romance, not synthetic perfection. The edit should enhance the moment's magic, not create an artificial one. Wedding photos demand a soft, ethereal quality that will remain beautiful for decades.
- Go for Subtle Softening: Use prompts like, "Gently soften the skin on the bride's face to create a glowing look, but keep the texture natural."
- Minor Fixes Only: Focus on temporary issues—a stress-induced pimple or a stray hair. Avoid altering permanent features that define a person's face.
- Think Warmth and Glow: Frame the edit in terms of mood. A superior prompt is, "Remove the small blemish on his cheek and add a touch of warm light to the image."
"When I edit wedding photos, my rule is to make the couple look like themselves on their very best day," explains renowned wedding photographer Jasmine Carter. "The edits should be felt, not seen. It's about preserving the memory, not creating a fantasy."
For Professional Headshots
In a professional headshot, authenticity is the primary currency. This image is a digital handshake; it must build trust. Over-editing can render a subject unrecognizable, undermining credibility.
The critical distinction is between a temporary flaw and a permanent feature. A pimple that appeared the morning of the shoot is a valid target for removal. However, laugh lines, scars, or moles that are part of an individual's identity should typically remain. They add character and convey authenticity.
- Target Temporary Blemishes: For a single pimple, a precision manual tool like the Spot Healing Brush provides a quick, clean solution.
- Preserve Character: Avoid prompts like "remove all wrinkles" or "make skin perfect." These commands erase personality.
- Keep It Real: The final image must be an authentic representation. The objective is polish and professionalism, not airbrushed unreality.
For Social Media Content
Social media allows for more creative latitude. The aesthetic is often more stylized, aligning with a personal brand. While avoiding an overtly artificial look is still advisable, the editing can be more pronounced than for a professional profile.
This is the ideal context for experimenting with skin smoothing and tone evening to match a specific filter or aesthetic. AI prompts are exceptionally useful for maintaining a consistent visual style across multiple images. A prompt such as, "Remove minor skin imperfections and apply a bright, high-contrast filter," can help establish a cohesive feed and build a strong visual identity.
Moving Beyond Blemishes with Advanced Enhancements
Once the fundamentals of blemish removal are mastered, the true artistry of photo editing can begin. A professional portrait is more than merely free of distractions; it is cohesive, vibrant, and engaging. Holistic enhancements are what elevate a good photograph to an exceptional one.
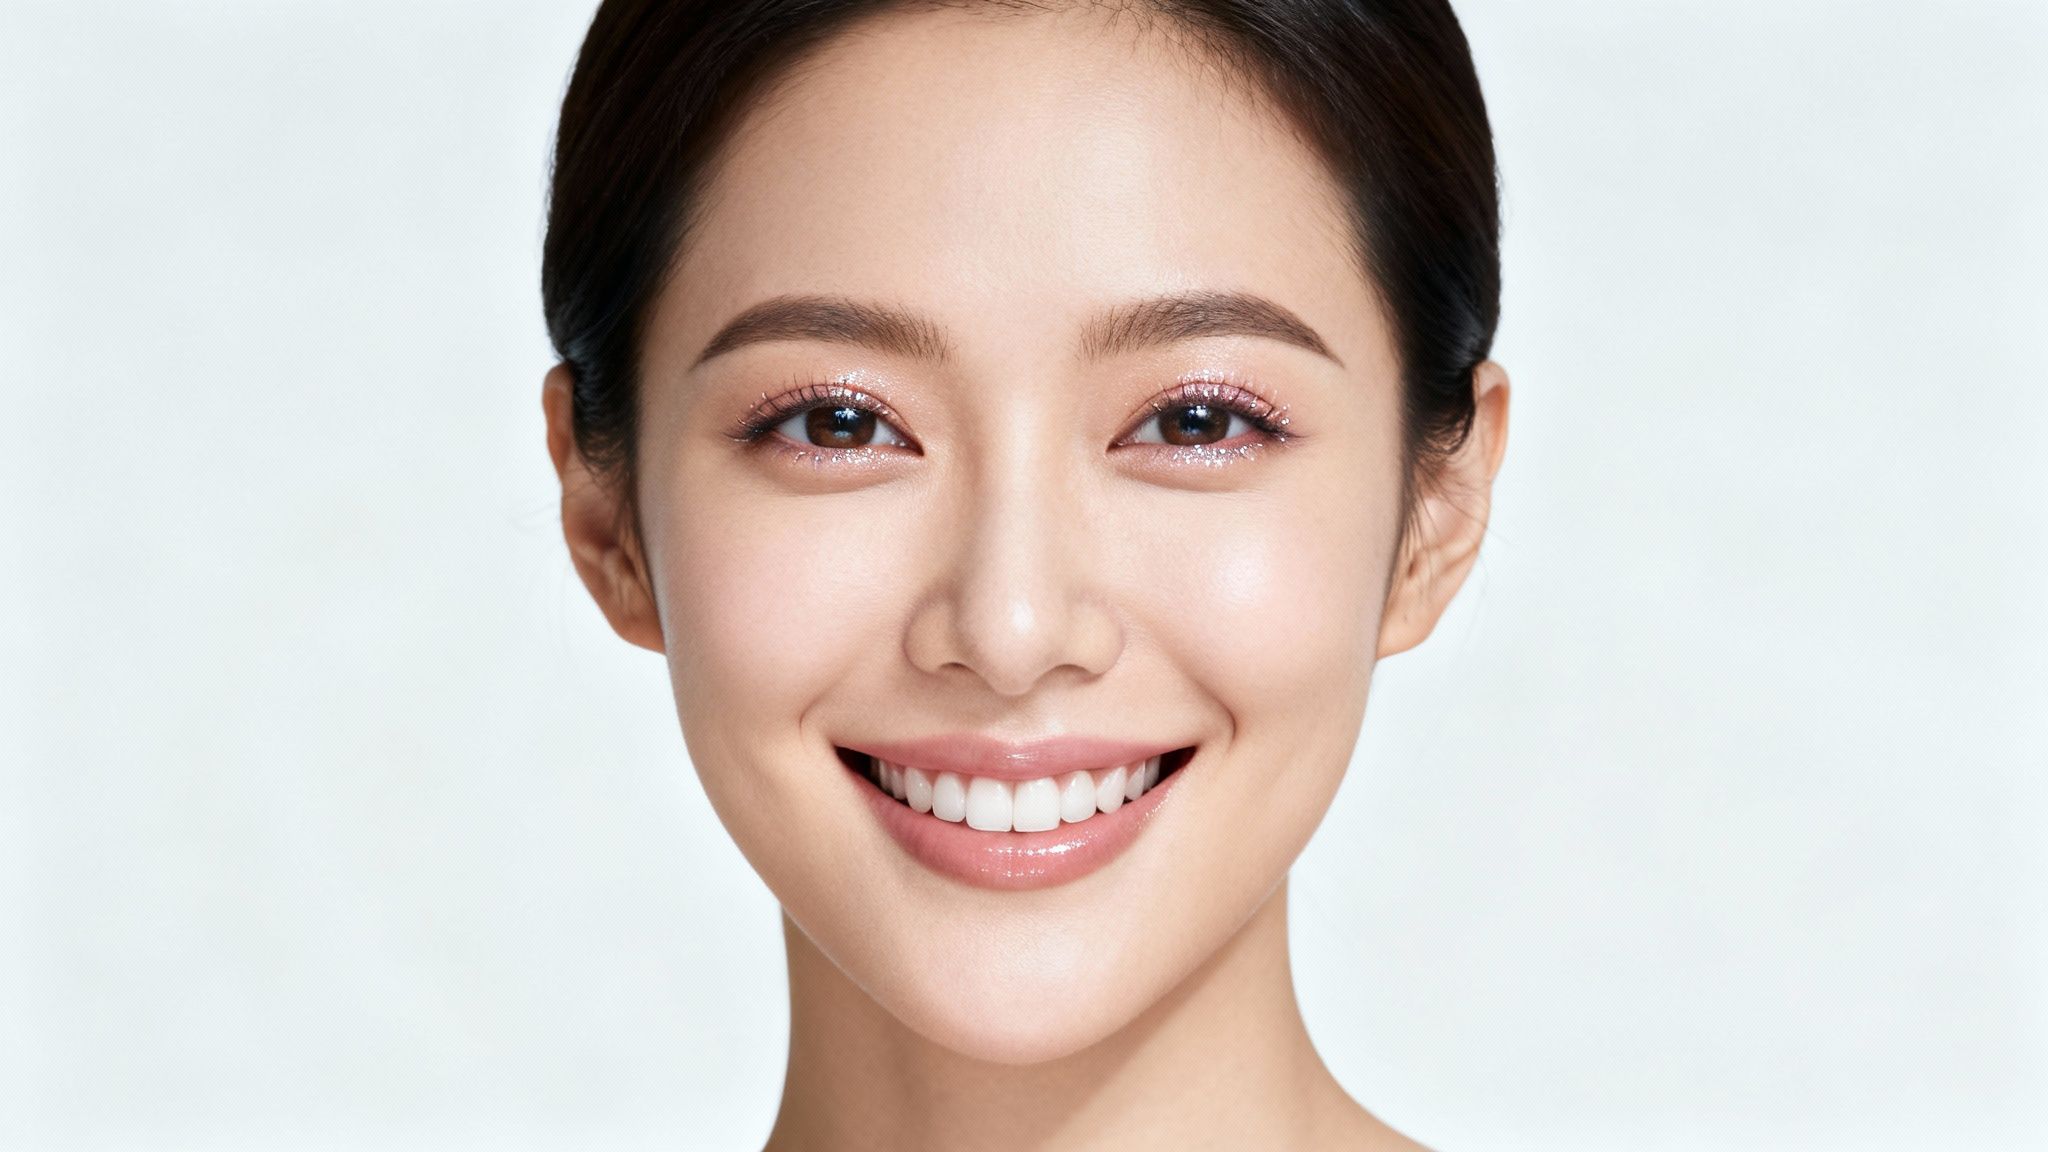
A critical component of this final stage is ensuring the image is sharp and high-resolution. After meticulous edits to skin texture, a low-quality export can render the work blurry and unnatural. Utilizing a tool like DreamShootAI’s Magic Upscaler as a final step is a powerful technique. It enhances overall clarity, ensuring that every detail, from skin pores to individual eyelashes, is rendered with crisp definition.
Fine-Tuning for That Polished Finish
Beyond clarity, several subtle adjustments can significantly impact the final portrait. These are not alterations to a person's appearance, but rather refinements that present them in the best possible light.
Consider these powerful but subtle enhancements:
- Evening Out Skin Tone: For blotchy redness or uneven pigmentation, a simple prompt like, "Gently even out the skin tone across the face," can create a smooth, healthy-looking complexion.
- Adding Sparkle to the Eyes: The eyes are the focal point of a portrait. A minor adjustment to enhance their brightness and sharpness can vivify the entire photograph and forge a stronger connection with the viewer.
- Subtle Teeth Whitening: Subtlety is paramount here. A slight reduction in yellow tones can make a smile appear healthier and more vibrant without looking artificial.
"The best edits are the ones you don't notice," says acclaimed retouching artist Chloe Davis. "It's not about creating a new reality, but about removing minor imperfections to let the subject's true personality shine through. A little sharpening in the eyes, a slight evening of skin tone—that's what creates a 'wow' portrait."
These final touches distinguish amateur work from professional results. Delving into more advanced photo editing techniques is essential for mastering these skills. The ultimate goal is a harmonious image where every element works in concert, producing a final product suitable for a corporate portfolio, a cherished wedding album, or a high-impact social media post.
Got Questions About Photo Blemish Removal?
As you master the process of removing blemishes from photos, specific questions will inevitably arise. Whether relying on AI prompts or manual tools, a detailed understanding of the nuances will elevate your editing to a professional standard. Here are answers to some of the most common inquiries.
Will AI Blemish Removal Make My Photos Look Unnatural?
Not if executed correctly. The key to natural-looking AI edits is prompt specificity.
A generic command like "make my skin perfect" is a direct route to an artificial, over-processed result. A superior prompt is, "remove the small blemish on my cheek and slightly even out the skin tone." Modern AI algorithms are designed to preserve skin texture. The goal is to represent the subject on their best day, not create an airbrushed caricature. Begin with minimal requests and continuously compare the edit to the original to ensure authenticity.
AI Prompt vs. Manual Spot Healing: What’s the Difference?
The choice between these methods is a trade-off between speed and control.
An AI prompt offers unparalleled efficiency. It analyzes the entire image simultaneously to address multiple issues, making it ideal for rapid cleanups. In fact, professional photographers report that 95% of common distractions like sensor dust or minor blemishes can be eliminated in seconds using this method.
A manual tool like the Spot Healing Brush provides pixel-level control. It is the indispensable choice for challenging areas near complex patterns—such as hair, lace, or textured fabrics—or when an artistic, precise touch is non-negotiable.
"A professional workflow often combines both," advises professional photographer John Pedersen. "AI for the initial pass to handle 80% of the work in seconds, and manual tools for the final 20% of fine-tuning."
Can I Remove More Than Just Skin Blemishes?
Absolutely. The same principles apply to eliminating any visual distraction within an image.
AI prompts such as "remove the stray hair across my forehead" or "erase the small food stain on my shirt" can yield excellent results with minimal effort.
For more complex tasks, manual tools like the Clone Stamp are ideal. They allow for the precise removal of unwanted background elements—a piece of litter, an incidental person—with complete control. This versatility is a hallmark of advanced photo editing.
How Do I Keep My Photos High-Quality After Editing?
Maintaining image quality is critical. First, always begin with the highest resolution source file available. Editing a low-quality image introduces irreparable artifacts.
Second, consider using an AI upscaler as a final step to enhance sharpness and detail post-edit.
Finally, be meticulous with your export settings. A JPEG at 90-100% quality is the industry standard for most web and print applications. For online platforms known for aggressive compression, exporting as a lossless PNG is a superior alternative.
Ready to elevate your photographs from simple snapshots to stunning, professional-quality images? With DreamShootAI, you can remove blemishes, create entire themed photoshoots, and polish every detail with just a few clicks. It's time to stop wishing for perfect photos and start creating them.
Discover the magic of DreamShootAI and get started for free!
Written by Jocelyn Grey for the DreamShootAI blog.
Spotted something out of date? Tell us at [email protected] and we'll fix it.