How to remove white background from image: A quick, clear guide
Learn how to remove white background from image quickly with AI, Photoshop, or prompts to achieve crisp, transparent results for any project.

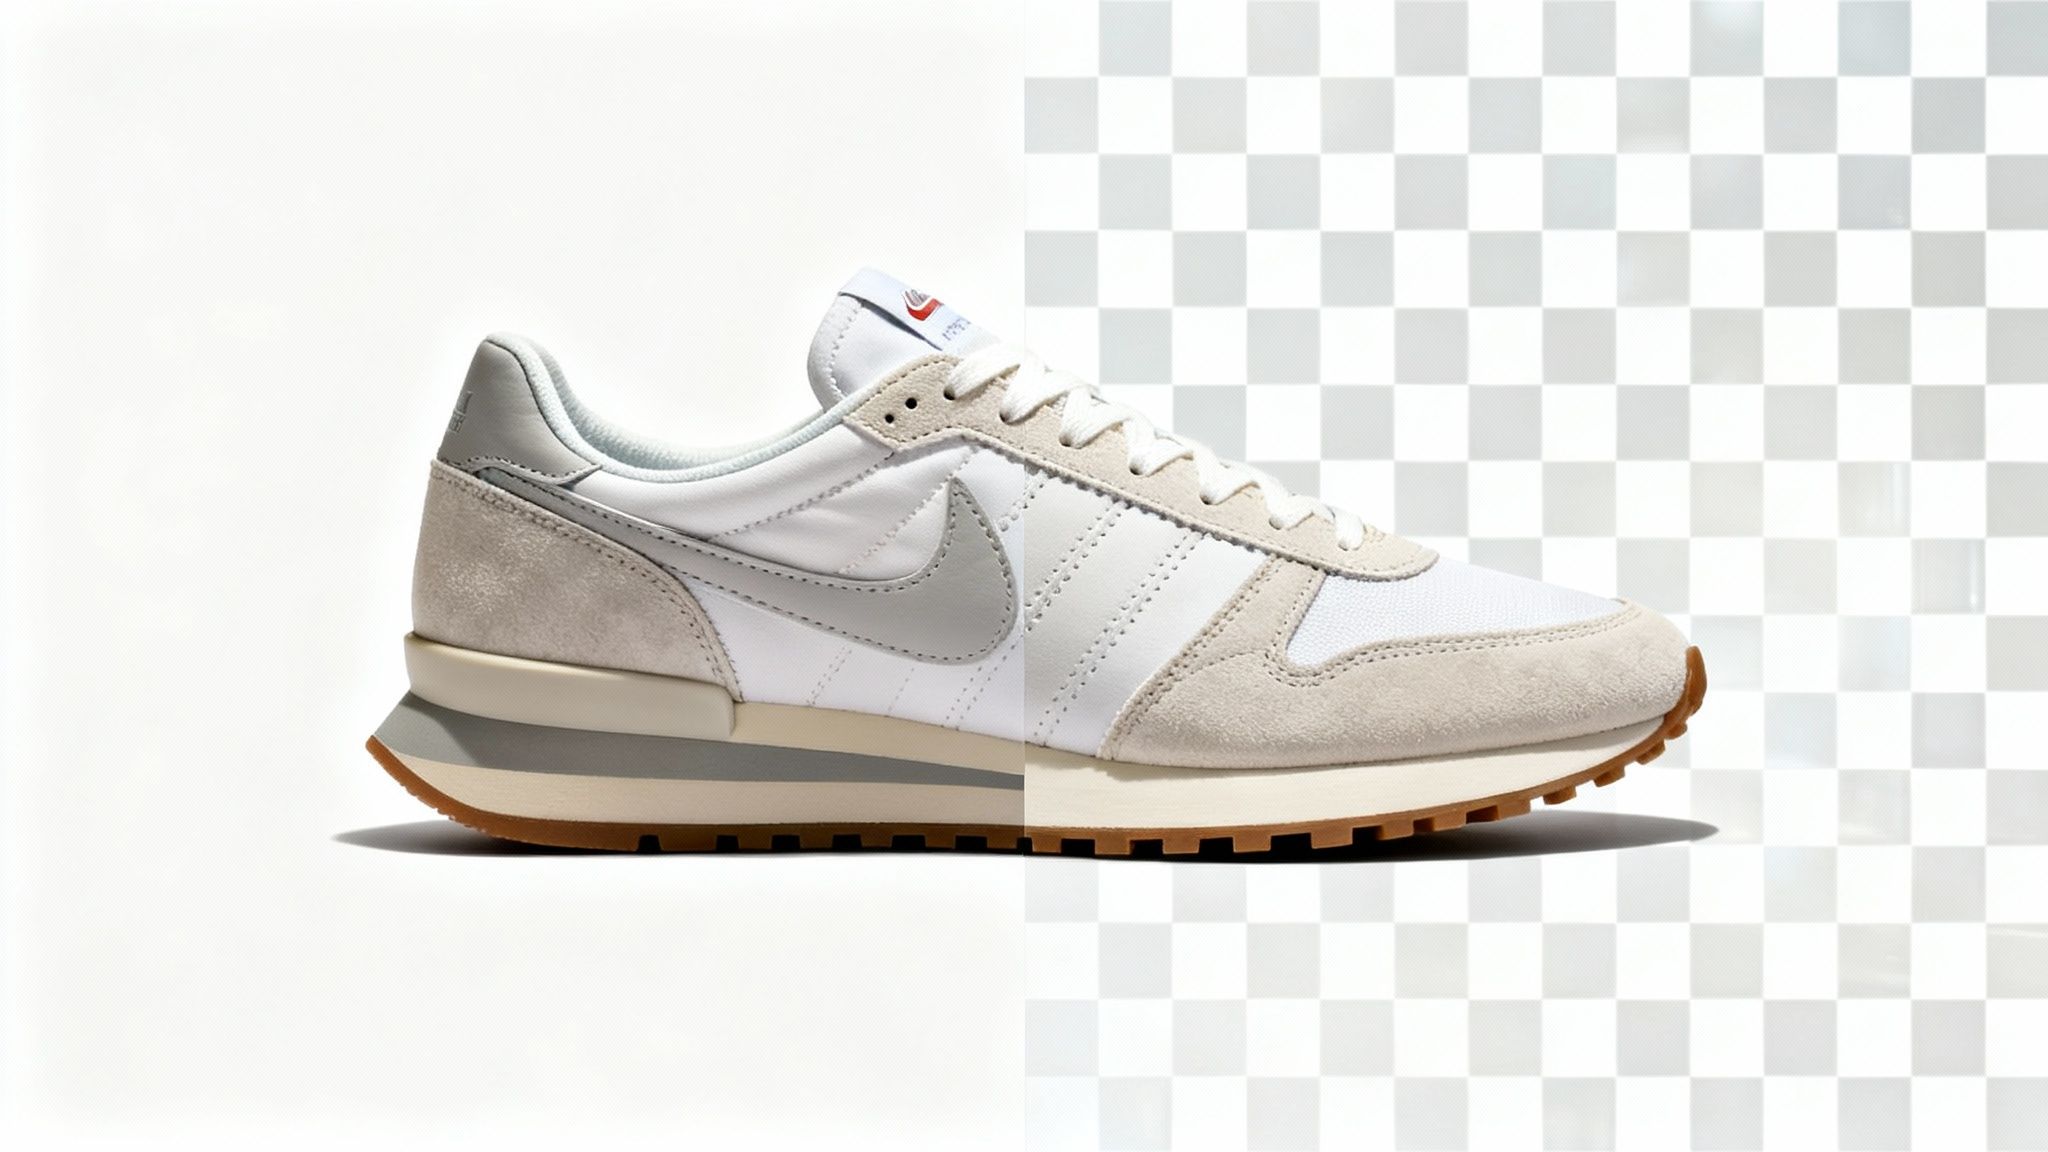
Getting the white background out of an image is your ticket to creative freedom. It instantly makes your subject—be it a product, a person, or an object—ready for any design you can dream up. This one move lets you place it on a different backdrop, slide it into your marketing materials, or just give it that clean, professional look for an e-commerce store. According to a study by Justuno, 93% of consumers consider visual appearance to be the key deciding factor in a purchasing decision, making a clean product image paramount.
Why a Transparent Background Unlocks Your Creative Potential
Ditching a plain white background is more than just a technical tweak; it's the first real step toward design flexibility. A transparent background turns a static photo into a versatile asset, which is a game-changer for everyone from e-commerce brands needing crisp product shots to professionals polishing headshots for a corporate site.
This single skill empowers you to place your subject in any environment imaginable. You can build eye-catching website banners, sleek presentations, or social media posts that actually stop the scroll. To see the bigger picture, just look at how personalized images are transforming digital experiences, allowing for visuals that are tailored to the moment and connect on a much deeper level.
The Growing Demand for Flawless Edits
The need for quick and perfect background removal isn't just for graphic designers anymore. The market for AI-powered image editing is absolutely exploding, projected to jump from $1.4 billion in 2022 to a massive $4.6 billion by 2025, according to a report by MarketsandMarkets. It's not just a trend; it's a fundamental shift in workflow.
In fact, a 2023 survey from Enterprise Apps Today found that 75% of businesses are already using AI-powered editing tools in their day-to-day operations. And why wouldn't they? The same study reports that 60% of them saw a huge boost in productivity, especially when it comes to batch processing images for e-commerce or marketing campaigns.
As stated by Sarah Barnes, a leading digital marketing strategist, "A clean cutout is the foundation of professional design. It separates amateur work from polished, high-impact visuals that build trust and drive engagement."
This guide will walk you through the three main ways to get this done, so you can master the skill for yourself:
- Lightning-fast AI tools for instant results with almost zero effort.
- Professional software like Photoshop when you need pixel-perfect precision and total control.
- Innovative platforms like DreamShootAI that mix automated speed with intuitive creative direction.
Let’s stop seeing background removal as a chore and start seeing it for what it is: your gateway to creating visuals that truly stand out.
Get Instant Results with AI-Powered Background Removers
When you need that white background gone yesterday, AI is your new best friend. Seriously, these tools are built for speed. They use smart algorithms to figure out what’s the subject and what’s the background, slicing it away to give you a clean, transparent PNG in seconds. No Photoshop skills required.
This is a complete game-changer for anyone dealing with images in bulk. Think about an e-commerce manager trying to get a new collection live. Instead of painstakingly tracing the outline of every single product, they can just batch-upload the photos and be done in minutes. Same for a social media manager prepping a week’s worth of content. The time saved is just massive.
The Power of Automated Precision
So, how do they work? These tools have been trained on millions of images, teaching them to tell the difference between a person and the wall behind them with shocking accuracy. This means they can handle the tricky stuff—like wisps of hair or the fine texture on a sweater—that would normally take forever to select by hand. The whole process is usually as simple as dragging a file into your browser.
As digital artist Clara Vue puts it, "AI removers have cut my initial processing time by over 70%, letting me focus on the creative aspects of my work instead of tedious manual labor."
This isn't just about convenience; it fundamentally changes your workflow. The AI image editing market is exploding, projected to hit USD 279.2 billion in 2024 per Statista, and tools like these are a big reason why. Some of the best ones claim up to 95% accuracy on edge detection, tackling things like fur and hair that used to be a manual nightmare, which aligns with industry data showing automation can slash image editing time by 30% or more.
Choosing the Right AI Tool
While a lot of these AI removers seem similar on the surface, the devil is in the details. They vary in price, the quality of the final image, and extra features. A free online background remover might be perfect for a quick, one-off job, but if you're dealing with complex images, a more specialized platform will give you cleaner results.
Here’s what to look for:
- Batch Processing: Are you editing one photo or a hundred? If it’s the latter, a tool that handles bulk uploads is non-negotiable. It'll save you an incredible amount of clicking.
- Resolution Limits: Watch out for free tools that cap your download size. For anything professional, you'll want to make sure the service lets you export high-resolution images.
- API Integration: This one is for the businesses out there. An API lets you plug the background removal feature directly into your own app or e-commerce store, completely automating the process.
To get a better sense of the landscape, it’s worth exploring the best AI image editing tools for creators, as many of them bundle a background remover with other useful features. And of course, our own tool here at DreamShootAI includes a powerful, one-click background remover designed to fit right into your creative flow.
A good AI tool should feel like magic. It turns one of the most tedious tasks in photo editing into something you barely have to think about.
Comparing Background Removal Methods
With so many ways to get rid of a white background, it helps to see how they stack up. Different situations call for different tools, whether you need a lightning-fast edit or pixel-perfect control.
| Method | Best For | Speed | Skill Level |
|---|---|---|---|
| AI Web Tools | Quick, simple images; batch processing | Instant (seconds) | Beginner |
| Photoshop/GIMP | Complex images; maximum control | Slower (minutes) | Intermediate/Advanced |
| Canva | Social media graphics; design integration | Fast (seconds) | Beginner |
| DreamShootAI Prompt | Creative workflows; generating new images | Instant (seconds) | Beginner |
Ultimately, the "best" method really depends on your specific needs—the complexity of your image, your time constraints, and how much control you want over the final result.
Achieve Pixel-Perfect Control with Photoshop and GIMP
While AI tools offer incredible speed, sometimes you just need absolute precision. For those high-stakes e-commerce shots, detailed product catalogs, or any project where every single pixel counts, nothing beats professional software like Adobe Photoshop or its powerful free alternative, GIMP.
This is where you trade a bit of speed for total, granular control.
Forget the basic Magic Wand tool; the real power is in the more advanced techniques. Professional editors rely on methods that create clean, crisp lines and allow for non-destructive workflows—meaning you can always go back and fine-tune your work without starting from scratch.
Imagine you're trying to cut out the delicate lace on a wedding dress or the fine fur on a pet portrait. A simple click-and-select tool will almost always leave a jagged, unprofessional-looking edge. This is where manual methods really shine, letting you trace every curve and detail with perfect accuracy.
Mastering the Pen Tool for Flawless Outlines
The Pen Tool is the undisputed gold standard for creating precise, vector-based paths around an object. Unlike a brush or lasso that depends on a steady hand, the Pen Tool uses anchor points and curves (called Bézier curves) to create perfectly smooth lines. It’s the ideal method for products with hard, defined edges like electronics, furniture, or jewelry.
Here’s how it generally works:
- You’ll start by carefully clicking around your subject to place anchor points at each corner or change in direction.
- Next, you click and drag the handles that extend from each anchor point to bend the path until it perfectly hugs the object’s contours.
- Once the path is complete, you can instantly convert it into a pixel-perfect selection.
The process definitely has a steeper learning curve, but the razor-sharp, professional results are more than worth the effort.
The Power of Layer Masks for Non-Destructive Editing
Once you have your selection, the next crucial step is using a Layer Mask. Instead of permanently deleting the background with the eraser tool (a move that makes pros cringe), a layer mask lets you simply hide it. Think of it as a reversible stencil; painting black on the mask hides pixels, while painting white reveals them.
This approach gives you incredible flexibility. If you spot a tiny area you missed or accidentally selected too much, you just paint on the mask with black or white to refine the edge. You never, ever damage the original image.
As commercial photographer Alex Rivera states, "For high-stakes client work, Layer Masks aren't optional—they're essential. They provide the non-destructive workflow needed to deliver flawless, professional-grade cutouts every single time."
This non-destructive workflow is a cornerstone of professional photo editing. It even makes it easier to handle tricky details like semi-transparent objects or flyaway hair by using shades of gray on the mask. For even more advanced cleanup, you can dive into features like Photoshop’s Content-Aware Fill, which intelligently rebuilds missing parts of an image. You can learn more about using Content-Aware Fill in our detailed guide.
Use Text Prompts for Creative Editing Magic
What if you could ditch the complicated layers and selection tools, and instead just tell the software what you want? Imagine removing and replacing a background in a single step, simply by typing. This isn't just about deleting a background anymore; it’s about instant creative direction.
That’s exactly the thinking behind tools like DreamShootAI’s Photo Edit feature. It rolls two distinct editing jobs into one seamless action. You’re not just getting rid of a plain white background; you’re immediately setting the stage for something far more compelling. The whole mindset shifts from a tedious chore to an act of creation.
From Blank Wall to Boardroom View
Let's walk through a scenario I see all the time. You’ve taken a decent headshot at home against a plain wall. It’s clean, sure, but it has zero impact. It’s not going to cut it for your corporate bio or a standout LinkedIn profile.
With a prompt-based editor, the fix is ridiculously simple:
- Pop your headshot into the editor.
- Your first prompt can be as direct as, "remove the white background." Boom, the AI isolates you onto a transparent layer.
- Right away, you follow up with another prompt: "place me in a modern office with a blurred city view."
In literally seconds, you’ve not only figured out how to remove a white background from an image, but you've completely transformed it into a professional, context-rich photo.
This whole process turns a multi-step editing headache into a quick, conversational exchange. It’s not just about speed; it's about making professional results accessible. In fact, research from Forrester shows that superior UX design can boost customer conversion rates by up to 400%, and simplifying complex tasks is a core component of that. Workflows that tear down technical barriers empower users to get great results, which is key to retention.
The Perfect Start to a Bigger Idea
Think of this prompt-driven approach as more than just a quick fix. It’s the perfect launchpad for a much larger creative workflow. Once your subject is perfectly cut out with a transparent background, a ton of new doors open.
Within the DreamShootAI ecosystem, for example, that newly edited image is just the beginning.
- Create Entire Photoshoots: You can take that transparent image and use it as your base to generate brand-new, themed photoshoots. Suddenly, you’re in dozens of professional or creative scenes, all without taking another picture.
- Polish with the Magic Upscaler: Take that new headshot and run it through an upscaler. It'll boost the resolution, sharpen the details, and perfect the lighting for a truly high-end finish.
An integrated system like this ensures that removing a background isn't the final step. It's the first step on a creative journey. It’s the ideal setup for anyone who wants the instant gratification of AI and the artistic freedom to truly bring an idea to life. You're no longer just editing a photo; you're directing it.
Refine Edges and Save Your Image for Perfect Transparency
Getting rid of the big white chunks of the background is the easy part. Honestly, the real magic—what separates an amateur cutout from something that looks truly professional—happens in that final 10% of the work. A fantastic background removal can be completely ruined by sloppy finishing. This is where we zoom in and tackle the subtle, distracting little flaws that automated tools sometimes miss.
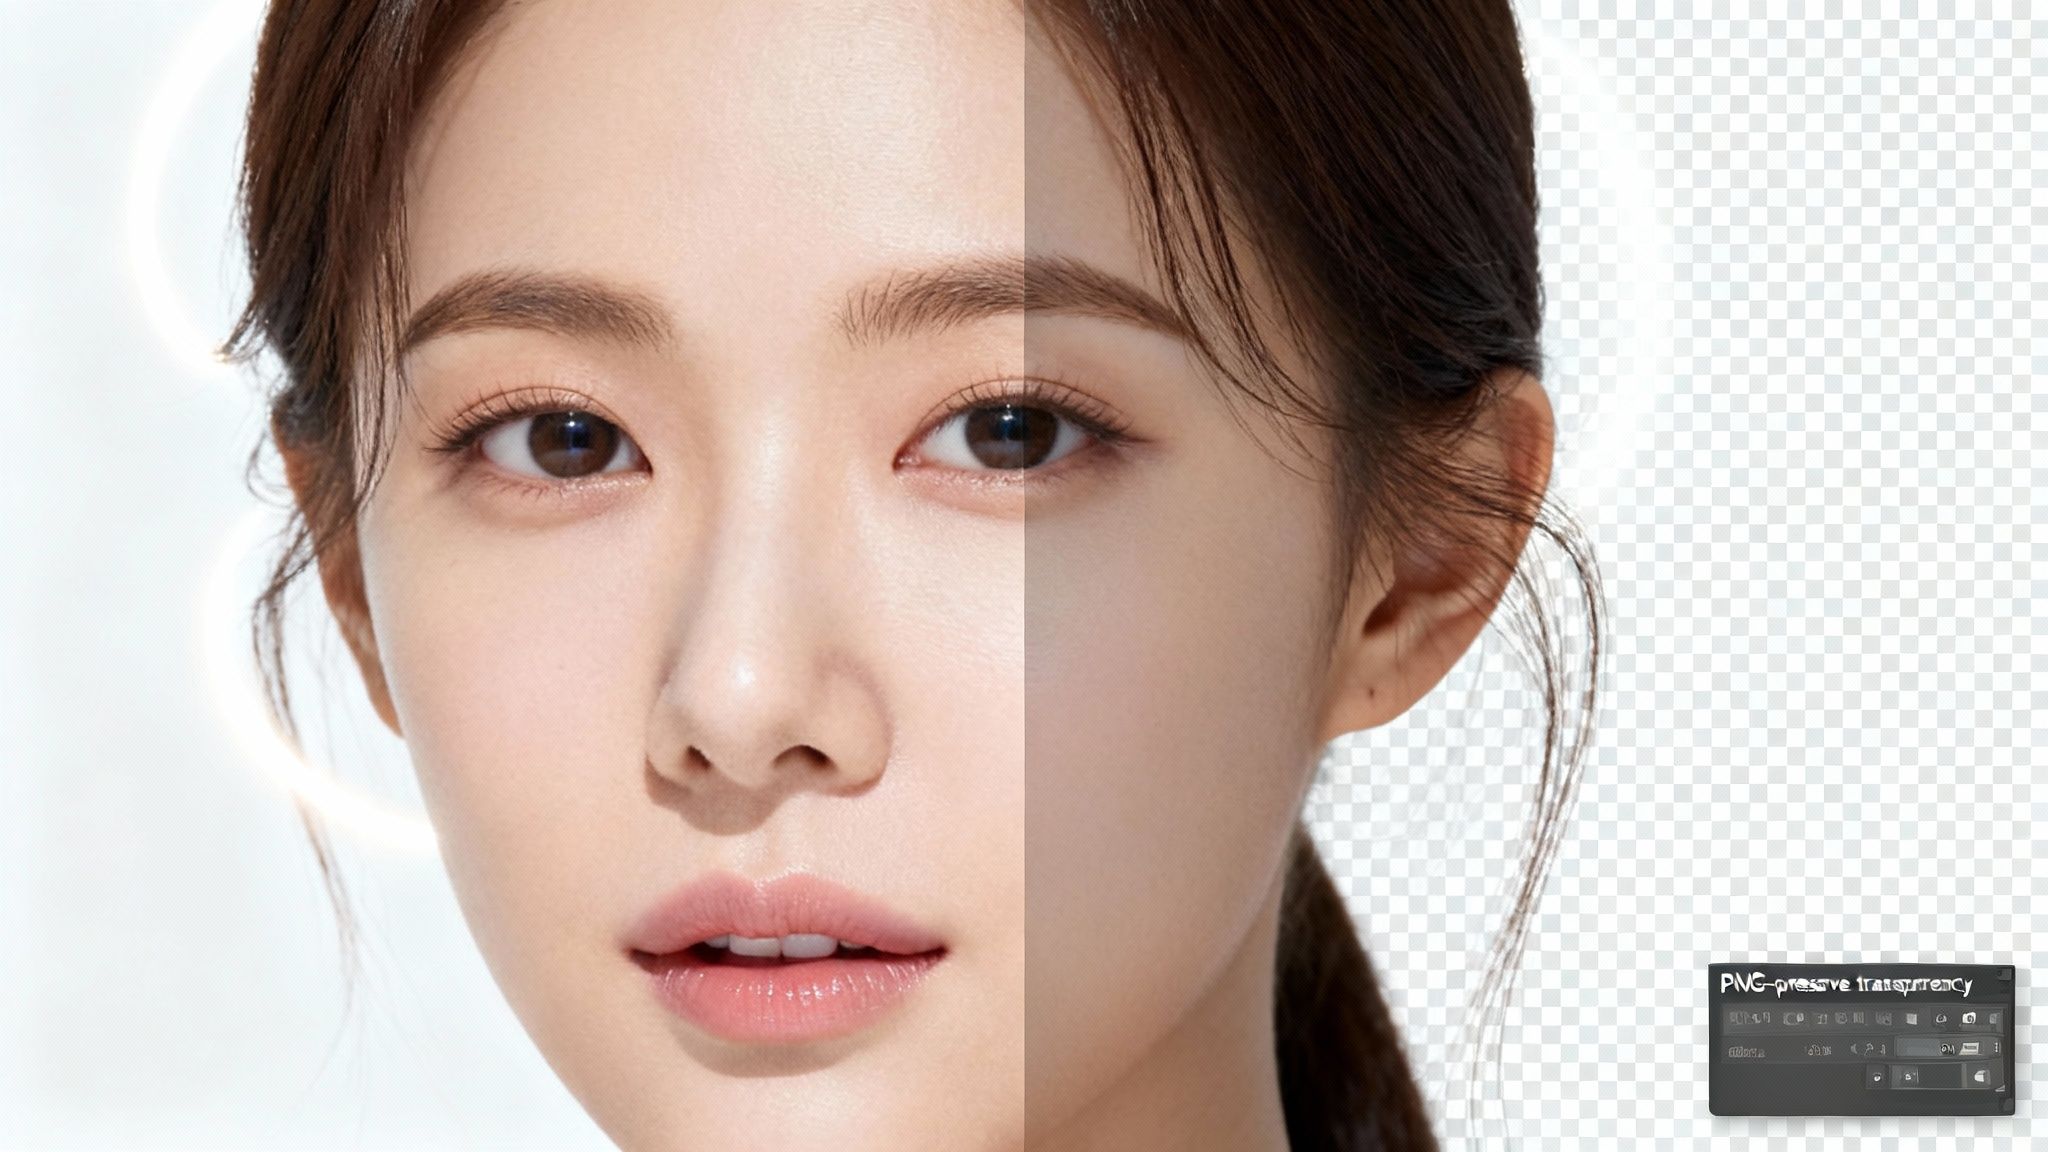
The biggest offender is almost always that dreaded white "halo" or fringe. It’s a faint, pixel-thin outline from the original background that clings to the edges of your subject. You might not even notice it on a white backdrop, but the second you place that image over a darker color, it screams "bad edit."
Cleaning Up the Details
Nailing these edges requires a delicate touch. If you're working in a program like Photoshop or the free alternative GIMP, you'll be using a combination of tools. Photoshop's "Select and Mask" workspace is your best friend here. It gives you sliders to slightly shrink your selection, feather the edge for a softer transition, and shift the edge inward to choke out that pesky halo.
For the really tricky spots—think flyaway hair, fuzzy sweaters, or animal fur—you need to bring out the specialized tools.
- Refine Edge Brush: In Photoshop, this tool is a lifesaver. You just paint over the problem area, and it intelligently figures out what’s hair and what’s the background you want gone.
- Layer Mask Painting: For ultimate control, nothing beats manually painting on a layer mask with a soft, low-opacity brush. It lets you blend edges with precision, making everything look seamless.
"A meticulously refined edge is the signature of high-quality work," explains veteran retoucher Maria Sanchez. "It’s one of those details that builds subconscious trust with the viewer, making the final image feel natural and believable."
Choosing the Right File Format Is Non-Negotiable
After all that careful work, saving your image the wrong way can undo everything in a single click. If you save it as a JPEG, you’ll be right back where you started—with a solid white background. That’s because JPEGs simply don't support transparency. It's not in their DNA.
The undisputed champion for images with transparent backgrounds is PNG (Portable Network Graphics). Think of a PNG file as having an invisible fourth channel called an alpha channel, sitting alongside the usual Red, Green, and Blue. This alpha channel stores transparency information for every single pixel, telling any program that opens it which parts should be solid, semi-transparent, or completely see-through.
When you go to export, always choose PNG-24. This option gives you the best quality, supporting millions of colors and full alpha transparency. It preserves those soft, feathered edges and gradients perfectly. You might see a PNG-8 option, which creates smaller files, but it’s a trap—it has limited color and transparency support that often results in jagged, ugly edges.
If you want a quick, foolproof way to get it right every time, a dedicated online PNG maker can handle the export process for you, guaranteeing your image keeps its perfect transparency. By mastering these final steps, you ensure your subject looks flawless and professional, no matter where you decide to place it.
Answering Your Background Removal Questions
Even with the best tools, you're bound to hit a few snags. It happens to everyone. Let's walk through some of the most common questions that pop up when you're trying to get that perfect, clean cutout.
What’s the Best File Format for a Transparent Background?
Hands down, the answer is PNG (Portable Network Graphics). This is the one you want.
Unlike JPEGs, which flatten everything and slap a white background on your image whether you want it or not, PNGs have a secret weapon: an "alpha channel." This special channel is what holds all the transparency information, allowing your subject to float perfectly over any other color or image.
Always aim to export as a PNG-24. This preserves the highest quality and ensures you won't see that clunky, amateur-looking white box around your subject.
Can I Actually Remove the Background from a Low-Resolution Image?
Technically, yes, but the results will almost certainly be subpar.
Think about it: every background removal tool, from slick AI apps to the manual tools in Photoshop, needs clear data to do its job. They have to know where your subject ends and the background begins. Low-resolution images are fuzzy and pixelated, which means those edges are a blurry suggestion at best. The result? Jagged, sloppy cutouts that look unprofessional.
"Always start with the highest-resolution photo you can get your hands on. It makes a world of difference," advises an Adobe guide for professional editors. This is backed by data from HubSpot, which found that a whopping 88% of marketers say high-quality visuals are non-negotiable for their content strategy. If you're stuck with a low-res photo, your best bet is to manually clean up the edges with a soft brush on a layer mask to try and salvage it.
How Do I Deal with Tricky Details Like Hair and Fur?
Ah, the ultimate challenge. Wispy hair and fuzzy fur are where most basic tools fall flat, leaving you with a helmet-head look. For a result that looks natural, you need to bring in the big guns.
Many modern AI tools have a "Refine Edge" or a similar high-detail setting specifically for this. If you’re working in a program like Photoshop, the "Select and Mask" workspace is your best friend.
Once you have a rough selection, jump into that workspace and grab the Refine Edge Brush Tool. Gently paint over the edges of the hair or fur. This tells the software to take a closer look, and its smart algorithms will analyze the pixels to separate individual strands from the background. It’s the secret to avoiding that chunky, cut-with-scissors look.
Tired of wrestling with complex tools and fuzzy edges? DreamShootAI gives you professional results with nothing but simple text prompts. Remove backgrounds, create entirely new scenes, and get your perfect shot in seconds. Start creating your perfect photos today!
Written by Jocelyn Grey for the DreamShootAI blog.
Spotted something out of date? Tell us at [email protected] and we'll fix it.