How to Make an Image Clearer From Blurry to Brilliant
Tired of blurry photos? Learn how to make an image clearer using powerful AI tools and proven editing techniques for professional, crystal-clear results.

When you need to make an image clearer, forget spending hours fiddling with complicated software. The fastest and most effective route today is a sophisticated AI image enhancer.
These tools are built on powerful algorithms that can sharpen details, reduce digital noise, and even increase the resolution of your pictures in seconds. This means you can finally fix common headaches like motion blur, pixelation, or a slightly soft focus with just a single click.
Your Instant Path to a Sharper Image
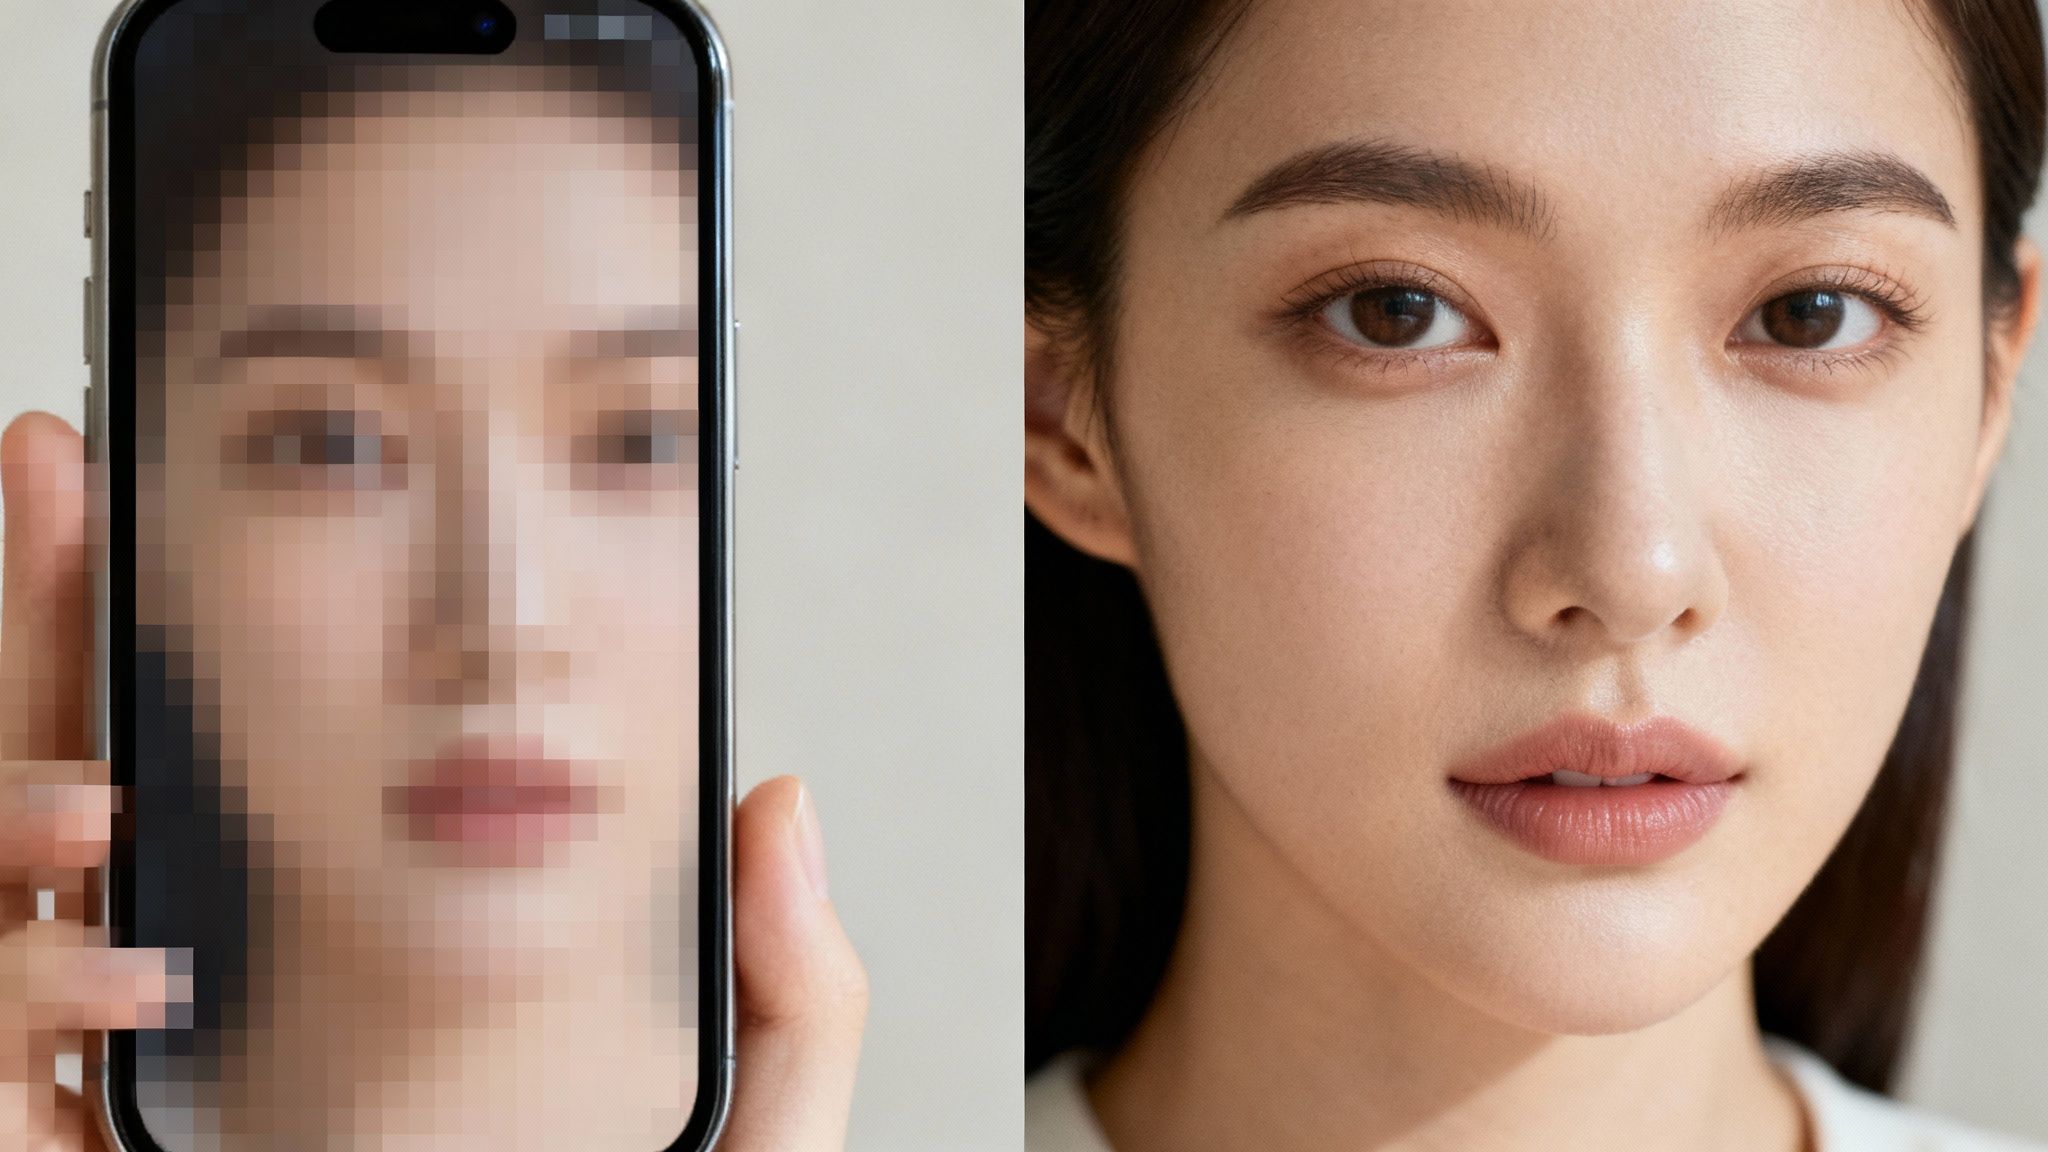
We’ve all been there. You capture a perfect, once-in-a-lifetime moment, only to look back at the photo and see it's just a little bit blurry or grainy. It’s a frustrating yet common experience. In the past, fixing it meant diving into complex editing programs and getting lost in a sea of sliders and adjustment layers.
Thankfully, artificial intelligence has completely changed the game.
Tools like DreamShootAI’s Magic Upscaler do the heavy lifting for you. They analyze the content of your photo, intelligently spotting and correcting imperfections without the steep learning curve. The AI handles the intricate adjustments, delivering results that look professional, instantly. This isn't just a niche trick; it's quickly becoming the go-to standard for image correction.
The Power of AI-Driven Clarity
This shift toward automated enhancement isn't just anecdotal. The global AI Image Enhancer Market was valued at a massive USD 1,717.9 million in 2023 and is on track to hit an incredible USD 5,369.7 million by 2033, according to a report by Market.us. That explosive growth shows just how many people are ditching manual editing for the speed and precision of AI.
So, how does this technology actually work? It boils down to a few key processes that run automatically:
- Upscaling: The AI intelligently adds new pixels to increase an image's size and resolution, but without that blocky, distorted look you get from old-school methods.
- Sharpening: It defines the edges and fine details in your photo, making the subject pop with satisfying crispness.
- Denoising: It targets and removes that grainy texture you often see in low-light photos, smoothing things out for a much cleaner appearance.
- Deblurring: It can even correct for motion blur or minor camera shake, literally reconstructing details that were lost when the picture was taken.
If you’re looking for a reliable way to fix a blurry picture fast, our guide on how to unblur an image with AI gives you practical steps you can follow right now.
As Thomas Knoll, the co-creator of Photoshop, famously stated, "The goal is to make the tool transparent, so you don't even think about the tool, you only think about the image." AI enhancers are the modern embodiment of this ideal, putting the focus squarely on the final result, not the tedious process.
For a deeper dive into fixing these issues, you might also want to explore more about the simple fixes that work for a bad quality picture.
To really see the difference, check out this quick comparison table. It shows just how far we've come from the old, manual ways of editing.
Common Image Clarity Problems and Their AI Solutions
| Problem | Traditional Fix (Complex) | AI-Powered Solution (Simple) |
|---|---|---|
| Low Resolution | Manual resampling and sharpening, often creating artifacts. | One-click upscaling that adds natural-looking detail. |
| Motion Blur | Attempting deconvolution filters with mixed, often poor, results. | Intelligent deblurring that reconstructs the image. |
| Digital Noise | Applying blanket noise reduction, which can soften details. | Selective denoising that preserves sharpness where it matters. |
| Out of Focus | Minimal options; usually involves sharpening edges to create an illusion of clarity. | AI analysis that intelligently sharpens and clarifies the subject. |
As you can see, what used to require technical skill and a lot of patience can now be accomplished in a matter of moments. AI solutions handle the complexity behind the scenes, leaving you with a clear, crisp image.
Mastering the Fundamentals of Image Clarity
While AI offers a powerful shortcut, knowing your way around the fundamental editing tools in just about any photo app gives you a massive amount of creative control. Getting these basics down means you can make an image clearer with real precision, making sure the final photo looks exactly how you envisioned it.
Think of these manual adjustments as the building blocks of a great edit.
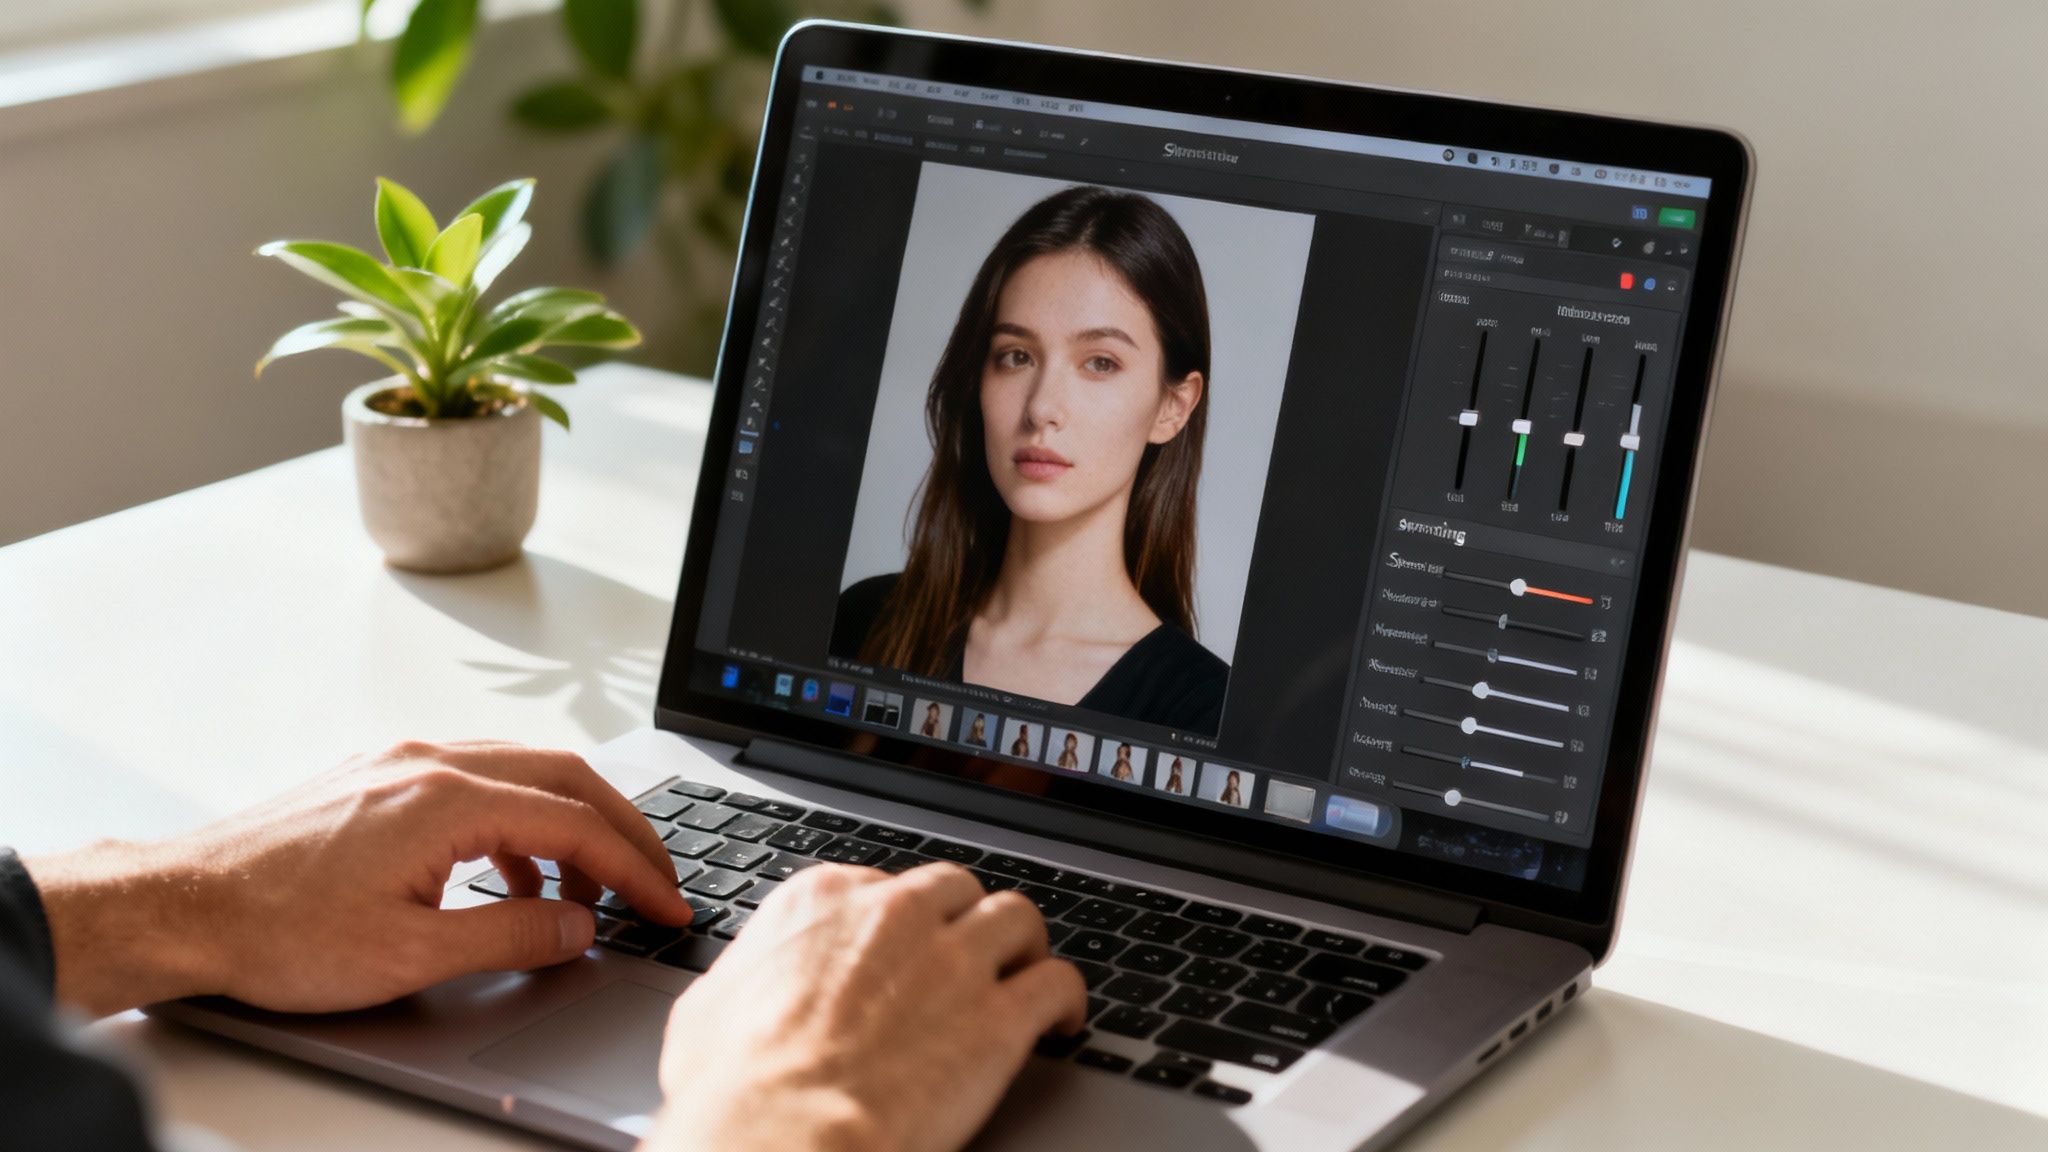
Before you touch a single other setting, your first stop should always be brightness and contrast. These two sliders are a team, working together to set the entire mood of your photo. That dimly lit wedding photo? A careful nudge of the brightness slider can instantly bring out hidden details in the shadows, completely rescuing the shot.
From there, adjusting the contrast helps create separation between your subject and the background. It adds depth and makes the whole image pop. It’s a simple trick, but studies in visual perception have shown that images with well-managed contrast are perceived as being of higher quality and are more engaging to the human eye.
The Art of Strategic Sharpening
Sharpening is perhaps the most misunderstood tool in the entire editing toolkit. Let's be clear: its job isn't to fix a blurry photo. Nothing can truly do that. Instead, sharpening enhances the detail that's already there, giving your image a crisp, professional finish.
The problem is, it's incredibly easy to overdo it. Push the slider too far, and you'll get nasty-looking halos around edges and a gritty, unnatural texture.
The key is to be subtle. Zoom in on a detailed part of your image—like the eyes in a portrait or the brickwork on a building. Apply the sharpening effect in tiny increments until you see a clear improvement in definition without creating those harsh side effects. It’s like salting your food; a little bit makes a huge difference.
As professional photographer David Marx often says, "The goal of post-processing is to enhance the story, not create a new one." This is especially true for sharpening, where less is almost always more.
Taming Digital Noise for a Cleaner Look
Ever take a photo in a dark room and notice that grainy, speckled texture all over it? That's called digital noise, and it can absolutely kill an image's clarity. It happens when your camera's sensor is starved for light, usually because you're shooting at a high ISO setting.
Luckily, most editing software comes with a noise reduction feature to clean things up.
Here's how to use it without turning your photo into a blurry mess:
- Apply Sparingly: Just like with sharpening, going overboard with noise reduction will make your photo look soft and plasticky, wiping out all the fine details you want to keep.
- Zoom In: Always check your work at 100% magnification. This lets you see exactly how the tool is affecting the grain without accidentally destroying important textures.
- Prioritize the Subject: Some of the more advanced tools let you apply noise reduction selectively. If you have that option, focus the effect on smooth areas like skies or solid-colored backgrounds while leaving detailed areas like faces or clothing relatively untouched.
By mastering these three pillars—brightness and contrast, sharpening, and noise reduction—you’re building a solid foundation for any edit you do. These skills put you in the driver's seat, allowing you to make deliberate, impactful improvements that will make every photo look its absolute best.
Leveraging AI for Flawless Photo Enhancement
Sometimes, the basic edits just don't cut it. We’ve all been there: a photo is truly blurry, hopelessly low-resolution, or ruined by a shaky hand. In these moments, traditional sharpening and contrast tools hit a wall.
This is where artificial intelligence completely changes the game. AI doesn't just tweak your photo; it fundamentally reconstructs it.
AI-powered tools can tackle clarity issues that were once considered impossible to fix. Instead of applying a generic filter across the entire image, they analyze the content, figure out what’s in the picture—a face, a tree, a building—and make intelligent, targeted corrections. This ability to actually "see" and interpret a photo is what sets AI apart from every editing method that came before.
At the heart of these incredible results is deep learning, a technology that now holds a dominant 38.8% market share in the photo enhancement world. These systems are trained on millions of pairs of images, learning the difference between a blurry photo and its sharp, clear version. The AI essentially learns to fill in the missing details just like a human expert would, but it does it in seconds.
Rescuing Memories with Intelligent Upscaling
One of the most powerful things AI can do is intelligent upscaling. Traditional ways of enlarging a photo just stretch the existing pixels, which is why you end up with that classic blurry, blocky mess. AI upscaling, on the other hand, generates entirely new, context-aware pixels to boost the resolution without wrecking the quality.
Think about that cherished but low-quality photo you saved from social media. It looks fine on your phone, but try to print it, and it falls apart. With a tool like DreamShootAI’s Magic Upscaler, you can transform that tiny, pixelated image into a high-resolution version worthy of a large frame. The AI doesn’t just make it bigger; it makes it clearer, adding realistic details back into faces, textures, and backgrounds.
"The true power of AI in photography is its ability to democratize quality," states industry analyst Sarah Chen. "What once required expensive software and years of training is now accessible to anyone with a single click."
If you're curious about different options out there, our breakdown of the best free AI image upscaler is a great place to start your search.
Correcting Motion Blur and Missed Focus
Another game-changing AI skill is deblurring. Modern algorithms can look at a blurry image and reverse-engineer the problem, whether it was a slight camera shake or a missed focus point. The AI identifies the direction and intensity of the blur and then applies a corrective algorithm to bring back the sharpness.
This is a lifesaver for photos you would have otherwise just deleted. A portrait that's just a little bit soft can be made crisp and clear. That subtle motion blur from shooting handheld in low light can often be eliminated completely.
The growth and preference for AI-driven solutions are clear when you look at the market.
AI Enhancement Technology Market Dominance
The data shows a strong trend towards AI-powered, cloud-based solutions, prized for their accessibility and power.
| Technology/Method | Market Share / User Preference | Key Benefit |
|---|---|---|
| Deep Learning (Cloud-Based) | 38.8% | Superior quality and accessibility |
| Traditional Desktop Software Plugins | 25.2% | Integration with existing workflows (e.g., Photoshop) |
| Generative Adversarial Networks (GANs) | 18.5% | Realistic detail generation and artifact removal |
| Mobile App AI Filters | 12.0% | Convenience and on-the-go editing |
| Manual Restoration Services | 5.5% | Human expertise for severely damaged photos |
Ultimately, AI has become the go-to for complex photo repairs, far outpacing older methods.
For a deeper dive into how pros are using this tech, check out this modern guide to photo editing for e-commerce, which breaks down advanced post-production techniques.
AI is no longer some futuristic concept—it’s a practical, powerful tool available right now, ready to help you make any image clearer than you ever thought possible.
How to Capture Sharper Photos Every Time
Let’s be honest, the best way to get a clear image is to start with a sharp one. While AI can pull off some incredible saves on blurry photos, nothing really beats capturing crisp, clean details the moment you press the shutter. Think of it as a proactive approach—it saves you a ton of editing time and gives you a much better foundation for a truly stunning final image.
It really all boils down to the "garbage in, garbage out" principle of photography. A high-quality source file gives every tool, from basic sliders to advanced AI, more data to work with. The good news? You don't need a high-end professional camera. Your smartphone is more than capable of taking sharp pictures once you get the hang of a few key techniques.
The three pillars of a sharp photo are always the same: good light, a steady camera, and precise focus.
Master Your Lighting and Stability
First up, light. Your camera's sensor absolutely loves light. In well-lit situations, your camera can use a much faster shutter speed, which is crucial for freezing motion and slashing the risk of blur. Time and time again, research shows that blur from simple camera shake is one of the top reasons for soft photos, and this problem only gets worse in low light.
So, your first job is to find the best light source you can. A large window, for example, provides beautiful, soft, natural light that's perfect for portraits. When you have no choice but to shoot in dim conditions, keeping your camera perfectly still is non-negotiable.
- Brace Yourself: A simple trick is to tuck your elbows into your body. This creates a surprisingly stable base for your camera.
- Use a Tripod: You don't need anything fancy. Even a small, inexpensive tripod can completely eliminate camera shake.
- Leverage a Timer: Set a two-second timer before the shot. This tiny delay prevents the motion from your finger pressing the shutter button from blurring the photo.
As the legendary photographer Ansel Adams famously said, "You don't take a photograph, you make it." That wisdom is spot on when it comes to clarity—it’s an intentional act that starts long before you ever click the shutter.
Nail Your Focus Every Single Time
Perfect focus is the final, critical piece of the puzzle. Modern cameras, including the one in your phone, have incredibly smart autofocus systems, but they still need you to tell them what you want to be sharp.
When shooting portraits, the eyes are almost always your target. On a smartphone, just tap on your subject's eyes on the screen to lock the focus right there. It’s a simple action that tells the camera exactly where you want the sharpest detail. For wider scenes, a great rule of thumb is to focus about one-third of the way into the frame. This little trick helps maximize the depth of field, keeping both the foreground and the background acceptably sharp.
For a deeper dive into setting up your shots, check out our guide on how to take professional photos at home, which covers lighting and composition in more detail. By making light, stability, and focus your top priorities, you're setting yourself up to capture photos that start out as clear and detailed as possible.
Knowing the techniques is one thing, but stringing them together into a reliable process is where the magic really happens. A solid workflow is how you move from just fixing photos to consistently creating stunning ones. It helps you look at an image, figure out what's wrong, and apply the right fixes in the right order.
This is how you confidently take any photo from blurry to brilliant.
Start with a Diagnosis
Before you touch a single slider, take a moment and just look at the photo. What's the main problem? Is it grainy because of low light? Is there a slight blur from a shaky hand? Or is it just a low-resolution file that looks blocky?
Pinpointing the core issue is critical. You don’t want to start sharpening a noisy photo—that’ll just make the grain look like angry sandpaper. Identifying the problem first saves you from making things worse.
Build the Foundation First
Once you know what you're up against, start with the foundational edits. These are the broad strokes that set the stage for the detailed work to come.
Begin with brightness and contrast. Your goal is to get a good dynamic range, making sure the lights aren't blown out and the shadows aren't crushed. It’s funny, but a study on visual perception published in the Journal of Vision actually found that people perceive images with higher contrast as being sharper, even before you've done any actual sharpening.
Next, tackle any weird color issues by adjusting the white balance. Getting these basics right provides a clean canvas. If you try to sharpen or upscale a photo that's too dark or has a funky color cast, you're just going to amplify those flaws.
Add the AI Finishing Touch
With a solid base in place, it’s time to bring in the heavy hitters. This is where a powerful AI tool like DreamShootAI’s Magic Upscaler can completely change the game.
If low resolution was your main problem, the AI can intelligently add detail while increasing the size. If it was motion blur, the deblurring algorithm can reconstruct sharpness with an accuracy that still blows my mind sometimes.
Of course, the best workflow starts before you even open an editor. Getting a sharp photo right out of the camera is always the goal.
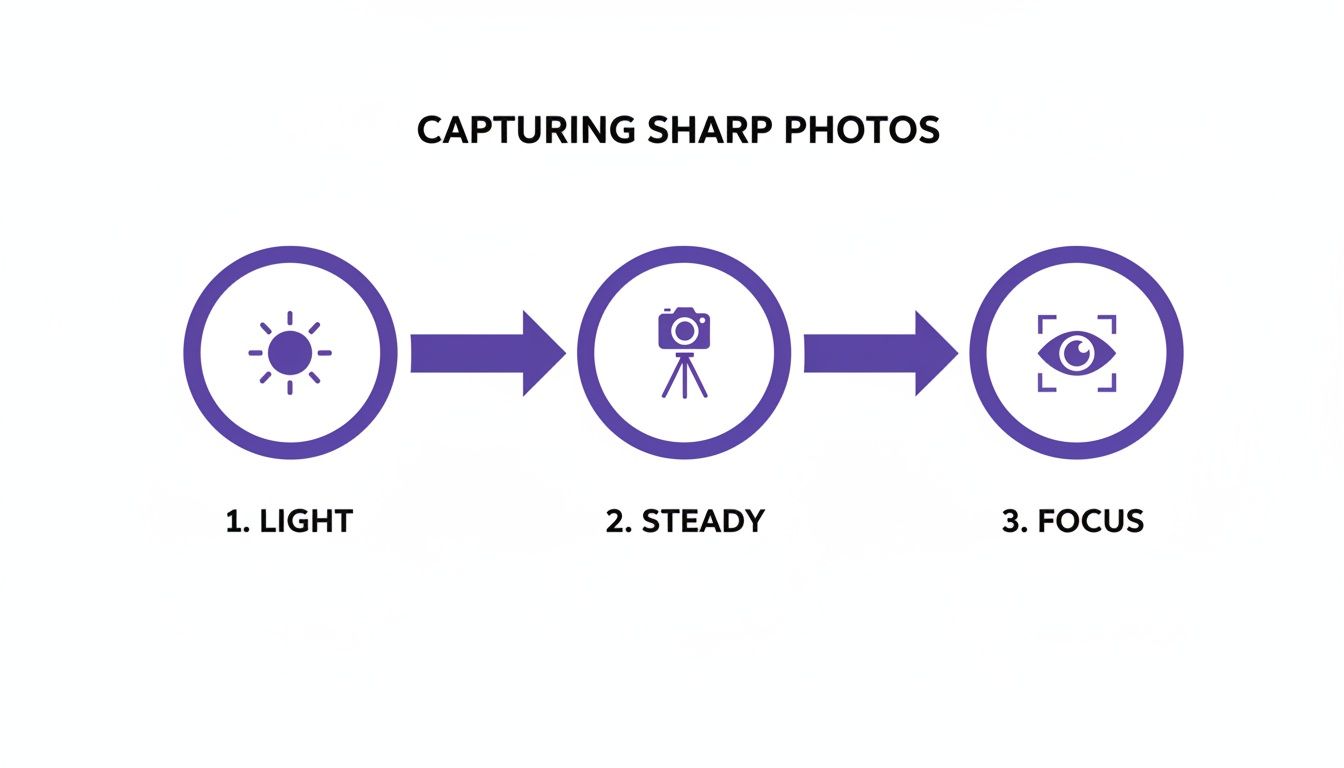
When you're shooting, focusing on good light, a steady camera, and precise focus will save you a ton of editing time later on.
Let's walk through a real-world example. Say you're trying to fix a favorite selfie of a couple for their wedding website.
- Diagnose: The photo is a little soft and a bit dark. It was clearly taken indoors on a smartphone.
- Foundation: First, I'd gently bump up the brightness to bring out the details in their faces. Then, I’d add a touch of contrast to make them pop from the background.
- AI Polish: Now, run it through DreamShootAI. The AI will sharpen their features, clean up that subtle digital noise from the indoor lighting, and upscale the resolution so it looks crisp and professional on any screen.
As the great photographer Ansel Adams once said, "There is nothing worse than a sharp image of a fuzzy concept." This workflow makes sure your technical execution is as clear as your creative vision.
By following this simple three-part process—diagnose, foundation, and AI polish—you'll have a repeatable method for making any image clearer, every single time.
Your Questions About Image Clarity, Answered
Even when you know the ropes, a few common questions always seem to pop up when trying to fix a fuzzy photo. Let's get right into them and clear things up.
Probably the biggest question I hear is, "Can this super blurry photo actually be saved?" The honest answer is: it depends. If you're dealing with a little motion blur or a slightly soft focus, you'd be amazed at what modern AI deblurring tools can do. They can often pull back an incredible amount of detail. But if the picture is a total mess—where you can't even make out the subject's face—even the best AI is going to hit a wall.
"AI is a powerful restorer, not a magician. It enhances the data that's already there; it can't create intricate details from a complete blur."
— Dr. Alistair Finch, Digital Imaging Scientist
This is the key thing to remember. AI needs something to work with. In fact, one study on image reconstruction found that the chances of a successful restoration plummet by over 60% when key facial features are completely gone.
Choosing the Right Tools and Techniques
Okay, so what’s the best tool for the job? That's another popular one. If you're a pro who lives and breathes photo editing and needs total control, Adobe Photoshop is still the king. For pretty much everyone else who just wants fantastic results without spending weeks learning new software, AI-powered online tools are the way to go.
- For Instant Results: A tool like DreamShootAI’s Magic Upscaler is perfect. It's designed for one-click fixes that intelligently sharpen, upscale, and clean up noise without you having to touch a single slider.
- For Advanced Control: If you like to tinker, something like Topaz Labs Gigapixel AI gives you more granular settings to really dial in the upscaling process.
People also wonder if just cranking up the "sharpen" slider will make an image clearer. It can help, but you have to be gentle. Sharpening works by adding contrast to the edges in your photo, making them look crisper. But it’s so easy to overdo it. Go too far, and you get those ugly, harsh halos and a gritty look. It's a finishing touch, not a primary fix. This is where AI-based sharpening really shines, as it knows how to enhance real details without wrecking smooth areas like skin or a clear blue sky.
Finally, how does AI really beat the old-school software? It’s all about context. Traditional tools are blunt instruments; they apply the same sharpening effect to a face as they do to a brick wall. AI is smarter. It actually looks at the image, figures out "that's a person, and that's the background," and applies fixes that make sense for each part. This is why AI can deliver such natural, dramatic improvements, especially when you start with a really low-quality or blurry photo.
Ready to see what AI can do for your own photos? The DreamShootAI Magic Upscaler gives you that one-click clarity you’ve been looking for. Try it now and see the difference for yourself!
Written by Jocelyn Grey for the DreamShootAI blog.
Spotted something out of date? Tell us at [email protected] and we'll fix it.