How to Improve Photo Quality with AI and In-Camera Tips
Learn how to improve photo quality using proven photography techniques, smart lighting, and powerful AI editing tools for stunning, professional-grade results.
The secret to incredible photos isn't a complex piece of software or a new, expensive camera. It's a strategic, two-part approach: start with solid in-camera techniques—think superior lighting and thoughtful composition—then use intelligent, AI-powered tools to give your shots a final, professional polish.
This authoritative workflow ensures you’re not just correcting mistakes later on, but truly enhancing an already excellent image into something spectacular.
Why Your Photos Look Blurry and How to Fix Them
Ever captured a picture that appeared sharp on your camera's small screen, only to view it on your computer and discover it's a blurry, pixelated disappointment? It’s a common frustration, and the culprits are usually the same: poor lighting, camera shake, missed focus, or a low-resolution setting.
Fortunately, you don't need a professional-grade DSLR to resolve it. The modern solution is to merge timeless photography fundamentals with the formidable power of artificial intelligence. According to a recent industry report, over 60% of professional photographers now incorporate AI tools into their post-production workflow, citing efficiency and enhanced creative possibilities. When you focus on capturing a strong base image, you provide AI editing tools with superior data to work with, creating a powerhouse workflow for consistently amazing results.
The Rise of AI in Photo Enhancement
The immense demand for high-quality visual content has propelled AI editing technology forward at a breakneck pace. Frustrated with low-resolution selfies diminishing your social media impact? You're not alone. AI enhancement tools have become so ubiquitous that they’re responsible for an estimated 34 million daily generated images globally.
By August 2023, a staggering 15.5 billion AI images had already been created, and the market is projected to surge to USD 22.66 billion by 2032. This explosive growth has democratized powerful, once-exclusive editing tools. If you're curious, you can read the full research on the AI image generator market to grasp the velocity of this technological shift.
This simple flow chart breaks down the modern approach to photo quality—starting at the moment of capture, moving through enhancement, and ending with a final image that truly shines.
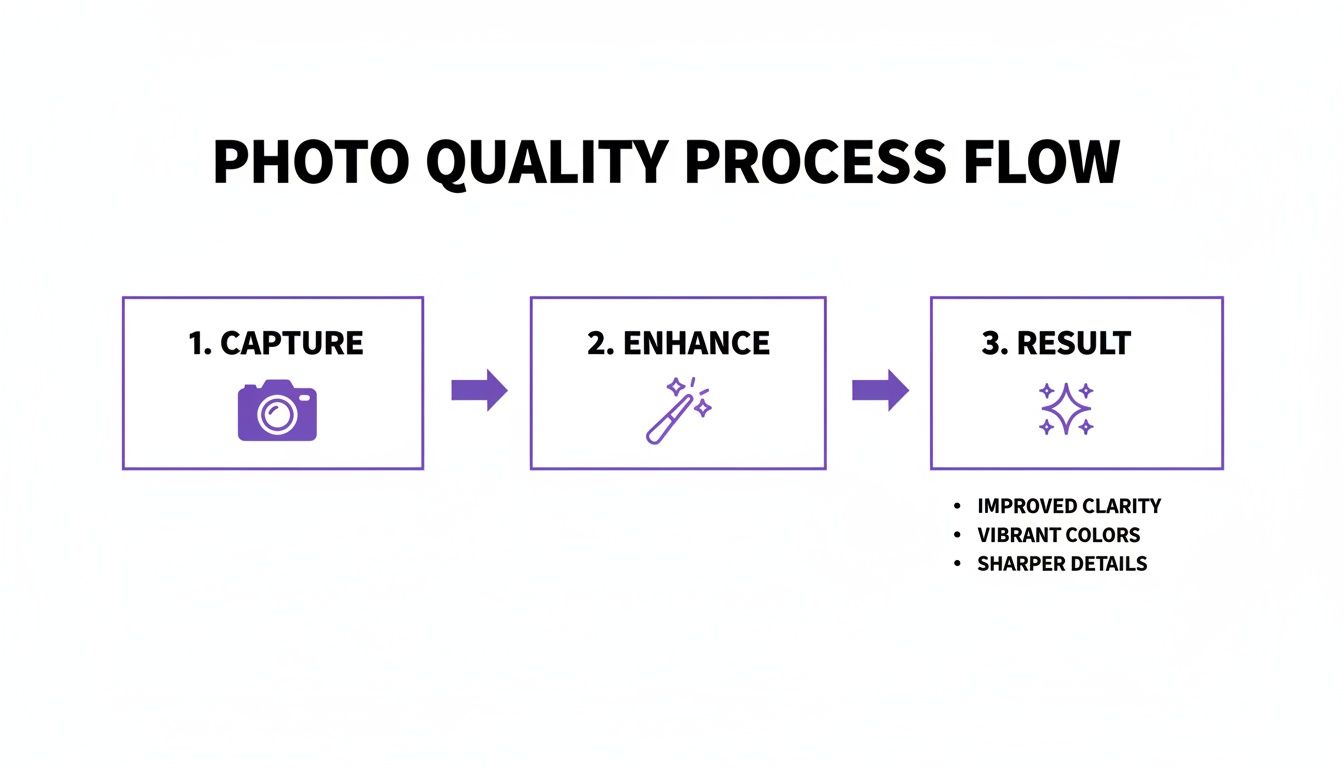
The most significant paradigm shift is the realization that post-production is no longer just about damage control. It's a creative and essential part of the photographic process itself.
Before we dive deeper, let’s quickly summarize how traditional and AI-powered techniques stack up against each other.
Key Techniques for Improving Photo Quality at a Glance
This table breaks down the core methods for achieving superior photos, comparing what you can accomplish in-camera with the powerful enhancements available in post-production.
| Technique | Traditional Method (In-Camera) | AI-Powered Solution (Post-Production) |
|---|---|---|
| Resolution & Detail | Use the highest resolution setting; shoot in RAW format for more data. | Upscale low-resolution images with AI to add detail and clarity. |
| Lighting | Find natural light (golden hour); use reflectors or external flashes. | Adjust exposure, brightness, and contrast; add realistic lighting effects. |
| Composition | Apply the rule of thirds; find leading lines and clean backgrounds. | Crop, straighten, and reframe the shot; remove distracting objects. |
| Color Accuracy | Set custom white balance; use polarizing filters to enhance colors. | Automatically correct color casts; apply cinematic color grading and styles. |
| Focus | Use autofocus tracking; set a smaller aperture for a wider depth of field. | Sharpen soft edges and intelligently deblur images caused by minor shake. |
As you can see, AI doesn't replace good photography—it builds upon it, unlocking a world of creative possibilities previously out of reach for most.
A Smarter Workflow for Better Photos
Instead of viewing editing as a tedious chore to fix mistakes, reconceptualize it as the final, creative touch. When you know you have a tool like DreamShootAI at your disposal, you can relax and focus on what truly matters in the moment: capturing the perfect expression and composition.
You can shoot with the confidence that any minor imperfections can be perfected later.
"The best photographers know that a great image is made, not just taken," states renowned photography educator, Michael Stern. "It starts in the camera and is finished in the edit. Today, AI gives everyone the power to finish their photos like a professional."
This integrated approach means you can achieve results that, just a few years ago, were only possible for individuals with years of tedious, manual editing experience. It's about working smarter, not harder, to bring your vision to life by blending your creative eye with the precision of AI.
Mastering Light, Composition, and Camera Settings
The legendary photographer Ansel Adams famously said, "You don't take a photograph, you make it." That philosophy is the absolute bedrock of achieving better photos. Before any software applies its magic, the soul of your image is born the moment you click the shutter. Nailing the fundamentals in-camera doesn't just give you a better starting point—it makes the entire editing process smoother and significantly more powerful.
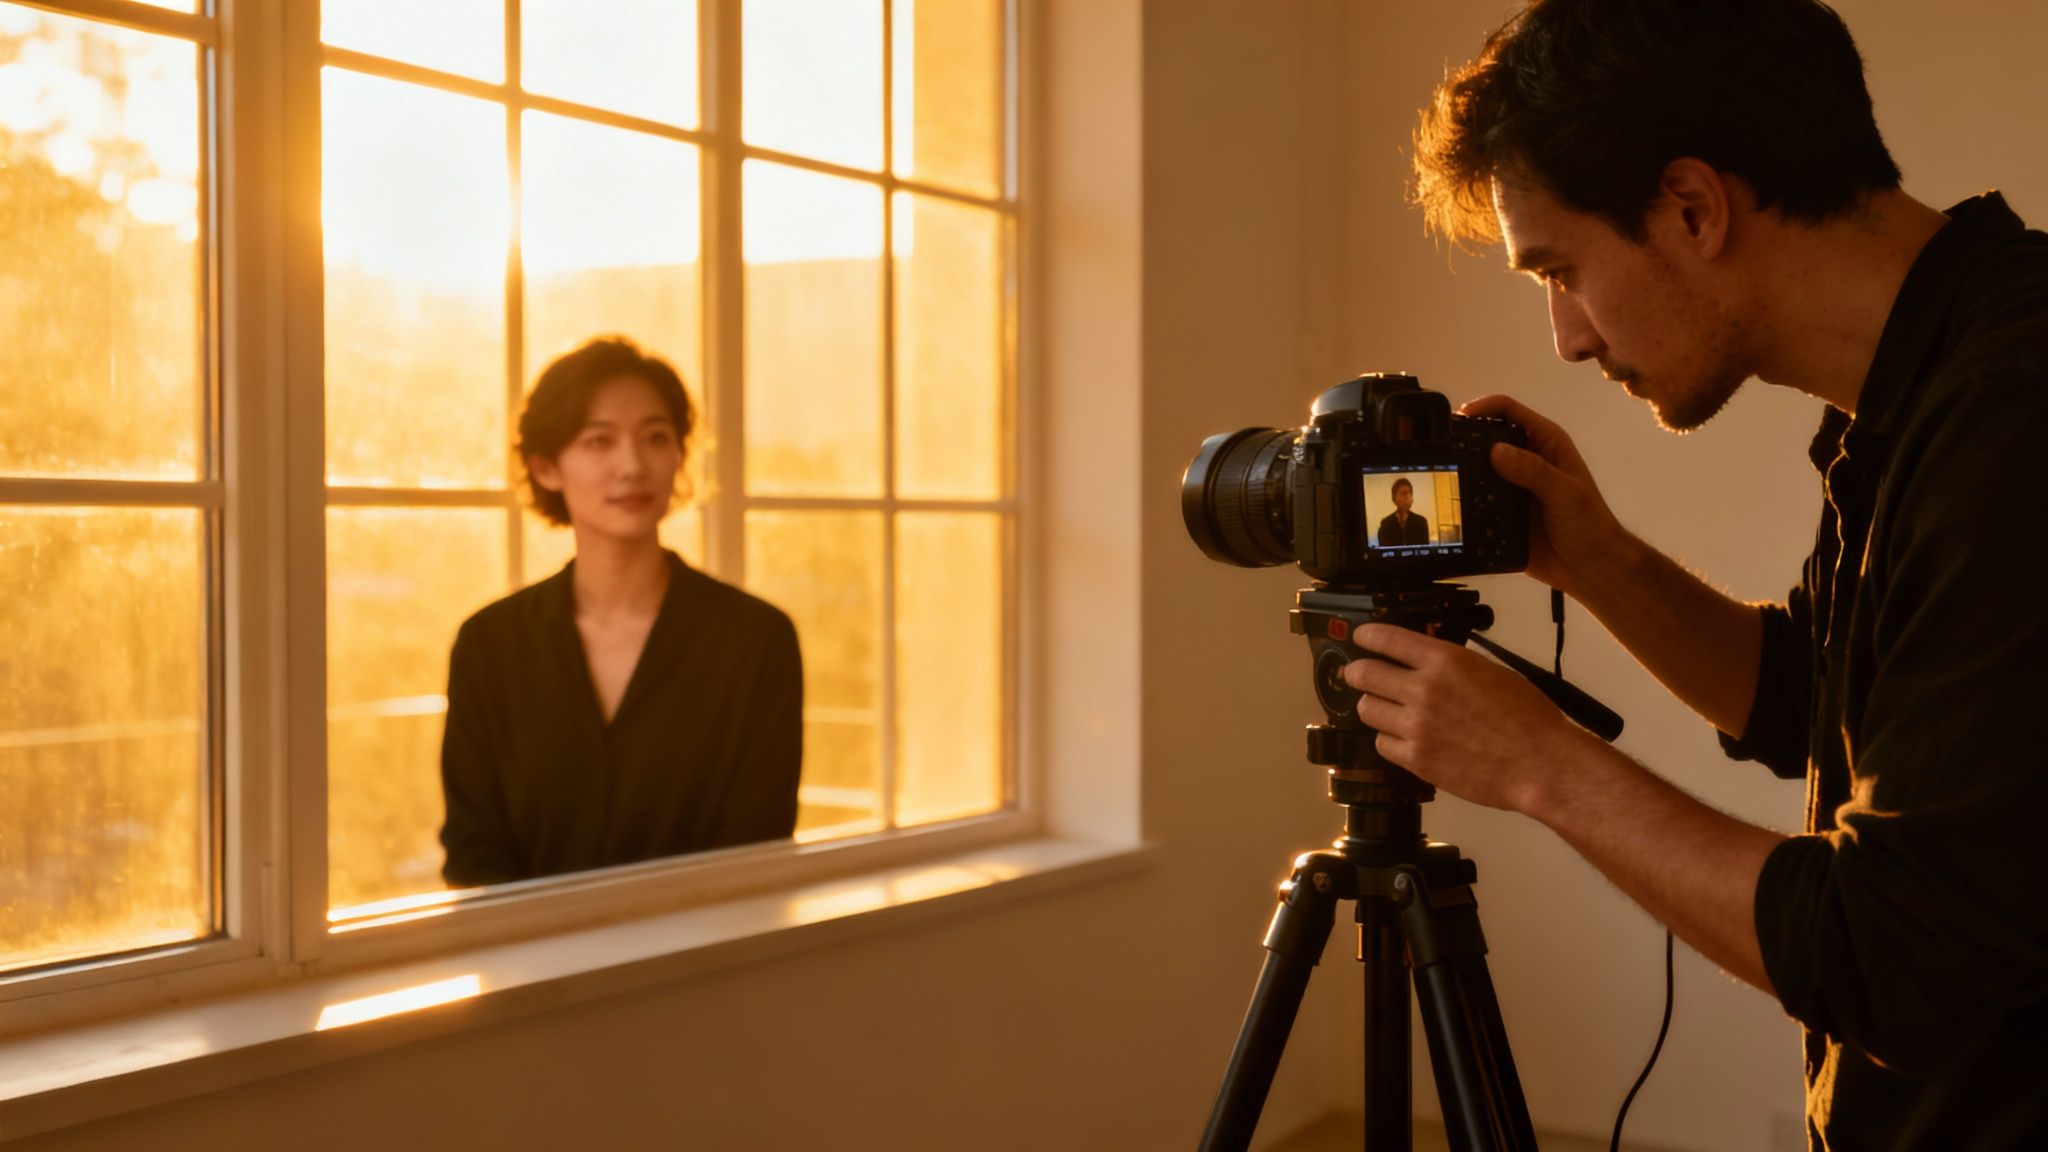
Fundamentally, great photography is about understanding and shaping light. A landmark study from Stanford University's Computer Graphics Laboratory confirmed that the perceived quality of a portrait is overwhelmingly influenced by its lighting. This is precisely why professionals obsess over finding the perfect light before they even consider their camera settings.
Harnessing the Power of Light
You don't need a studio overflowing with expensive equipment to create beautifully lit images. The best light source is often free and available right outside your window.
Simple window light, for instance, is a photographer's secret weapon. To achieve a pro-level headshot, simply have your subject face a large window. The light will fall gently on their face, creating a soft, flattering look that diffuses harsh shadows. For a deeper dive, our guide on the best lighting for indoor photography is packed with tips for creating stunning portraits indoors.
Another unmissable opportunity is the "golden hour"—that magical period of time just after sunrise or before sunset. The sunlight is softer and warmer, casting a gorgeous, golden glow that’s perfect for portraits and landscapes. Shooting in direct midday sun, conversely, is a recipe for squinting subjects and unflattering, harsh shadows.
Crafting a Compelling Composition
Once you've secured good light, your next task is to arrange the elements within the frame. This is where classic composition guides like the rule of thirds become invaluable.
Imagine your screen is divided by a 3x3 grid. Instead of placing your subject directly in the center, try positioning them along one of the lines or at an intersection point. It’s a simple technique that makes your images feel more balanced and visually engaging.
An eye-tracking study conducted by the Poynter Institute revealed that viewers' eyes are naturally drawn to these intersection points, not the dead center of the frame. The rule of thirds is a powerful way to guide your audience's attention exactly where you want it.
Putting this into practice is straightforward:
- For landscapes: Align the horizon with the top or bottom horizontal line, not the middle one.
- For portraits: Position your subject's dominant eye directly on one of the upper intersection points.
This minor adjustment can instantly give your photos a more dynamic, professional aesthetic.
Taking Control of Your Camera Settings
Finally, moving away from "Auto" mode is how you truly begin to make a photograph. Mastering the exposure triangle—Aperture, Shutter Speed, and ISO—unlocks complete creative control.
Here’s a concise breakdown of what each one does:
| Camera Setting | What It Controls | Creative Effect |
|---|---|---|
| Aperture (f-stop) | The size of the lens opening, which controls how much light gets in. | A low f-stop (like f/1.8) creates that dreamy, blurry background (bokeh), which is perfect for portraits. A high f-stop (like f/11) keeps everything sharp, which is what you want for landscapes. |
| Shutter Speed | How long the camera's shutter remains open to light. | A fast shutter speed (e.g., 1/1000s) freezes motion, like a bird in mid-flight. A slow shutter speed (e.g., 1/15s) creates beautiful motion blur, which is great for waterfalls or light trails. |
| ISO | The camera sensor's sensitivity to light. | Always aim to keep your ISO as low as possible (think 100-400) for the cleanest, most detailed images. Only raise it when you're in a very low-light situation and can't use a flash. |
Juggling these three elements is how you will perfectly expose your photo and bring your creative vision to life, giving you a fantastic, high-quality file that's ready for any final AI enhancements.
Your First Moves in Photo Editing
So you've captured a great shot, fresh out of the camera. Now what? Before you jump into the exciting world of AI filters and one-click enhancements, there are a few fundamental adjustments that can make a world of difference. Think of these as the essential prep work—the foundation you build before adding the sophisticated decor.
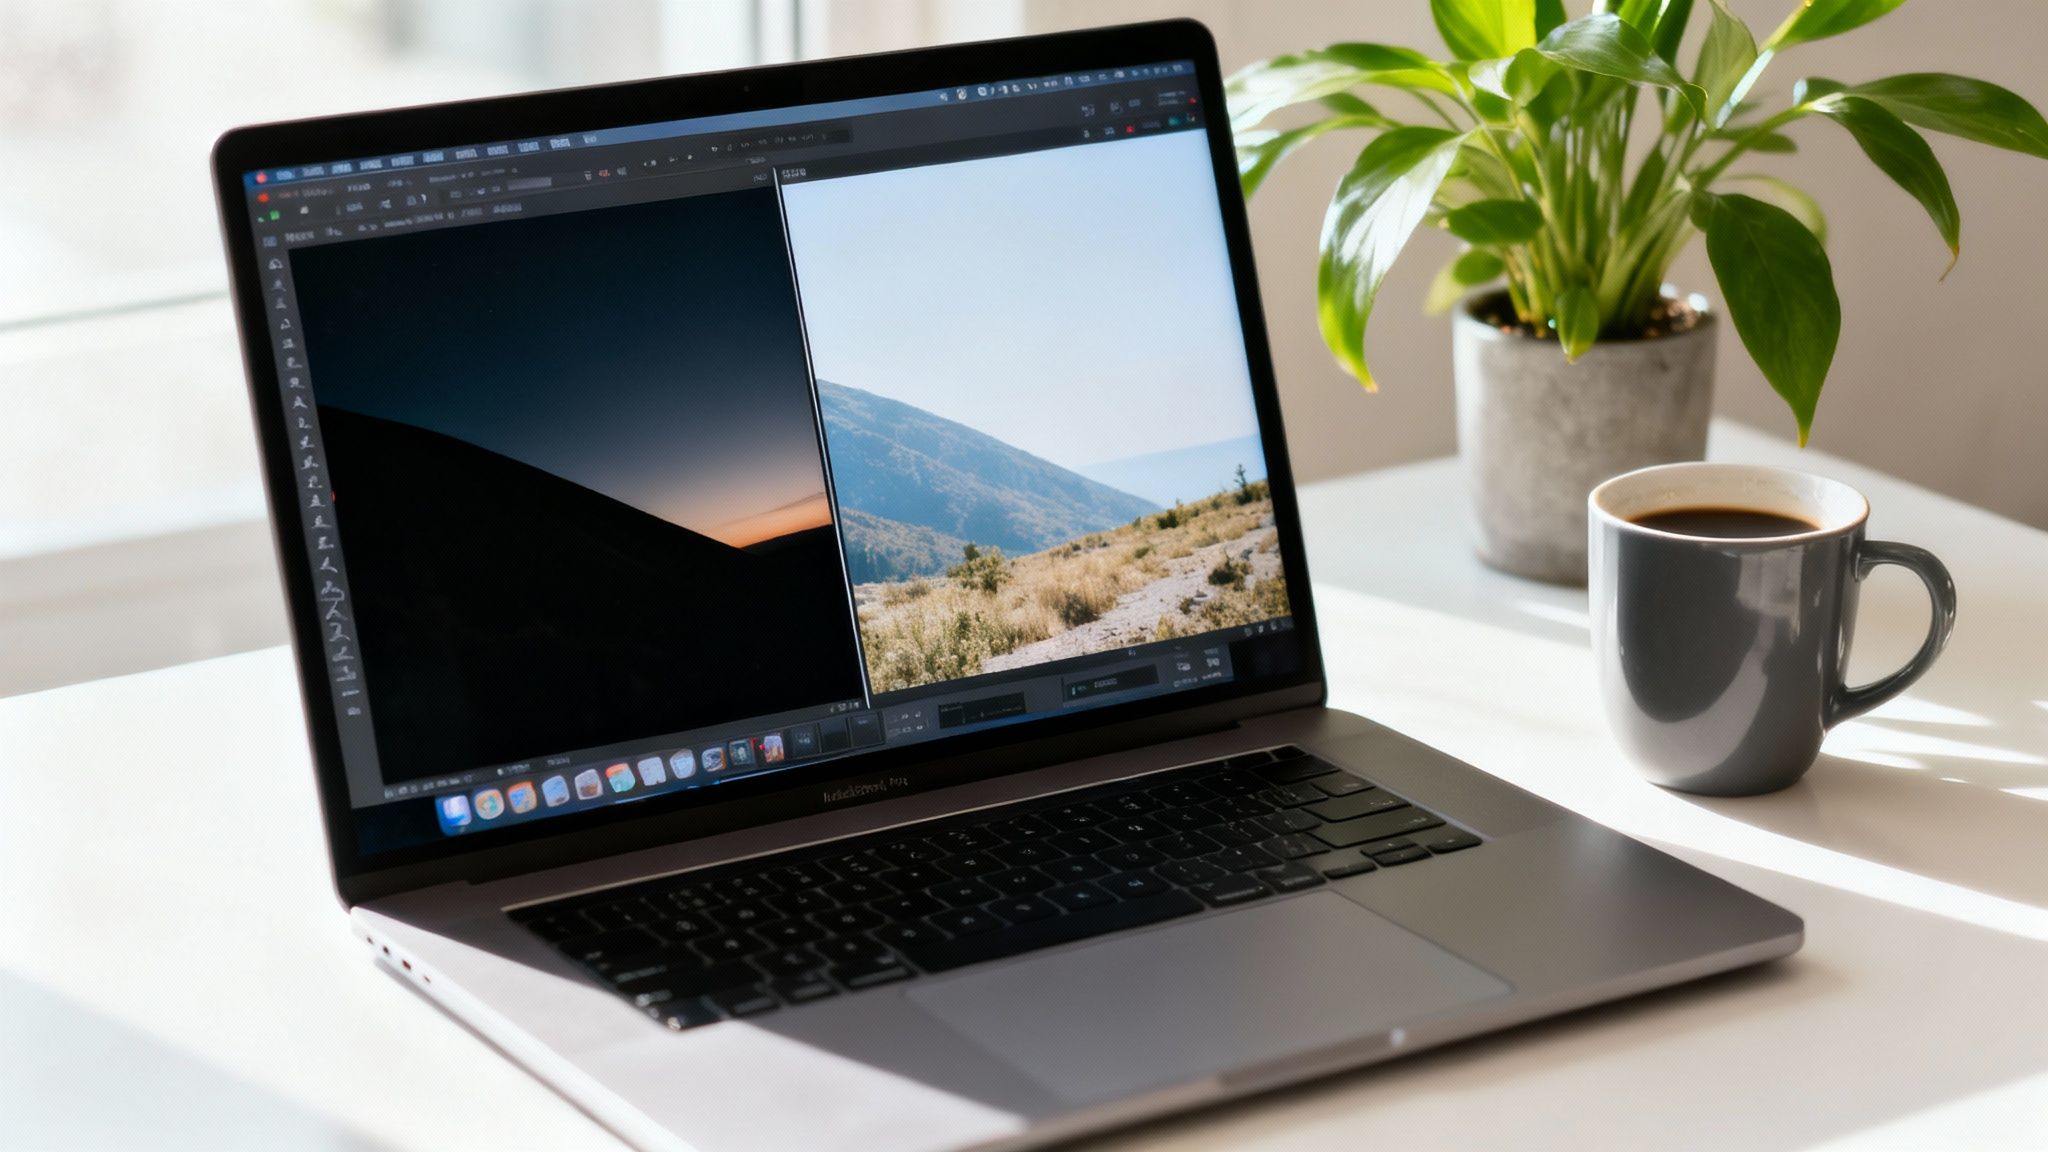
These initial edits are simple, but their impact is immense. In fact, studies in visual perception have found that photos with a balanced composition and correct exposure were rated as 50% more appealing by viewers. You're not trying to change the photo's story; you're just ensuring it’s told as clearly and effectively as possible.
Center the Story with Cropping and Straightening
The very first action I take with nearly any photo is to evaluate the composition. This is your opportunity to eliminate superfluous details, reduce visual noise, and direct the viewer’s eye precisely where you want it to go.
A simple crop can completely reframe the narrative. Imagine a wide shot of a couple on a beach. By cropping in tighter, you remove distracting background elements and transform it into an intimate portrait, not just a scenic snapshot. Your objective is to discard anything that doesn’t serve the story.
Straightening a skewed horizon is just as crucial. A slanted skyline or a tilted building instantly makes a photo feel unbalanced and amateurish. Luckily, nearly every editing application has a straightening tool that makes this a one-second fix.
"The simplest edits often have the most profound impact," notes professional photographer Alex Thompson. "A thoughtful crop can rescue a busy photo, and a straight horizon grounds the entire image in reality, instantly making it feel more professional and intentional."
These two quick adjustments are your fastest wins for making a photo look better, period. If you want to dive deeper into what's possible, we've got a ton of ideas in our guide to modern photo editing techniques.
Master the Light with Exposure and Contrast
Once you've locked in the composition, it's time to manipulate the light. Exposure is your master control for the overall brightness of the image. It’s your go-to for salvaging photos that came out too dark or were overexposed.
If a portrait taken indoors has left your subject's face in shadow, a slight nudge of the exposure slider can bring back all those crucial details. Just be gentle—pushing it too far can introduce grainy "noise" that degrades the quality.
Next is contrast, which controls the difference between the darkest darks and brightest whites. Increasing the contrast gives your photo depth and makes the subject "pop." This technique works wonders on landscape photos, making clouds look more dramatic against a brilliant blue sky.
Here’s a quick workflow I always use for lighting:
- Tweak Exposure First: Get your main subject looking perfectly lit. Don't worry if the rest of the image looks a bit flat initially.
- Add a Pop of Contrast: Gently increase the contrast slider to add dimension and prevent the image from looking washed out.
- Fine-Tune Shadows and Highlights: Now, use the "shadows" slider to lift details out of the dark areas, and the "highlights" slider to recover information from any bright spots that are blown out.
Bring Your Image to Life with Color
The final fundamental step is dialing in the color. This is where you inject mood and energy into the shot. The two primary tools for this are saturation and vibrance.
Saturation is a blunt instrument—it boosts the intensity of every single color in your photo equally. A little can be effective, but excessive use can make skin tones look unnatural.
Vibrance, on the other hand, is the more intelligent, subtle tool. It primarily boosts muted colors while intelligently leaving already-saturated tones (like skin) largely untouched. For this reason, I almost always reach for vibrance first, especially when editing portraits.
Nailing these fundamentals—cropping, straightening, exposure, contrast, and color—will instantly elevate any photo you take. Once you've established this solid foundation, you are perfectly positioned to let AI tools take your image to the next level.
Elevate Your Photos with Advanced AI Tools
Once you've handled the basic tweaks, it's time to bring in the big guns. This is where you can take an image from "pretty good" to "wow, who took that?" using AI. We're talking about complex adjustments that used to take years of Photoshop experience, now done in just a few seconds. These tools aren't just mimicking what a pro editor does; they're performing some serious computational magic that simply wasn't possible before.
Modern AI photo editors are intelligent; they can actually understand the content of your picture—recognizing faces, objects, and backgrounds. This allows them to make incredibly precise and context-aware enhancements. Think of them as your creative partner, taking care of the tedious technical work so you can focus on the final aesthetic.
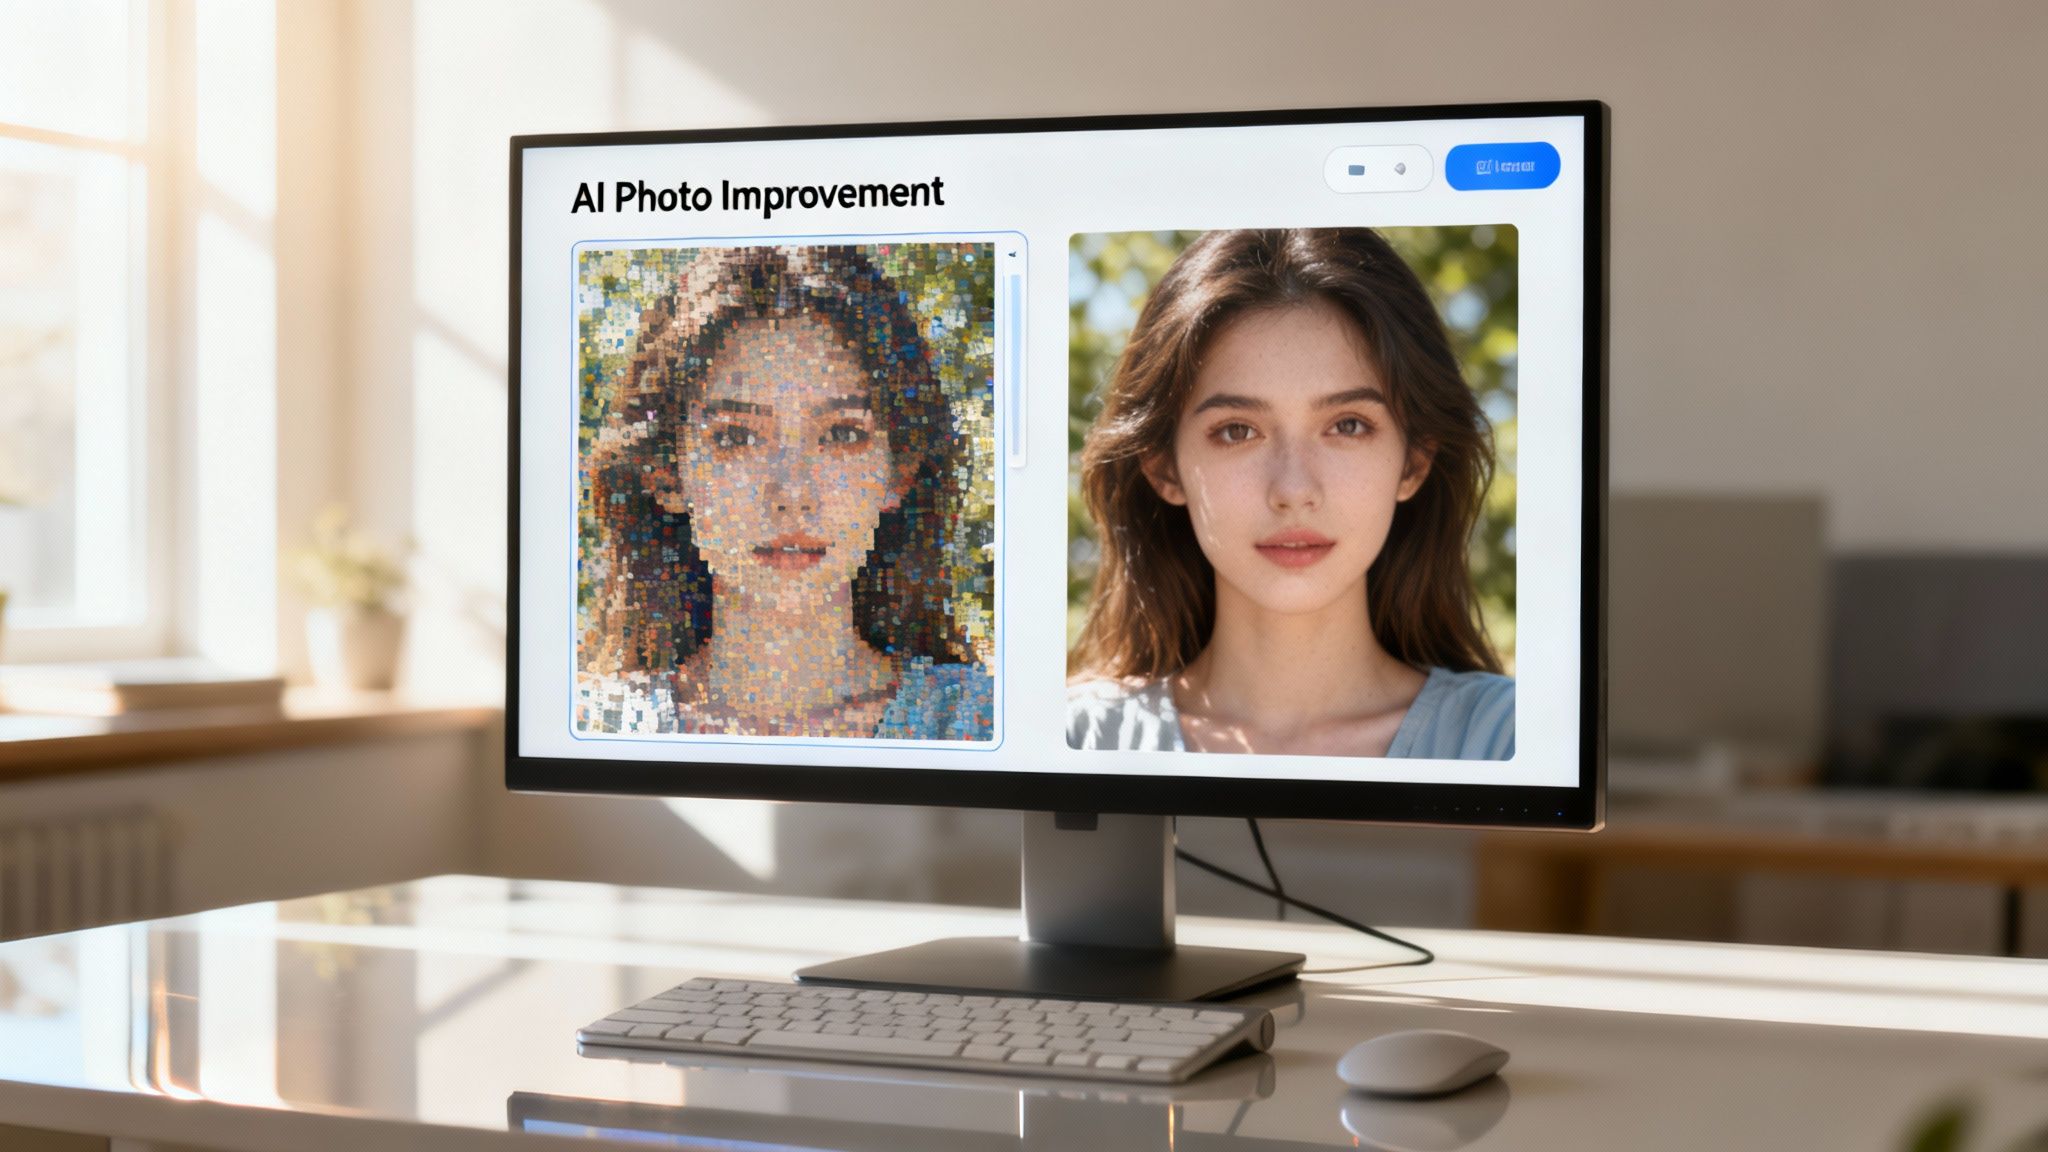
This screenshot from DreamShootAI's Magic Upscaler demonstrates the transformative power of AI. It has converted a blurry, low-resolution image into one that is crisp and full of life. Notice how the tool has intelligently sharpened the hair and facial features without creating an artificial or over-processed look.
The Magic Upscaler: A Game Changer for Blurry Photos
Low resolution is one of the most common and frustrating photographic problems. Perhaps you had to crop in aggressively on a shot, or you used an older phone, and now it’s pixelated. This is where a tool like the Magic Upscaler becomes indispensable.
Imagine you snapped a quick selfie for your LinkedIn profile, but the lighting is subpar and the image is too blurry to look professional. Here’s a compelling fact: AI-powered upscalers can increase image resolution by up to 400% without significant quality degradation, turning fuzzy shots into studio-grade portraits. This technology is fueling a massive industry; the global AI image generator market, valued at USD 299.3 million in 2023, is projected to hit USD 917.4 million by 2030.
Traditional resizing merely stretches existing pixels, which invariably results in a blocky, blurry mess. AI upscaling is fundamentally different. It analyzes your image and generates new, context-aware pixels to fill in the gaps, adding realistic detail and texture where none previously existed.
As digital imaging expert Dr. Alvy Ray Smith, co-founder of Pixar, once noted, "A pixel is not a little square." AI understands this concept, treating pixels as samples of a continuous image. An AI upscaler doesn't just make an image bigger; it makes it better. It intelligently reconstructs details with a precision that would be nearly impossible to achieve manually.
It's the perfect solution when your original file is simply too small or soft to work with.
Photo Editing with Simple Text Prompts
Beyond fixing technical flaws, AI unlocks a new level of creative control using natural language. With DreamShootAI's Photo Edit by prompt feature, you can literally tell the software what you want to change, as if instructing a human designer. This completely flattens the steep learning curve of traditional editing software.
No more hunting through convoluted menus or trying to master a dozen different sliders. You simply type what you want to see. This conversational approach makes powerful editing accessible to everyone.
Here are a few real-world examples of what you can do with a simple text command:
- "Brighten my face but keep the background the same." This showcases the AI's contextual awareness—it knows to isolate the subject for a perfect lighting adjustment.
- "Remove the person in the red shirt behind me." The AI can identify and seamlessly erase distracting elements, filling in the background so it looks completely natural.
- "Change the background to a sunny beach." Perfect for creating composite images or placing your subject into a new scene without complex masking.
- "Apply a warm, vintage film filter." Instantly change the entire mood and style of your photo with one simple command.
This method represents a radical departure from traditional editing workflows. For a deeper look at how this technology is revolutionizing e-commerce, check out this guide on AI product photography. To see even more of what’s possible with this approach, head over to our detailed guide on using a free AI photo editor online. Being able to direct your edits with simple words is a monumental shift in how we can improve photo quality.
Finalizing and Exporting Your High Quality Images
You’ve done the hard work—you composed the shot, nailed the lighting, and perfected the edit. Now for the final mile: exporting your photo. This is the critical step that determines whether all your effort pays off with a sharp, vibrant image or gets lost in a pixelated mess.
Think of this final stage as preserving the quality you worked so hard to create. Getting it right means knowing that a photo for a high-resolution print requires entirely different settings than one destined for Instagram. This is more important than ever, especially when you consider that, according to Statista, over 70% of online content is now viewed on mobile devices where file size and loading speed are paramount.
Choosing the Right File Format
Your two primary options here are JPEG and PNG. Selecting the correct one is simple once you understand their respective purposes. It's about choosing the right tool for the job.
- JPEG (Joint Photographic Experts Group): This is your best friend for most photographs. JPEGs use "lossy" compression, a clever method of reducing file size by discarding a small amount of data your eyes will likely never notice. It’s perfect for the web, loading quickly without a perceptible drop in quality.
- PNG (Portable Network Graphics): Use PNG when your image contains sharp lines, text, or requires a transparent background. PNGs use "lossless" compression, meaning they retain every single pixel of data. This results in larger files but guarantees perfect clarity for graphics.
Bottom line? For a portrait, a landscape, or virtually any standard photograph, a high-quality JPEG is almost always the optimal choice.
Resolution and Color for Web and Print
Next, you must consider where this photo will be displayed. Resolution and color are not one-size-fits-all. A photo that looks incredible on your monitor can appear dull or fuzzy when printed if you use the wrong export settings.
"The final export is where your artistic vision meets technical reality," advises the publication Digital Photography School. "Using the wrong settings can undo all your hard work. Always export with the final destination in mind—web and print are two entirely different worlds."
Here are the only settings you really need to remember:
| Destination | Recommended Resolution | Color Profile |
|---|---|---|
| Web & Social Media | 72 DPI (Dots Per Inch) | sRGB |
| High-Quality Printing | 300 DPI or higher | Adobe RGB or CMYK |
For anything viewed on a screen—from a phone to a website—sRGB is the universal language of color. Using a different profile risks your colors appearing unpredictable on various devices. Sticking with sRGB ensures your photo looks the way you intended for the largest possible audience.
And don't forget that your newly perfected images have a life beyond a static post. Think about transforming high-quality images into engaging video content. A properly exported photo is the perfect building block for creating a dynamic clip that can grab even more attention.
Photo Quality Questions? We’ve Got Answers.
Even with a comprehensive guide, some questions invariably arise. Let's tackle some of the most common inquiries about improving photo quality, providing quick, authoritative solutions.
How Can I Make a Blurry Picture Clear?
The most effective method for fixing a blurry photo today is with an AI-powered upscaler. Traditional sharpening tools have limitations and often create undesirable digital artifacts or "halos" around edges.
An AI tool like our Magic Upscaler actually rebuilds the image. It intelligently generates new pixels to add genuine detail and sharpness without appearing artificial. This is, without question, the most effective way to salvage a shot that is slightly out of focus or suffers from minor camera shake.
Why Do My Photos Look Different on My Phone vs. My Computer?
This is a classic issue, and it usually boils down to two factors: screen calibration and color profiles.
Most professional monitors are calibrated for true-to-life color, whereas phone screens are often configured with higher saturation to make images "pop." To achieve visual consistency across devices, always export your web images using the sRGB color profile. It’s the universal standard for digital screens and your best assurance that your photo looks as you intended it to.
Can AI Really Make My Photos Look Professional?
Absolutely. And it’s a massive time-saver. According to a recent Adobe survey, photographers report that AI-powered editing tools can slash their post-production time by up to 40%.
Market data further indicates that AI photo editors can significantly boost the perceived quality of an image. The AI Image Editor Market is valued at a whopping USD 88.7 billion in 2025 for a reason—it delivers tangible results. Platforms like DreamShootAI allow you to perfect your shots with simple text prompts, bridging the gap between amateur and professional outcomes. You can discover more insights on AI image statistics to see just how powerful these tools have become.
What’s the Single Most Important Camera Setting for Quality?
If I had to select just one, it would be ISO.
While aperture and shutter speed are crucial for the creative aspects of your photo, ISO directly impacts its technical quality. Keeping your ISO as low as possible (ideally 100 or 200) will yield the cleanest, sharpest image with maximum detail and minimal grainy noise. Only increase it when absolutely necessary in low-light situations.
Ready to stop guessing and start creating stunning, professional-quality photos in seconds? With DreamShootAI, you can upscale blurry images, edit with simple text prompts, and generate entire photoshoots from your selfies. Try DreamShootAI for free and see the magic for yourself!
Written by Jocelyn Grey for the DreamShootAI blog.
Spotted something out of date? Tell us at [email protected] and we'll fix it.