How to Edit My Photo with AI for Pro-Level Results
Learn how to edit my photo with AI, transforming everyday pictures into stunning visuals. This guide covers everything from prompts to advanced tools.

Ever had that thought, "I wish I could edit my photo with AI like a pro"? Turns out, it's way easier than you think. Tools like DreamShootAI have completely changed the game, letting you get incredible, high-quality edits in seconds just by describing what you want. This guide is your roadmap to turning simple snapshots into seriously compelling art.
The New Creative Partner in Your Pocket
Forget the days of wrestling with complicated software, getting lost in endless sliders and layers. AI has flipped photo editing on its head, moving the focus from tedious technical work to pure creative vision. It’s no longer about mastering a tool; it's about being able to clearly explain what you see in your mind's eye. This shift has thrown the doors of professional-grade editing wide open for everyone, no matter their tech skills.
The market data confirms this seismic shift. According to a 2023 report by Grand View Research, the global AI software market, which includes powerful imaging tools, was valued at USD 138.4 billion and is projected to expand at a compound annual growth rate (CAGR) of 36.6% from 2023 to 2030. This isn't just a trend; it's a massive wave of creators, marketers, and everyday people leveraging AI to produce stunning visuals for social media, portfolios, or personal projects.
Take a look at the DreamShootAI interface. It’s clean, simple, and powerful.
This simple layout is a perfect example of how accessible AI editing has become, putting some seriously advanced tools right where you can find them.
To better understand this shift, let's compare the old way with the new.
AI Editing vs Traditional Editing at a Glance
This table breaks down how AI tools are reshaping the creative process compared to classic software.
| Feature | Traditional Editing (e.g., Photoshop) | AI Editing (e.g., DreamShootAI) |
|---|---|---|
| Learning Curve | Steep. Requires hours of tutorials and practice. | Minimal. Intuitive and prompt-based. |
| Time Investment | Hours to days for complex edits. | Seconds to minutes. |
| Skill Requirement | High technical skill (layers, masks, tools). | Creative vision and clear instructions. |
| Cost | Expensive software subscriptions. | Often more affordable, with flexible plans. |
| Creative Process | Manual, step-by-step execution. | Collaborative, idea-driven direction. |
| Experimentation | Time-consuming to try new ideas. | Fast and easy to iterate and explore. |
As you can see, AI isn't just making editing faster—it's making it fundamentally more creative and accessible.
Shifting from Manual Labor to Creative Direction
The biggest win with AI? Pure efficiency. Tasks that once took a seasoned professional hours can now be knocked out in minutes. This frees you up to experiment with wild ideas and tweak your concepts without sinking a ton of time into the process.
"The real magic of AI in photo editing isn't just speed; it's the democratization of creativity," explains technology analyst Sarah Jenkins. "It gives everyone the power to execute complex visual ideas that were previously locked behind years of training and expensive software."
This isn't just happening with images, either. The same principles are powering AI-Powered Authoring tools that are transforming how we create written content, handling everything from blog drafts to social media calendars.
Ultimately, when you choose to edit your photo with AI, you're stepping into the role of an art director. You're not pushing pixels around anymore—you're guiding a powerful creative partner to bring your vision to life. Let's get into exactly how to do that.
Preparing Your Photos for AI Success
Before you jump into the fun part of editing with AI, we need to talk about your starting material. I can't stress this enough: the quality of the photo you upload is the single most important factor for getting a result you’ll love. Think of the old programming saying, "garbage in, garbage out"—it’s doubly true for AI photo editing.
When you give the AI a clear, well-lit, and high-resolution image, you’re giving it a rich dataset to work with. It can see the fine details, understand the lighting, and interpret shapes accurately. But if you upload a blurry, dark, or pixelated photo, you're forcing the AI to guess and fill in a lot of missing information. That's when you get those weird, muddy textures or strange digital artifacts.
This infographic really drives the point home, showing the difference between a frustrating, old-school editing session and the smooth, creative workflow you get when you start with a great photo.
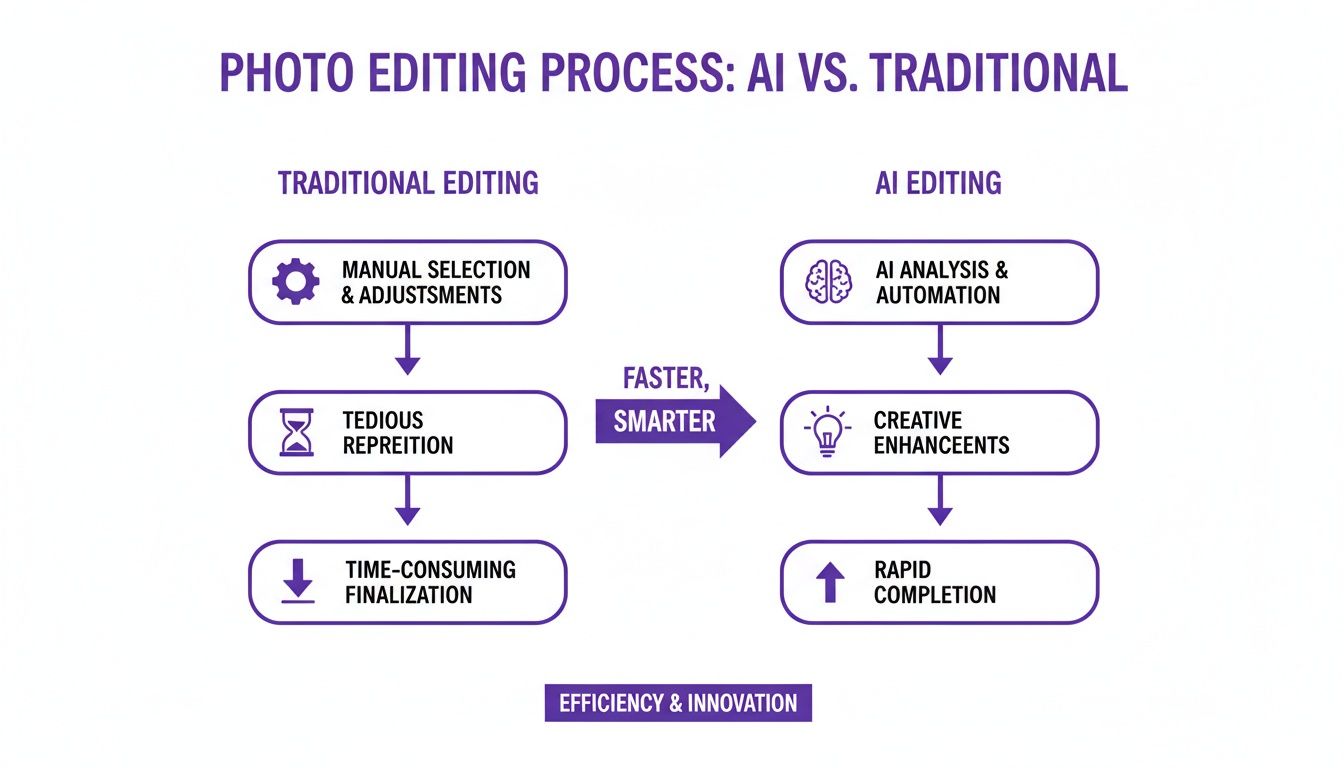
Starting with a quality image lets the AI skip the boring repair work and get straight to the creative magic.
The Anatomy of an AI-Ready Photo
So, what makes a photo "AI-ready"? It really just boils down to giving the AI as much clean visual information as possible. When you’re picking a photo to edit, keep these three things in mind.
- Sharp Focus: Your main subject needs to be crisp and clear. If the face you want to edit is even a little bit soft or out of focus, the AI will have a tough time making realistic changes to features or applying detailed styles.
- Good Lighting: Try to avoid photos that are super dark (underexposed) or blown out (overexposed). The best canvas for AI is an image with even, balanced light and no harsh shadows cutting across the important details.
- High Resolution: There isn't a single magic number, but a good rule of thumb is to use images that are at least 1024x1024 pixels. More pixels mean more detail for the AI to work with, which is absolutely essential for creating believable and high-quality edits.
As Dr. Alvy Ray Smith, a co-founder of Pixar, often notes, "All things digital are ultimately numbers." A low-resolution image simply doesn't contain enough numerical data for an AI to reconstruct high-fidelity details accurately.
Here's another way to think about it: giving the AI a great photo is like handing a master painter a premium canvas and a full set of paints. Giving it a low-quality photo is like handing them a napkin and a single crayon. They can still make something, but the potential is worlds apart.
File Formats and Staying Organized
The file format of your photo also matters. While most AI tools are pretty flexible, some formats are better at preserving detail than others.
Here’s a quick rundown of the most common ones:
- JPEG: This is the universal standard and works for most situations. Just be mindful that every time you re-save a JPEG, it loses a tiny bit of quality through compression.
- PNG: This is your best bet for images that have sharp lines, like graphics or photos with text. It uses lossless compression, which means you don't lose any quality, but the files are usually a bit bigger.
- HEIC: If you have a modern iPhone, this is probably your default. It’s a great format because it gives you excellent quality in a smaller file size than JPEG. If your AI tool supports it, it's a fantastic choice.
One last tip before you start editing: get organized. I highly recommend creating a dedicated folder on your computer or cloud drive for your "best" source images. It sounds simple, but this little habit will save you from endlessly scrolling through your camera roll later. It gets you to the fun part—the actual creating—so much faster.
Crafting Prompts That Bring Your Vision to Life
When you want to edit my photo with AI, your words are everything. Seriously. Forget about fiddling with complex sliders or navigating confusing menus. Your success now boils down to one thing: translating the image in your head into clear, descriptive instructions for the AI. This is where you stop being just a user and start acting like an art director, guiding the AI to create exactly what you’re picturing.
This direct, creative control is a huge reason AI editors are taking off. Research from McKinsey & Company indicates that generative AI could add the equivalent of $2.6 trillion to $4.4 trillion annually to the global economy, with significant impact in marketing and creative industries. Agencies are already reporting massive efficiency gains, slashing production times and allowing for unprecedented levels of creative iteration.
From Vague Ideas to Specific Instructions
Just telling the AI to "make it look better" is like telling your GPS to "take me somewhere nice." You'll end up somewhere, sure, but it's probably not where you wanted to go. To get those professional-level results, you have to get specific. The goal is to paint a picture with your words.
For example, instead of a simple "change the background," try something with more flavor: "Change the background to a minimalist studio setting with soft, diffused shadows coming from the right." See the difference? One is a basic command; the other is a creative brief that gives the AI something concrete to work with.
"The art of the prompt is specificity," advises AI artist Claire Silver. "The more detail you provide about lighting, mood, style, and composition, the closer the AI's output will be to your initial vision. It's a collaborative dialogue, not a one-way command."
The Building Blocks of a Powerful Prompt
A truly effective prompt is like a good recipe—it has a few key ingredients. When you combine these elements, you give the AI a rich, detailed instruction set that leaves little room for error. Think about weaving these details into your next edit:
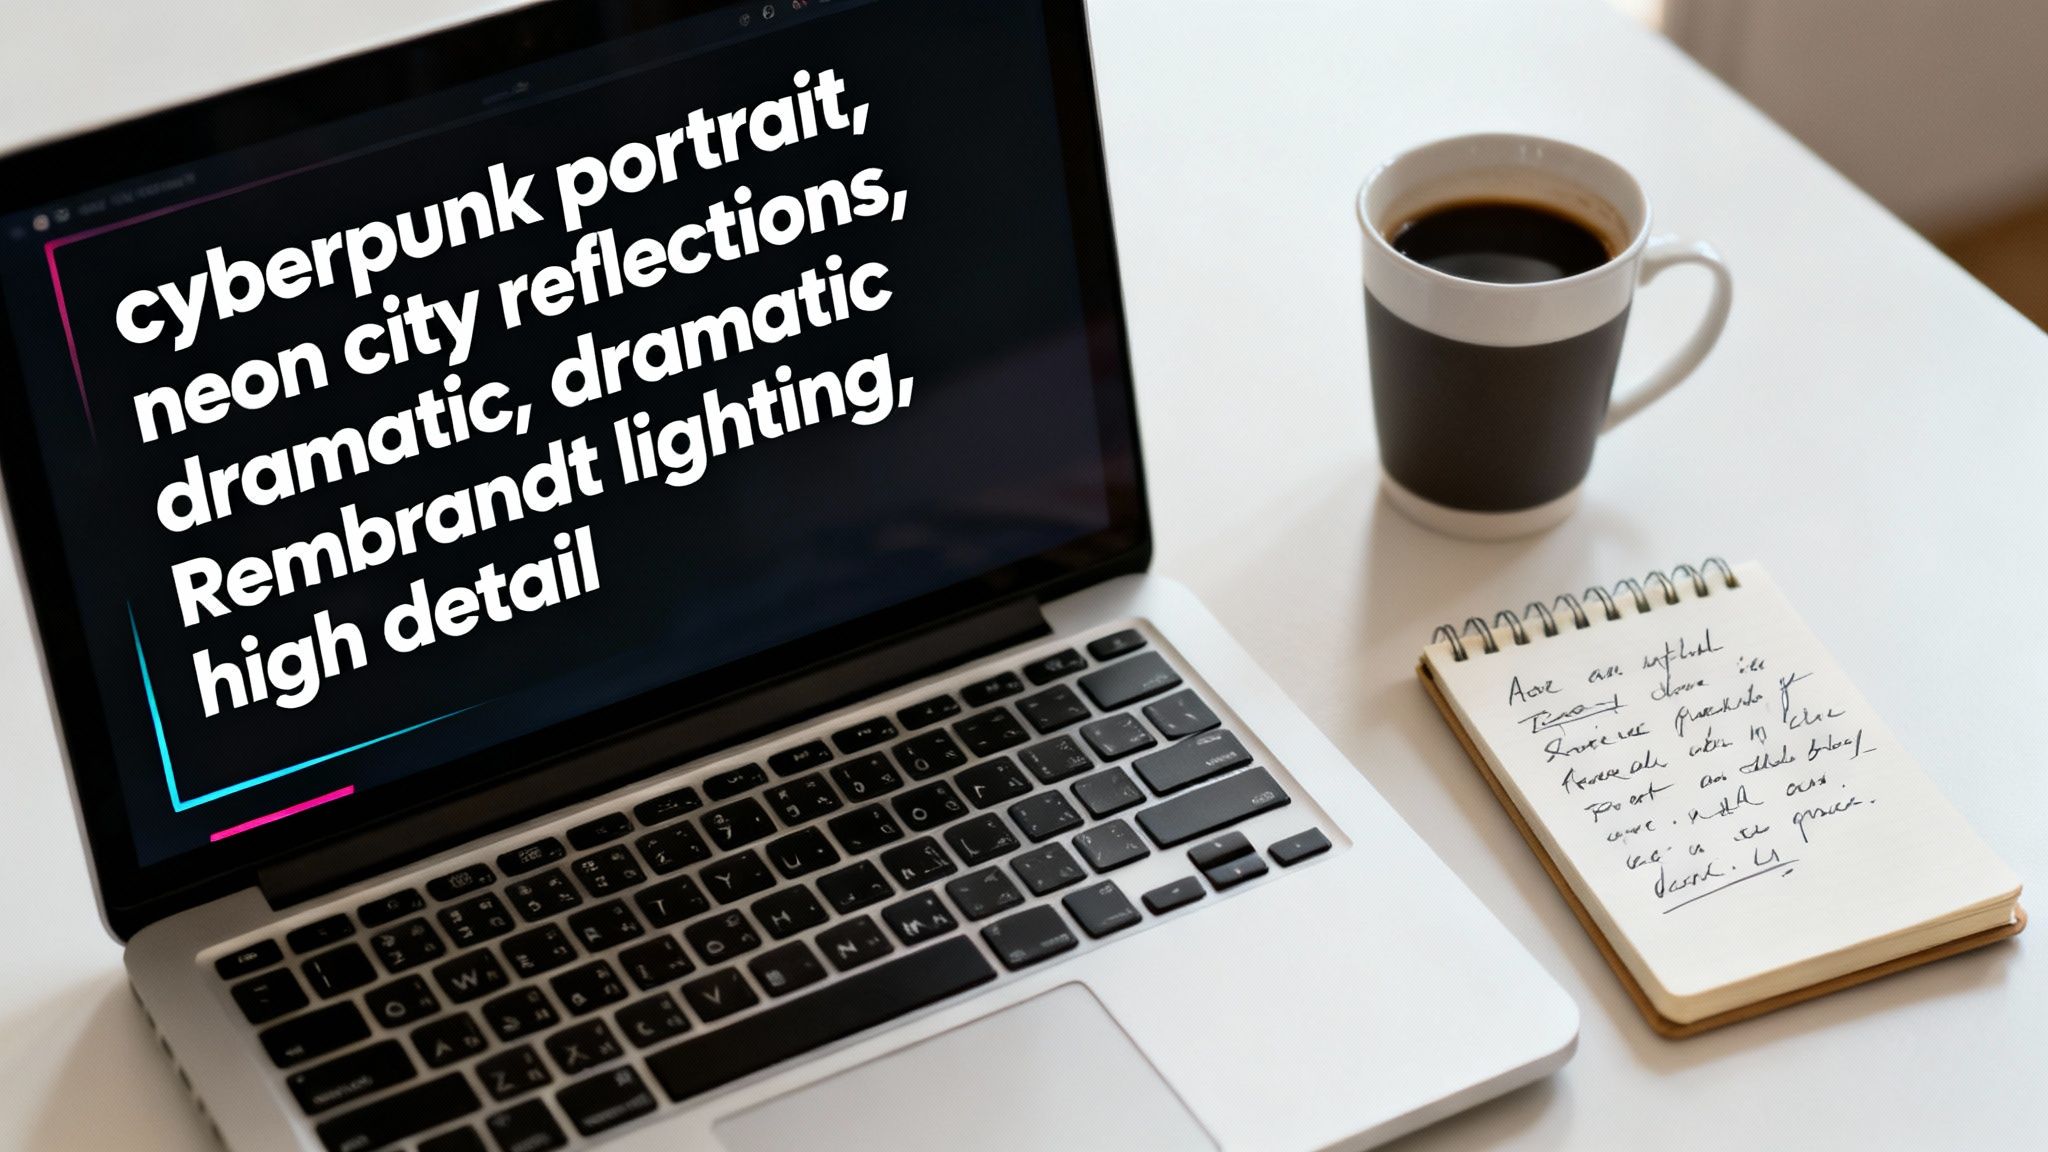
- Style: Are you going for a certain vibe? Get specific. Try "in the style of a Kodak Portra 400 film photograph" or "a vibrant, cyberpunk aesthetic with neon highlights."
- Lighting: Light changes everything. Describe the source and its quality. Prompts like "dramatic Rembrandt lighting with deep shadows" or "golden hour sunlight filtering through trees" work wonders.
- Mood: How should the image feel? Use phrases that convey emotion, like "a melancholic, rainy day atmosphere" or "a joyful, energetic celebration."
The best way to get the hang of this is just to jump in and try it. You can play around with our photo edit by prompt tool to see firsthand how different descriptions can completely transform an image.
Using Negative Prompts for Precision
Sometimes, what you don't want is just as important as what you do. That’s where negative prompts come into play. A negative prompt is simply a list of things you want the AI to avoid, giving you an extra layer of control to fine-tune your results.
Let's say you're editing a portrait, and the AI keeps adding distracting jewelry. You can steer it in the right direction by adding a negative prompt like: earrings, necklace, rings. This helps the AI understand the boundaries and avoid common, but unwanted, additions.
Here’s how to make them work for you:
- Keep it simple. Just list the words, separated by commas.
- Focus on specific objects, colors, or qualities you want to exclude.
- Use them to clean up common AI weirdness, like
blurry background, distorted hands, extra limbs.
By mastering both positive and negative prompts, you gain incredible control over your edits. It’s the key to making sure the final image doesn't just look good, but looks exactly the way you intended.
Digging Into the Advanced AI Editing Tools
Once you've got the hang of writing prompts, you're ready to play with the features that really set a top-tier AI photo editor online apart. These aren't just basic filters; they're specialized tools built to solve real, often frustrating, photo problems with surprising ease. Think breathing life back into old memories or creating thumb-stopping content for your social feeds.
The e-commerce sector has been a major driver of this technology. According to a report by Adobe, 73% of leading retail brands are now investing in AI to enhance product imagery and customer experience. Flawless visuals delivered by AI are helping boost conversion rates by creating more engaging and realistic product presentations, a trend highlighted in Technavio's market analysis.
Breathe New Life Into Old Photos With Magic Upscaler
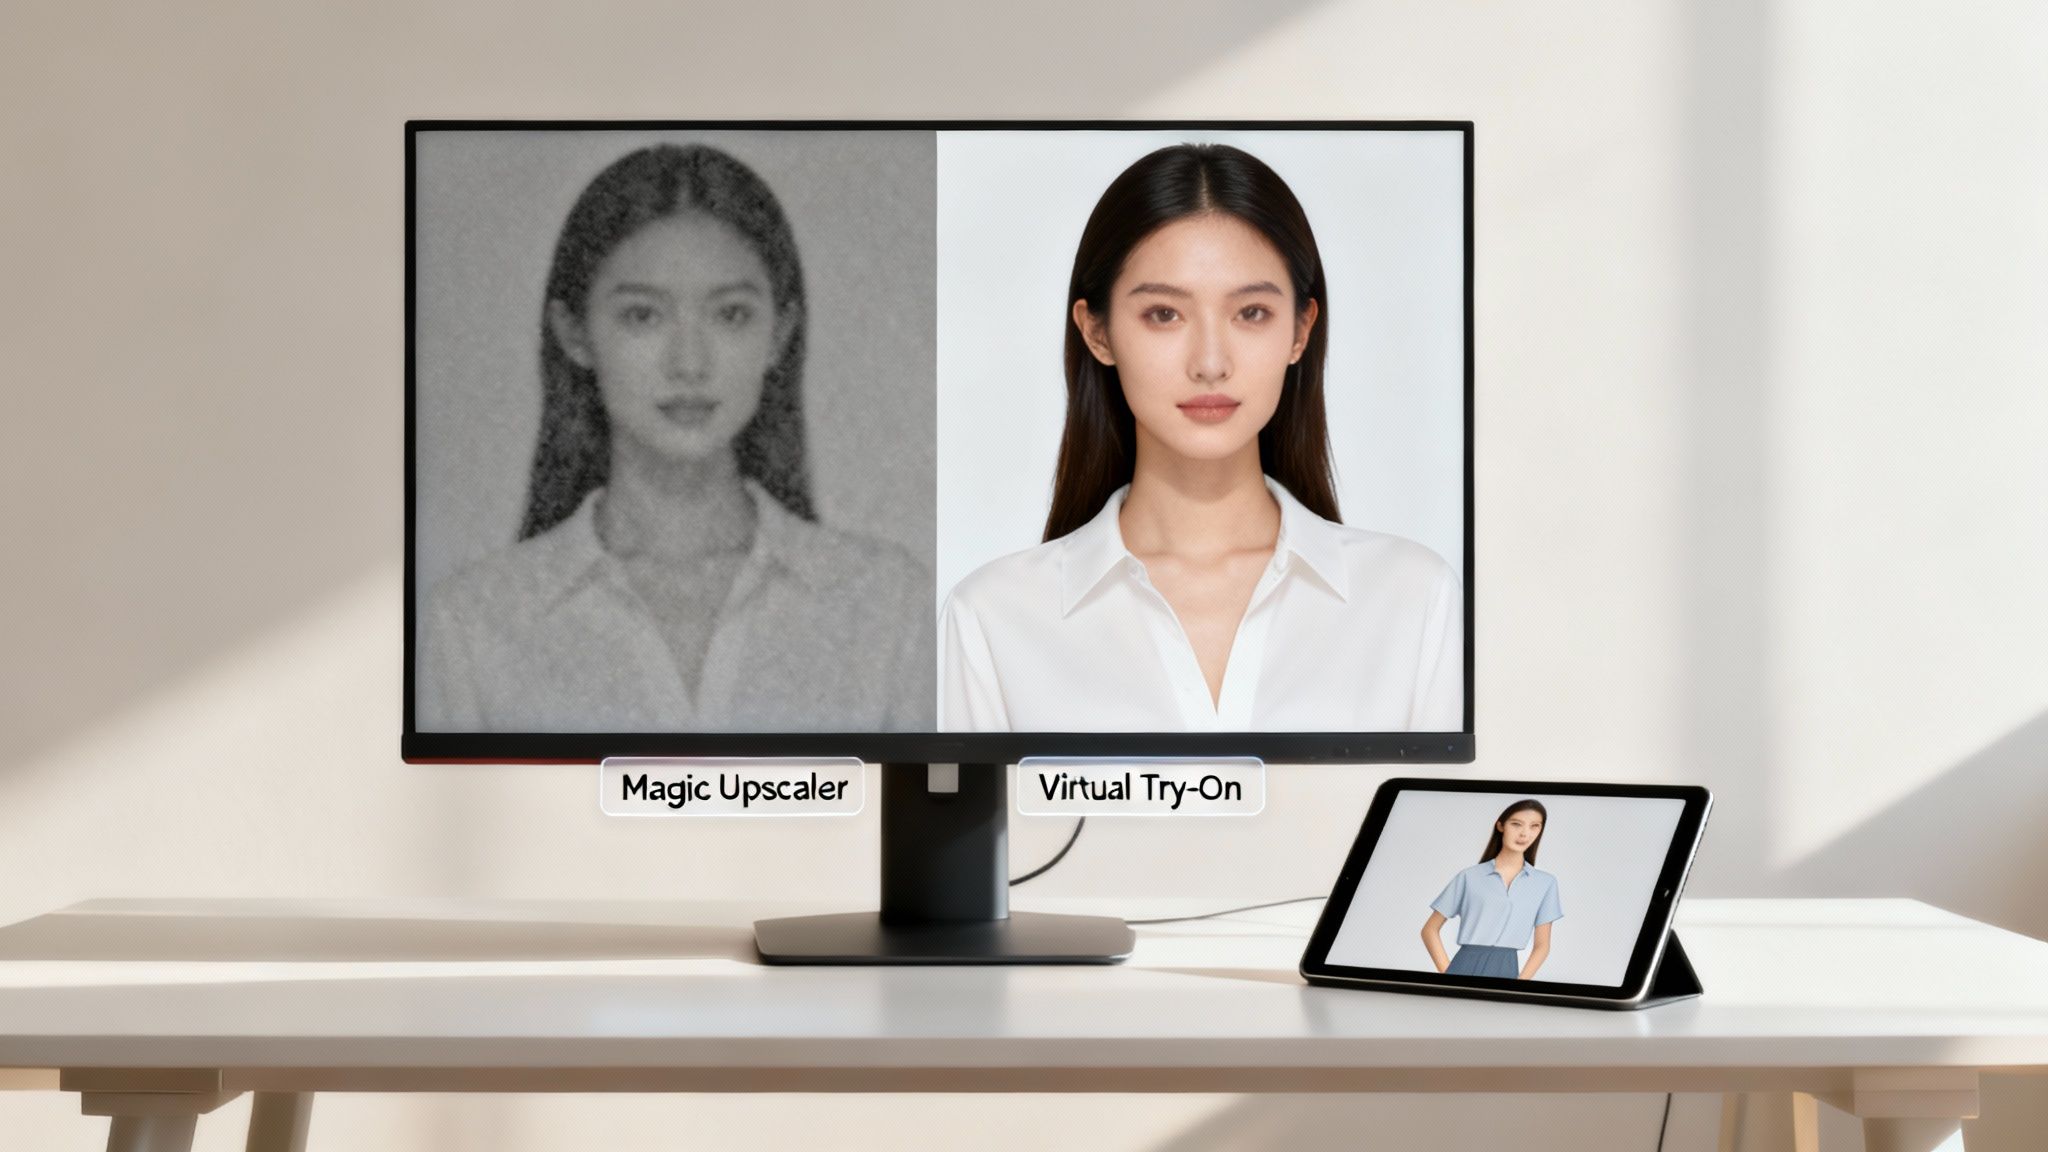
We all have them stashed away—grainy digital photos from an old flip phone or a pixelated scan of a cherished family picture. For years, those images were just stuck looking low-quality. The Magic Upscaler in DreamShootAI completely changes that, acting like a digital restoration artist for your favorite memories.
This tool is so much more than just stretching a photo. It uses AI to intelligently analyze and rebuild your image at a much higher resolution, adding realistic details where there were none. It sharpens faces, clarifies textures, and gets those low-quality shots ready for a high-res print.
"AI upscaling isn't just about making pictures bigger; it's about recovering lost detail," states Alex Rivera, a digital imaging specialist. "The ability to turn a blurry, forgotten photo into a crisp, frame-worthy print is one of the most practical and emotionally resonant applications of modern AI imaging."
Imagine taking a blurry smartphone pic from a decade ago and turning it into a sharp masterpiece you can proudly hang on your wall. That’s the kind of power we're talking about.
Visualize Your Style With Virtual Try-On
If you're a content creator, fashion lover, or planning a big event, the Virtual Try-On feature is a total game-changer. This tool lets you realistically swap entire outfits on your photos, giving you an instant preview of different styles without ever setting foot in a dressing room. It’s an incredible way to experiment with a new look or plan out your content calendar.
Just think about the possibilities:
- Wedding Planning: A bride can see how different dress silhouettes or colors look on her own photo long before she ever visits a boutique.
- Content Creation: An influencer can create a full week of fashion content from a single photoshoot just by virtually trying on different outfits.
- Personal Styling: You can finally test out that bold style you’ve been curious about, helping you shop with way more confidence.
Honestly, this feature is a massive time and money saver, making it a must-have tool for any kind of visual planning.
Animate Your Images With Video Me
Static photos are great, but motion is what really grabs people's attention these days. The Video Me feature lets you transform any still photo into a short, dynamic video clip. It's perfect for making content that pops on platforms like Instagram Reels, TikTok, and stories.
The AI animates your photo, adding subtle movements, new expressions, and effects that bring your image to life. This is amazing for creating unique social media posts, animated avatars, or even digital wedding invitations that really stand out from the crowd. With just one click, you can add a layer of engagement that static photos just can't compete with.
Refining Your Edits and Troubleshooting Issues
Let's be honest: even with the perfect prompt, the first AI image you get isn't always the one. That’s a completely normal part of the process, and learning how to refine your results is what really separates the pros from the casual users when they edit my photo with AI.
Think of it like a conversation. Your first prompt is your opening line, and the AI’s output is its reply. From there, it's your turn to guide the dialogue with small, specific adjustments. This back-and-forth, known as iterative prompting, is the secret to nudging the AI closer and closer to what you’re picturing in your head.
For instance, if the AI gives you a great portrait but the lighting feels a little flat, you don't need to start over from scratch. Just add a simple phrase like, "with soft, diffused morning light," and generate it again. These little tweaks are way more effective than writing a whole new complex prompt.
Identifying and Fixing Common AI Glitches
AI models are incredibly powerful, but they still have their quirks. Recognizing these common glitches is the first step to fixing them. As you get more experienced, you'll start to notice the typical common issues that lead to poor image quality and learn how to sidestep them.
Here are a few frequent problems and how I usually tackle them:
- Distorted Hands or Fingers: This is a classic AI hiccup. The best fix is using negative prompts like
mutated hands, extra fingers, poorly drawn handsto tell the AI what to avoid. - Unnatural Textures: If skin looks overly smooth or a fabric looks waxy and fake, get more descriptive. Add phrases like
realistic skin textureordetailed fabric weaveto your prompt. - Strange Artifacts: Sometimes you’ll see weird shapes or blurry spots pop up out of nowhere. This can often be fixed by just slightly rephrasing your prompt or being more specific about wanting a clean background.
Iterative prompting is a powerful antidote to creative burnout, a phenomenon that plagues many creators. According to a 2022 HubSpot survey, 61% of marketers cite generating ideas and leads as their biggest challenge. AI's ability to rapidly produce variations turns potential frustration into a series of small, satisfying wins, keeping the creative process fluid and engaging.
When to Refine and When to Restart
Knowing when to keep tweaking a prompt versus when to just scrap it and start over is a skill that comes with practice. My rule of thumb? I look at how close the first result is to my end goal. For a deeper dive, our guide on photo editing techniques covers more advanced strategies.
Here’s a quick framework to help you decide what to do next:
| Situation | Recommended Action | Why It Works |
|---|---|---|
| Close, but needs tweaks | Refine the prompt | The AI can easily incorporate small changes to lighting, style, or details. |
| Wrong composition or subject | Start over with a new prompt | The AI fundamentally misunderstood your idea. It's faster to give it a fresh, clearer direction. |
| Flawed source image | Start over with a better photo | If your original photo is blurry or has bad lighting, no amount of prompting can fix a weak foundation. |
Finally, once you've nailed the perfect image, always export it in the highest quality you can. I recommend using a PNG file for sharing online to keep things sharp, and a high-resolution JPEG if you plan on printing. This last step makes sure all your hard work looks amazing in the final result.
Got Questions About AI Photo Editing? We've Got Answers
Jumping into AI photo editing for the first time usually sparks a few questions. Is it safe? Does it cost a fortune? Can it really do what a pro photographer does? It's smart to ask. Let's tackle the big ones so you can get started with confidence.
Is It Safe to Upload My Photos to an AI Editor?
This is a big one, and a totally fair question. When you use a reputable platform like DreamShootAI, your privacy is a top priority. We use secure, encrypted connections (think HTTPS and AES-256 encryption) for every single upload.
A trustworthy service will always be upfront about its privacy policy. The key things to look for are statements confirming that your original photos stay yours and that they won't be used to train AI models without your explicit say-so.
If you're working with extremely sensitive images, you could always look into desktop-based AI software that keeps everything on your local machine. But honestly, for most people, a secure online service offers the perfect mix of power and convenience without the headache.
What Kind of Photos Work Best for AI Editing?
Here’s a golden rule: good photos in, great photos out. AI editors aren't magic wands (though sometimes it feels like it!), and they get the best results when they have good material to work with.
For the most stunning edits, start with photos that are:
- Well-lit and in sharp focus
- A decent resolution—1024x1024 pixels is a great starting point
- Featuring a clear subject without a super busy or cluttered background
Sure, AI can definitely clean up a less-than-perfect shot. But if you give it a high-quality canvas to start with, the final product will be on another level.
Can AI Completely Replace Professional Photo Editors?
That’s the million-dollar question, isn't it? The consensus is pretty clear: AI is an incredibly powerful assistant, not a full-on replacement for every situation. It’s brilliant at speeding up the creative workflow, knocking out tasks like background removal, object swaps, and color grading in seconds. A recent Goldman Sachs report estimates that generative AI could automate up to one-fourth of labor tasks in the U.S. and Europe, with creative roles seeing significant augmentation rather than replacement.
“AI isn’t here to replace artists. It’s here to make our lives easier," states content marketing expert Anangsha Alammyan. "It’s like having an assistant who speeds up the process, gives you fresh ideas… and does most of the grunt work for you.”
For most of us, and even for many commercial projects, the results from AI are more than good enough. Professional photographers and editors often use AI to handle the tedious, repetitive stuff, which frees them up to focus on the final creative touches that still benefit from a human eye.
How Much Does It Cost to Edit My Photo with AI?
Pricing is all over the map, so it depends on where you go. Many services, including DreamShootAI, operate on a credit-based system. You simply buy a pack of credits and use them as you go to generate or edit your images. It’s a super flexible model that lets you pay for exactly what you need.
Other platforms might lean towards monthly or annual subscriptions that give you a certain number of edits or even unlimited access. You'll also find free tools out there, but they usually come with strings attached—like watermarks on your images, lower resolution outputs, or painfully slow processing times. Generally, the price reflects the power of the AI features and the quality of the images you get back.
Ready to see what all the fuss is about? With DreamShootAI, you can create professional headshots, incredible themed photoshoots, and even fun video clips from your favorite selfies. Stop wondering and start creating.
Written by Jocelyn Grey for the DreamShootAI blog.
Spotted something out of date? Tell us at [email protected] and we'll fix it.