Add hair to photo: Realistic Edits with AI, Photoshop & More
Learn how to add hair to photo with AI, Photoshop, and mobile tools for natural, realistic editing - easy steps, tips, and examples.
When it comes to adding hair to a photo, you've got a few solid options. You can go the AI route for practically instant results, fire up old-school software like Photoshop for pixel-perfect control, or use a handy mobile app for quick fixes on the go. Each path offers a different mix of speed, realism, and creative freedom, letting you do anything from a minor touch-up to a full-blown hair transformation.
Why Digitally Adding Hair Is More Than Just Vanity
Let's be honest, the urge to tweak our appearance in photos is nothing new. But today’s tech has turned it into a creative outlet that’s accessible to everyone. The reasons for adding hair to a photo go way beyond vanity—it's a powerful mix of self-expression, practical experimentation, and even preserving memories.
For many, it's about reclaiming a bit of confidence. Digitally counteracting hair loss in a favorite portrait can help the photo better match how they see themselves. It’s a small change that makes a big emotional difference.
This isn't just a feeling; it’s a trend. A study published in the Journal of Consumer Research found that individuals feel a stronger connection to photos that align with their ideal self-image. Editing hair can be a huge part of that, whether it’s for a personal keepsake or a polished professional profile picture.
Exploring Creative and Practical Possibilities
Beyond fixing up old photos, digitally adding hair has some seriously practical uses that can save you time and money. Think of it as a virtual dressing room for your head. You can experiment with new cuts, colors, and styles before you ever set foot in a salon.
This "try before you buy" concept is a significant driver in the beauty tech industry. A 2023 report from Perfect Corp revealed that virtual try-on technology can increase sales conversions by 2.5 times. It's a risk-free way to find a look that actually flatters your features. If you're not sure where to start, our guide on choosing hairstyles for your face can point you in the right direction.
As digital imaging pioneer Dr. Alvy Ray Smith, a co-founder of Pixar, once noted, "Reality is just a point of view." This sentiment captures the essence of modern photo editing, where we have the power not just to restore what was, but to explore what could be.
That perspective really nails it. Modern photo editing is a tool for both memory and imagination. The reasons people use it are all over the map and deeply personal:
- Restoring Memories: Adding hair back into older photos to capture a feeling of nostalgia or make a picture feel whole again.
- Creative Expression: Using wild hairstyles as a key element in artistic or fantasy-style images.
- Professional Branding: Making sure headshots and profile pictures project a sharp, confident vibe.
- Personal Experimentation: Trying out that bold hair color or dramatic cut you’ve always wondered about, with zero commitment.
In this guide, we’ll walk you through the best ways to add hair to your photos, from the simple magic of AI to the detailed control of manual editing.
Generate Instant Hairstyles With AI Photo Editors
The old way of changing hairstyles in photos meant hours hunched over complex software. Today, AI has completely changed the game. You can now add hair to a photo with nothing more than a few descriptive words, moving this kind of advanced editing from the pros to literally anyone. The key to making it work? It all comes down to one thing: writing a great prompt.
Think of yourself as an art director guiding a brilliant but very literal assistant. Your text prompt is the creative brief. The better your instructions, the more stunning and believable the result will be. A lazy request like "add hair" will get you a generic, often fake-looking image. But a detailed, thoughtful prompt? That can create something truly photorealistic.
This isn't just a niche trend. According to data from Exploding Topics, searches for "AI photo editor" have surged by over 250% in the last two years, underscoring the explosive demand for these powerful, easy-to-use tools. AI hairstyle editors are a perfect example of what people are looking for.
Crafting the Perfect Prompt for Realistic Hair
The secret sauce for a jaw-dropping result is all in the details. The AI needs specific instructions on everything from the style and color to the texture and—most critically—the lighting. Every little detail you add to your prompt refines the final image, nudging it closer to what you’re picturing in your head.
Let's break down what goes into a powerful prompt. For the best results, you'll want to include most, if not all, of these elements:
- Subject and Style: Start with the basics. Who's in the picture, and what hairstyle are you going for? Be specific. Instead of "man with hair," try something like, "cinematic photo of a man with a full, dark brown quiff hairstyle."
- Lighting Modifiers: This is probably the most important part for making the hair look real. The lighting sets the mood and creates believable shadows and highlights. Think in terms of "soft studio lighting" or "natural afternoon light."
- Texture and Details: Give the hair some life by describing its texture. Is it wavy, curly, straight, or maybe a little windswept? For example: "long, wavy blonde hair with natural highlights."
- Quality Descriptors: Use words that tell the AI you want top-tier quality. Terms like "photorealistic," "ultra-detailed," and "8k" push the generator to create a sharper, more convincing image.
As renowned generative artist Claire Silver states, "Prompting is an art form. The nuance of language is how we coax beauty from the machine."
This really drives home the need for specificity. Just changing one word—like swapping "studio lighting" for "golden hour sunlight"—can completely transform the image's feel and realism. The best way to see this for yourself is to play around with an AI hairstyle changer and watch how different prompts create totally unique results.
Prompt Examples From Simple to Advanced
To really see how much prompts matter, let's walk through a few examples. Say you have a photo and you want to give the person a completely new look.
Basic Prompt:add long brown hair to the woman
You'll probably get something okay, but it might look a bit generic. The lighting could be off, and the texture might look plasticky.
Improved Prompt:Photorealistic image of a woman with long, flowing chestnut brown hair, soft natural light from the side
Now we're getting somewhere. Specifying the color as "chestnut brown" and adding a lighting direction gives the AI much more to work with. The result will look way more natural.
Expert-Level Prompt:Ultra-detailed 8k photo of a woman with long, wavy chestnut brown hair with subtle honey highlights, styled in loose waves. Lit by soft, diffused afternoon sunlight coming from the left, creating gentle shadows. Focus on realistic hair texture.
This is the kind of prompt that delivers perfection. It’s a complete blueprint for the AI, defining the style, color, highlights, lighting, and quality. Getting this level of detail is also fundamental to understanding how entirely digital people are made. If you want to dive deeper into how AI creates human-like figures from scratch, it's worth learning what virtual models are and seeing how their appearances are built.
Gain Total Control With Manual Photoshop Editing
AI is fantastic for speed, but sometimes you need absolute, pixel-perfect control. When every strand, shadow, and highlight has to be just right, nothing beats getting your hands dirty in Adobe Photoshop. For professional retouchers and meticulous creators, it's still the gold standard. Manually adding hair is definitely a more involved process, but it’s the only way to guarantee a result so seamless, no one will ever know you faked it.
This need for digital hair perfection mirrors what's happening in the real world. According to a market analysis by Grand View Research, the global hair extensions and wigs market was valued at USD 6.74 billion in 2022 and is projected to expand significantly. That trend has a digital twin. Adobe has reported a 40% increase in Photoshop tutorials related to hair editing being accessed since 2022, signaling a massive user interest in mastering these techniques for everything from personal projects to professional work. If you're curious, you can read up on the fascinating history of hair augmentation from Fashion-Era.com.
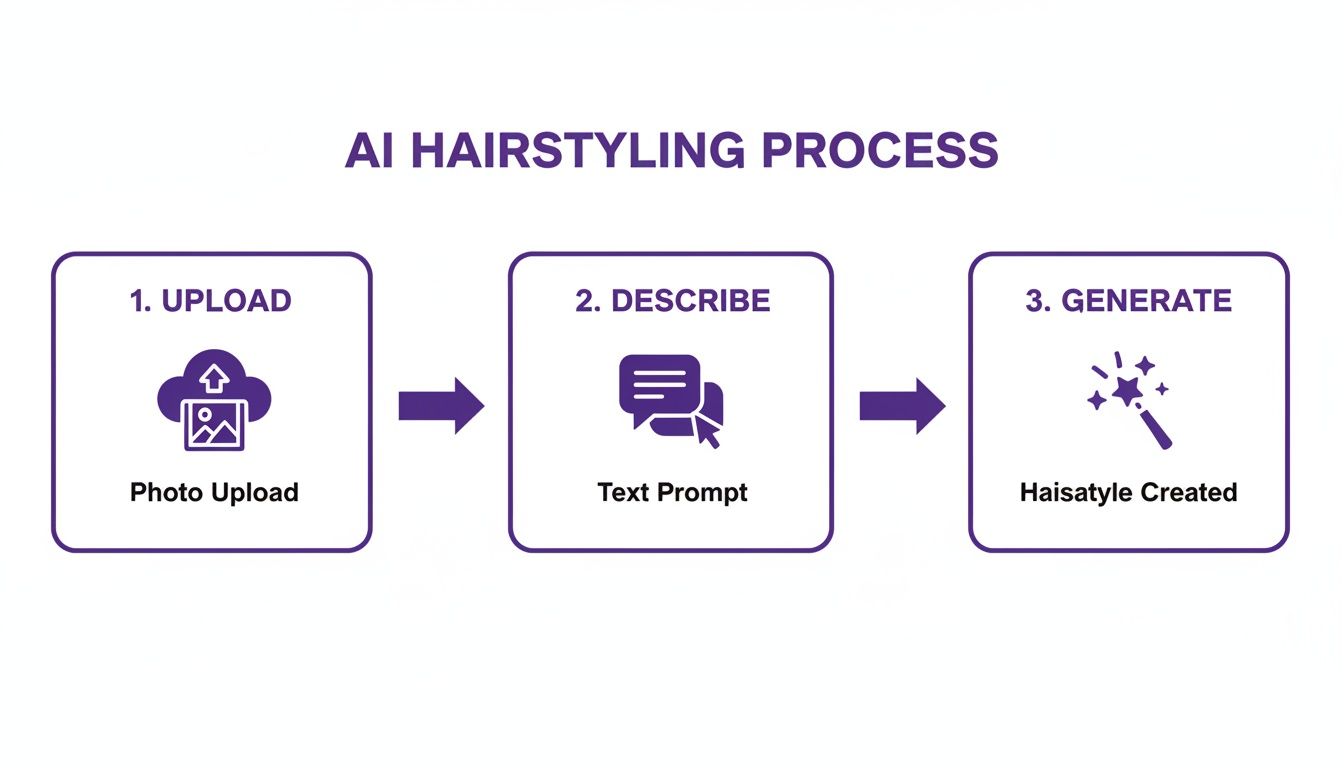
This simple AI workflow—upload, describe, generate—really throws the hands-on nature of Photoshop into sharp relief. It's why Photoshop remains the go-to tool when quality is the one thing you can't compromise on.
Finding and Prepping the Perfect Donor Hair
Your success in Photoshop starts way before you even open the app. It all comes down to finding the right "donor" photo—that's the picture with the hair you plan on borrowing.
First and foremost, you have to nail the lighting. If your subject is lit from the left, the donor hair must also be lit from the left. Mismatched lighting is the number one giveaway of a bad edit. The shadows and highlights just won't make sense, and the eye picks up on it instantly.
Next up is the angle. The donor hair needs to be shot from a similar perspective as your subject's head. You can't just slap hair from a side-profile shot onto a front-facing portrait and expect it to look right; the flow and shape will be completely off.
And finally, don't forget about resolution. Your donor photo needs to be just as sharp and high-res as your main image. Using a blurry, low-quality source will look like you just pasted something on top, and that’s exactly what we’re trying to avoid.
The Professional Workflow for Seamless Integration
Got your source material? Great. Now the real artistry begins. The pros rely on a non-destructive workflow built around Layer Masks. This technique lets you hide or show parts of an image layer without actually deleting anything, giving you the freedom to tweak and refine your edit as many times as you need.
Start by making a rough selection of the hair from the donor photo and dropping it onto a new layer over your subject. From there, you'll apply a Layer Mask and use a soft-edged brush to gently paint away the background, blending the new hair into the old.
As professional retoucher and educator Phlearn CEO Aaron Nace often emphasizes, "The goal of retouching is not to create perfection, but to enhance reality. The best edits are the ones you never notice."
That's the whole game: making your edit invisible. To get there, you'll need to get comfortable with a few key tools and tricks.
- The Clone Stamp Tool: This is your best friend for blending textures. I like to use it on a low opacity to sample nearby hair textures and paint over any harsh edges or seams. It’s perfect for creating a smooth, natural transition.
- Feathering Selections: When you're cutting out the donor hair, never use a hard, sharp edge. By feathering your selection by just a few pixels, you soften that transition line, making it much harder for anyone to spot.
- Painting Flyaways: Here’s a pro tip—real hair is never perfect. Use a tiny, single-pixel brush to paint in a few stray flyaway strands around the hairline. It’s a small detail, but it adds a massive dose of realism.
Mastering these manual techniques takes some practice, but the payoff is total, uncompromising control over your final image. For a closer look at these methods, check out our guide on how to edit hair in pictures.
Quick Hair Edits Using Mobile Apps
Sometimes you just want to see a change, and you want to see it now. If you’re not looking to spend hours in Photoshop and just need a fast, fun edit, mobile apps are your best friend.
Apps like FaceApp and YouCam Makeup basically put a digital salon in your pocket. They're built for speed and simplicity, which makes them perfect for trying out a new look for your next Instagram post or just satisfying your curiosity about going blonde.
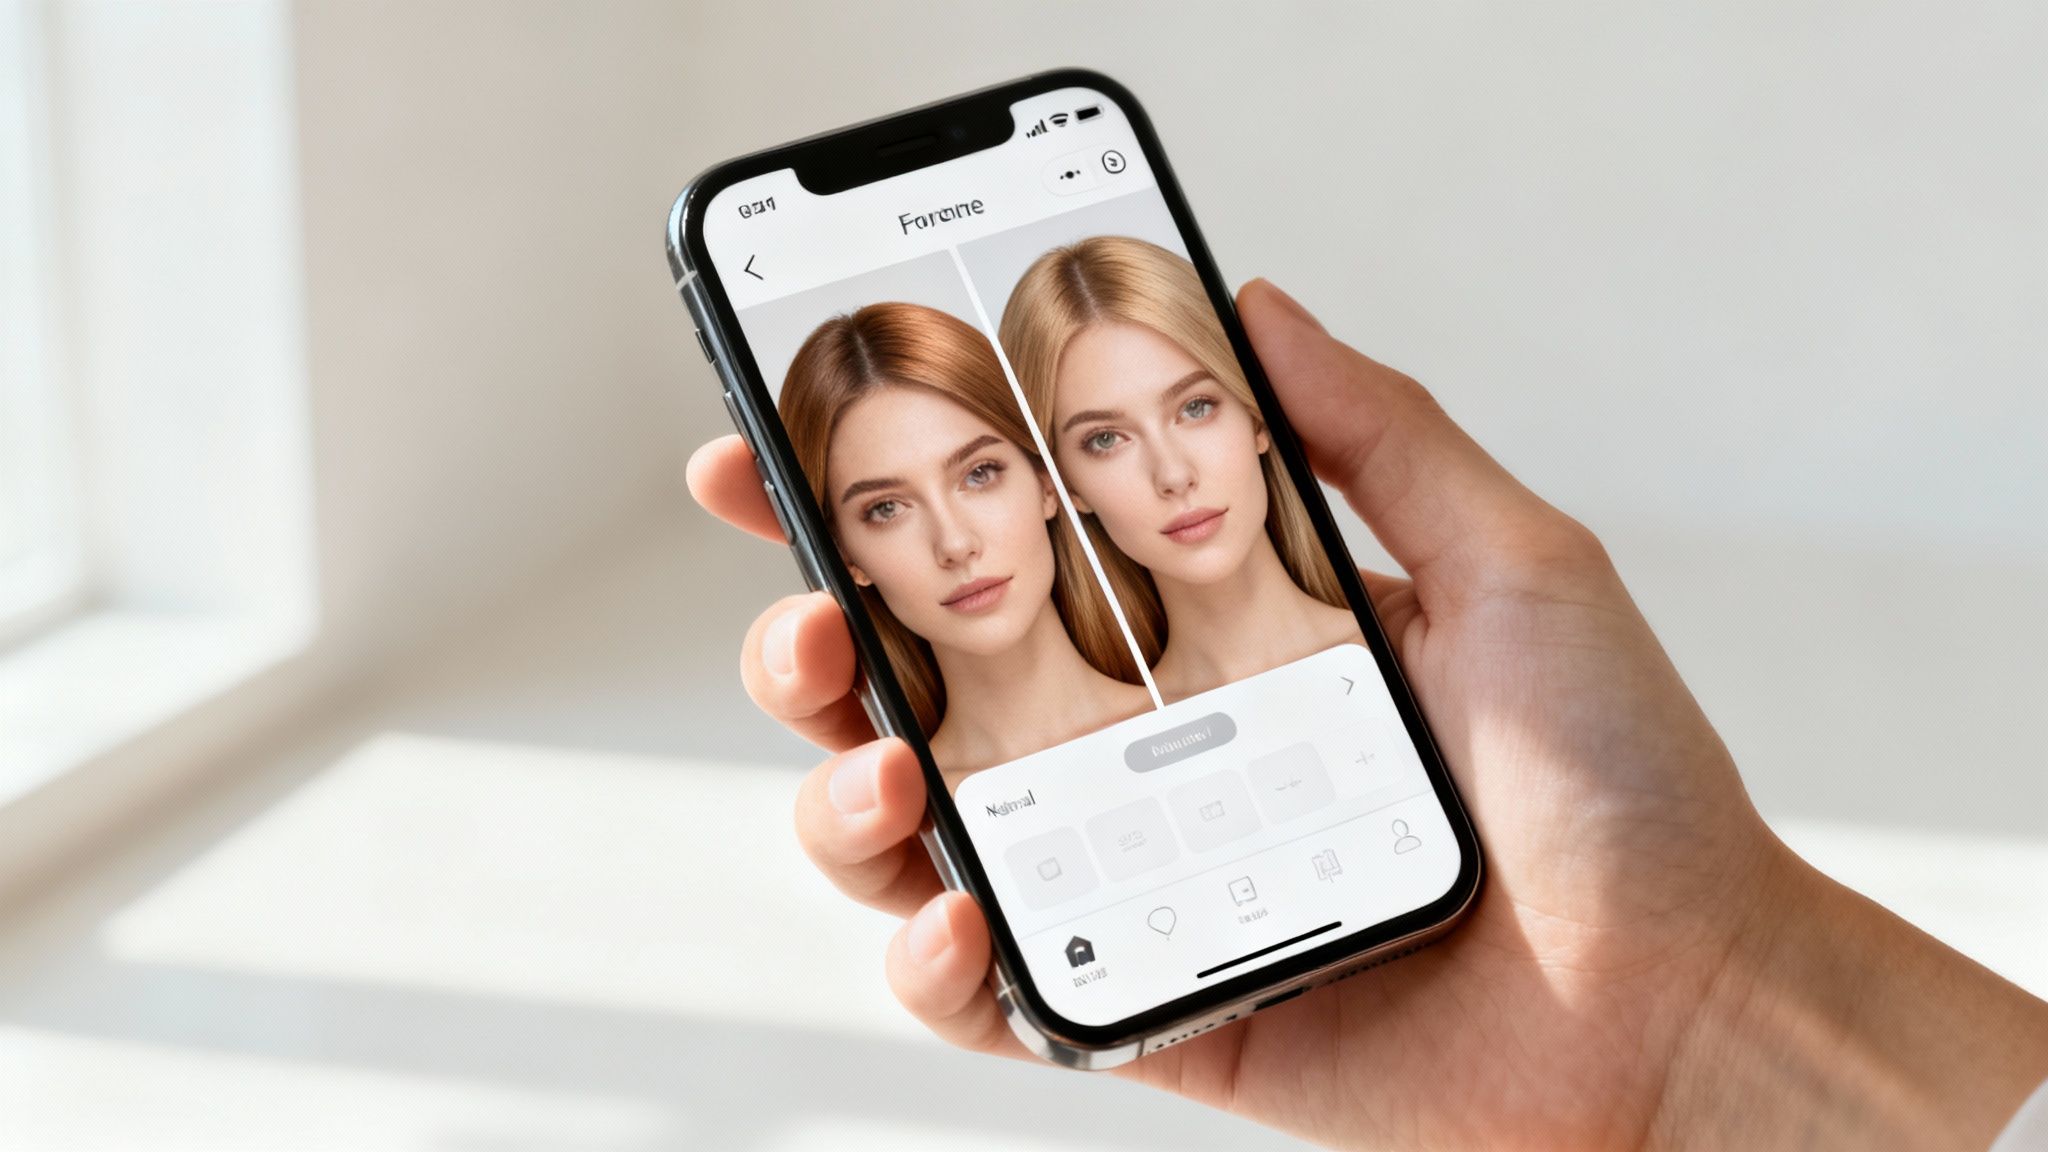
With just a few taps, these apps use surprisingly sophisticated AI filters to slap on new hairstyles, change colors, and even add a bit of volume. The process is dead simple, which is exactly why they’ve exploded in popularity.
The scale of this adoption is staggering. According to Sensor Tower data, leading photo editing apps consistently rank among the top downloaded applications worldwide, with a combined download count easily exceeding 500 million. This digital obsession makes sense when you see it mirrored in the real world—a recent survey found nearly 70% of women between 18 and 34 have used hair extensions. You can dive deeper into the history of hair styling trends on Fabulive.com.
Getting the Best Results from Automated Tools
Even though these apps do most of the heavy lifting, the final result is only as good as the photo you give them. The AI works best with clean, clear images, so a little prep goes a long way.
To help the filters apply as cleanly and realistically as possible, keep these simple tips in mind:
- Find Good Light: A well-lit photo is non-negotiable. Bright, even light without any dramatic shadows helps the app map your face and hairline accurately.
- Face Forward: Most of these filters are designed for a straight-on portrait. A photo where you're looking right at the camera will give you the most natural-looking results.
- Keep the Background Simple: A plain, uncluttered background lets the AI focus on what matters—your face and hair—without getting distracted by other stuff in the shot.
The Pros and Cons of Mobile Hair Apps
Let's be real: mobile apps are a mixed bag. They offer incredible convenience, but they come with their own set of limitations. The biggest pro is, without a doubt, speed. You can test drive dozens of hairstyles in the time it takes to brew a cup of coffee.
As social media strategist Jenn Herman of Jenn's Trends advises, "For ephemeral content on platforms like Instagram Stories or TikTok, speed and engagement are key. The goal isn't necessarily pixel-perfect realism, but creating something fun and shareable."
That quote nails it. These apps are fantastic for creating playful, shareable content where authenticity isn't the top priority.
But that simplicity is also their biggest drawback. You have very little creative control compared to manual editing or more advanced AI tools. You're pretty much stuck with the app's library of preset styles and colors, with almost no ability to fine-tune the little details.
The realism can also be hit-or-miss. Sometimes it looks great, but other times you end up with that obvious "filtered" look that screams digital alteration. They're a brilliant place to start and a ton of fun to play with, but they probably aren't the right choice for a professional headshot or a framed family portrait.
Mastering the Details for a Believable Edit

Whether you're tapping into an AI generator or getting granular in Photoshop, the final touches are what truly sell the illusion. This is where a good attempt becomes a flawless, believable edit. The whole point is to make the added hair look like it was always there, and that magic is all in the subtle details of light, shadow, and texture.
This desire to add hair to photo isn't just a modern digital trick; it has roots that go way back. Historical records cited by the Metropolitan Museum of Art confirm that ancient Egyptians wore elaborate wigs made of human hair as early as 2700 BCE. It’s an age-old impulse to perfect our look.
Unifying Light and Shadow
Here's the single most important rule for a believable edit: the lighting has to match. Period. If the light in your original photo is hitting from the right, the highlights on the new hair must also be on the right, with soft shadows falling to the left. If it’s off, the human eye will spot it immediately.
Take a second to really look at your base image to get this right.
- Where's the light coming from? Pinpoint the main light source.
- What kind of shadows are there? Are they sharp and defined like on a sunny day, or are they soft and diffused from studio lights or an overcast sky?
- Match the bright spots. The highlights on the new hair need to line up perfectly with the highlights on your subject’s face and clothes.
To really nail this, it helps to understand the fundamentals of visual design. A great toolkit for managing strokes, shadows, and outlines can make all the difference in creating a realistic final image.
The Art of the Imperfect Hairline
Nothing screams "fake" faster than a perfectly straight, hard-edged hairline. Real hairlines are soft, a little uneven, and blend naturally into the skin. Your edit needs to copy that.
If you’re in a manual editor like Photoshop, grab a soft, low-opacity brush and gently paint along the hairline using a layer mask. This simple technique softens the edge and makes the blend look so much more natural. With AI tools, you might need to use an "outpainting" or "inpaiting" feature to finesse the spot where the hair meets the forehead.
As any seasoned portrait photographer will tell you, "Realism isn't about perfection; it's about believable imperfection."
This is absolutely crucial. Adding a few wispy, stray flyaway hairs can instantly boost the authenticity of your edit. I like to use a tiny, single-pixel brush to paint in a few delicate strands breaking away from the main hairstyle. It's a small detail, but it tricks the brain into seeing the whole thing as genuine. These little flaws are what sell the entire illusion.
Answering Your Questions About Adding Hair to Photos
As you start diving into the world of digital hair editing, it's totally normal for a few questions to pop up. Getting these sorted out first will save you a ton of time and help you pick the right approach for what you want to achieve.
How Can I Get Realistic and Varied Results?
When you’re working with AI, getting that authentic look is all about the details in your prompts. Don't just say "add blonde hair." Get specific. Think like a photographer and specify the lighting ("soft morning light"), the texture ("fine, straight hair"), and the overall quality ("photorealistic," "ultra-detailed"). This gives the AI the specific direction it needs to create something that looks natural, not generated. It might take a few tries, but that’s part of the creative process.
Is This Just for Head Hair, or Can I Add Beards?
Absolutely! You can use these exact same techniques to add facial hair, like beards or mustaches. In an AI tool, a prompt like "photorealistic, rugged man with a short, well-groomed beard" works like a charm. If you're going the manual route in Photoshop, the process is nearly identical to adding hair to the scalp—it all comes down to careful blending of texture and color.
As legendary animator Glen Keane advises, "Believe your drawing is a real thing. And if you believe it, the audience will believe it." That wisdom holds true here. Whether it's a well-crafted text prompt or a meticulously planned Photoshop layer, a solid foundation is what leads to a convincing final image.
How Do I Perfectly Match Hair Color in Photoshop?
This is where adjustment layers become your best friend. Trying to match colors on the same layer as the hair you've added is a recipe for frustration. Instead, use tools like "Color Balance" or "Selective Color" on a separate adjustment layer. This lets you tweak the tones in the highlights, midtones, and shadows independently until the new hair blends perfectly into the lighting of the original photo.
I'm a Total Beginner. Where Should I Start?
If you're just starting out, AI-powered editors are hands-down the easiest entry point. They completely bypass the steep learning curve of traditional software and can give you amazing results with just a simple text description. For quick, fun edits you want to share on social media, mobile apps are also a fantastic, user-friendly option.
This ease of use is fueling a huge change in photo editing. A report by Allied Market Research projects the global digital photo frame market, which includes software, will reach $1.46 billion by 2030. A big reason for that growth is the demand for AI features that deliver professional results without requiring professional skills.
Ready to create stunning, professional-quality photos without the hassle? DreamShootAI transforms your simple selfies into breathtaking themed photoshoots, complete with perfect hairstyles, outfits, and backgrounds. Generate everything from elegant wedding portraits to polished professional headshots in minutes. Explore endless creative possibilities and get studio-grade results from the comfort of your home. Start your DreamShoot today!
Written by Jocelyn Grey for the DreamShootAI blog.
Spotted something out of date? Tell us at [email protected] and we'll fix it.