Create Indian wedding photos for your wedding album with AI. Cute couple poses, traditional wedding dresses like lehenga, saree, bandhgala and sherwani - all customized to your style.
Upload photos and let AI craft your Indian wedding photos. Cute couple poses, traditional wedding dresses like lehenga, saree, bandhgala and sherwani, and wedding hairstyles - all customized to your style. Professional-grade wedding photos, minus the professional price tag. Save time, money, and look amazing - all without an expensive photographer!
Features:
Wedding Photography
Indian Wedding
Bridal Photos
Wedding Portraits
Wedding Sarees
Wedding Album
AI Wedding
Indian Couple Poses
20 photos included
1,200+ photos generated
Desi Wedding
AI Desi Wedding Photo Generator
Create Desi wedding photos for your wedding album with AI. Cute couple poses, traditional wedding dresses like gharara, saree, bandhgala and sherwani - all customized to your style.
Upload photos and let AI craft your Desi wedding photos. Cute couple poses, traditional wedding dresses like gharara, saree, bandhgala and sherwani, and wedding hairstyles - all customized to your style. Professional-grade wedding photos, minus the professional price tag. Save time, money, and look amazing - all without an expensive photographer!
Features:
Wedding Photography
Indian Wedding
Bridal Photos
Mehndi Photos
Wedding Sarees
Wedding Album
Nikah Photos
Desi Couple Poses
20 photos included
1,200+ photos generated
Valentine's Day
AI Valentine's Day Photo Generator
Create romantic Valentine's Day themed photos. Perfect for cards, social media, or capturing love-filled moments with your special someone.
Transform your photos into a romantic Valentine's Day album. From candlelit dinners to rose-filled scenes, let our AI create the perfect backdrop for your love story. Save time, money, and look amazing - no need for an expensive photographer.
Features:
Valentine's Day
Romantic Photos
Love Letters
Couple Portraits
Romance Photography
Heart Theme
Love Story
Special Moments
40 photos included
1,400+ photos generated
Hairstyle
AI Hairstyle Generator
Try different hairstyles and colors before getting a haircut. Perfect for visualizing your next look or exploring new styles.
Explore endless hair possibilities without the scissors. Upload your photo and let our AI show you how you'd look with any hairstyle or color. Save time, money, and look amazing - no need for an expensive photographer.
Features:
hairstyle ideas
wedding hairstyles
wedding guest hairstyles
hairstyle generator
Hair Design
Beauty Photography
Salon Look
20 photos included
1,600+ photos generated
Professional Headshots
AI Professional Headshot Generator
Transform your selfies into picture-perfect professional headshots in minutes. Upload photos, receive headshots for LinkedIn, CVs, and beyond.
Stand out on LinkedIn and attract more job offers with AI-generated professional headshots. Get up to %180 more job offers from hiring managers. Create an AI model of yourself and generate endless headshots—no need for an expensive photographer. Perfect for LinkedIn, CVs, resumes, and beyond.
Features:
ai headshot generator
ai professional headshot
ai headshots
ai professional headshot generator
Linkedin photos
pfp maker
20 photos included
3,600+ photos generated
Wedding
AI Wedding Photo Generator
Create stunning AI-generated wedding photos. Cute couple poses, stunning wedding dresses and wedding hairstyles - all customized to your style.
Upload photos and let AI craft your perfect day. Cute couple poses, stunning wedding dresses and wedding hairstyles - all customized to your style. Professional-grade wedding photos, minus the professional price tag. Save time, money, and look amazing - no need for an expensive photographer.
Features:
Wedding Photography
Save The Date
Bridal Photos
Wedding Portraits
Wedding Planning
Wedding Album
AI Wedding
Couple Poses
20 photos included
1,200+ photos generated
Nature
AI Nature Photo Generator
Generate outdoor and nature photography with AI.Transform your photos into professional adventure shots with beautiful landscapes and natural backdrops. Perfect for travel content and outdoor enthusiasts.
We'll transform your selfies into a gallery of trekking triumphs and camping memories, set against nature's most stunning backdrops. Save time, money, and look amazing - all without an expensive photographer!
Features:
Nature Photography
Outdoor Portraits
Adventure Photos
Travel Photos
Landscape Photography
Scenic Views
Outdoor Adventure
Wanderlust
20 photos included
800+ photos generated
Mafia
AI Mafia Photo Generator
Channel your inner don or donna with these stylish, vintage-inspired photos. Perfect for themed parties or dramatic social media posts.
Step into the golden age of the mafia with gangster-era portraits. From mafia attire to classic mob style, vintage suits, and timeless sophistication - all without an expensive photographer!
Features:
Vintage Photography
Film Noir
1920s Style
Gatsby Era
Classic Portraits
Dramatic Portraits
Stylized Portraits
Noir Style
20 photos included
950+ photos generated
Cyberpunk
AI Cyberpunk Photo Generator
Dive into the vibrant world of neon-lit cityscapes and cyberpunk aesthetics. Ideal for futuristic themes or eye-catching digital art.
Step into a cyberpunk world with AI-generated futuristic photos! From neon-lit cityscapes to high-tech fashion, create stunning sci-fi portraits and dystopian aesthetics. Experience AI cyberpunk photography like never before—all without an expensive photographer!
Features:
Cyberpunk
Urban Photography
Neon Art
City Lights
Digital Art
Future Fashion
Night Life
Tech Aesthetic
20 photos included
2,200+ photos generated
Holiday 🏖️
AI Holiday Photo Generator
Capture the magic of the holiday season with these festive themed photos. Great for cards, decorations, or spreading holiday joy.
Create stunning holiday photos with AI! From beach vacations to Christmas market strolls, transform your selfies into professional travel photography. Capture honeymoon memories, family holiday pictures, and romantic getaways—all without an expensive photographer!
Features:
Holiday Photos
Christmas Cards
Winter Wonderland
Family Portraits
Seasonal Photography
Holiday Magic
Festive Photos
Season's Greetings
20 photos included
1,500+ photos generated
Engagement
AI Engagement Photo Generator
Celebrate love with these romantic engagement-themed photos. Perfect for announcements, invitations, or capturing special moments.
Turn your selfies into professional engagement photos and romantic pre-wedding pictures in just minutes. DreamShootAI lets you explore couple poses and gorgeous hairstyles. Save time, money, and look amazing - no need for an expensive photographer.
Features:
Engagement Photos
Proposal Pictures
Couple Portraits
pre-wedding photos
Ring Photos
save the date
Romance Photos
Perfect Proposal
20 photos included
1,100+ photos generated
Boudoir
AI Boudoir Photo Generator
Create tasteful and artistic couple boudoir photos. Ideal for private collections or exploring intimate photography.
Experience the art of erotic photography and a sexy photo shoot from the privacy of your home. Try AI lingerie and explore stunning looks—no need for an expensive photographer. Save time, money, and look amazing - no need for an expensive photographer.
Features:
Boudoir Photography
Intimate Portraits
Couple Photos
Artistic Photography
Romantic Pictures
Anniversary Photos
Private Session
Sensual Photography
20 photos included
750+ photos generated
Gala Photos
AI Gala Photo Generator
Generate sophisticated high-class party scenes. Perfect for event planning, invitations, or visualizing elegant gatherings.
From designer gowns and to elegant tuxedos. Upload photos and our AI creates stunning, paparazzi-worthy shots of you two owning the night at the most exclusive galas and balls. Save time, money, and look amazing - no need for an expensive photographer.
Features:
Gala Photos
Luxury Events
Red Carpet
Black Tie
Fashion Photography
Formal Events
High Society
Glamour Shots
20 photos included
1,300+ photos generated
Christmas Couple
AI Christmas Couple Photo Generator
Create magical Christmas couple photos with AI. Romantic moments under the mistletoe, cozy fireplace scenes, snowy winter wonderland portraits perfect for holiday cards.
Make this holiday season unforgettable with DreamShootAI, the premier AI Christmas photo generator for couples and families. Whether you are looking for romantic Christmas couple pictures under the mistletoe or personalized AI holiday photos for your digital cards, our advanced models deliver studio-quality results in seconds. Generate your custom AI Christmas album today and capture the magic of the season with just a few clicks.
Features:
Christmas Photos
Couple Photos
Holiday Cards
Romantic Christmas
Winter Wonderland
Mistletoe Photos
Christmas Portraits
Festive Couple
40 photos included
850+ photos generated
Christmas Photos
AI Christmas Photo Generator
Generate stunning AI Christmas photos with Santa outfits, winter scenes, festive backgrounds and holiday magic. Perfect for cards, gifts, and social media.
DreamShootAI, Worlds's best AI Christmas photo generator. Skip the expensive studio and create realistic AI Christmas photos from the comfort of your home. Whether you are looking for a whimsical AI Christmas portrait in a snowy wonderland, or personalized AI holiday photos for your digital cards, generate your custom AI Christmas album today and capture the magic of the season with just a few clicks.
Features:
Christmas Photos
Holiday Photos
Santa Photos
Winter Photos
Christmas Cards
Festive Photos
AI Christmas
Holiday Magic
40 photos included
1,200+ photos generated
December 9, 2025
How to Fix Lighting in Photos for Pro-Level Results
Learn how to fix lighting in photos with our expert guide. Discover in-camera secrets, powerful editing workflows, and AI tools for stunning images.
You can fix lighting in photos in two key places: right in your camera before you take the shot, and later on, using editing software. It’s a one-two punch of managing things like exposure and white balance on the fly, then fine-tuning your images with tools like curves, levels, and selective adjustments to get the highlights and shadows just right.
Why Mastering Light Is Your Biggest Photography Win
Bad lighting is the silent killer of incredible photos. It’s what separates a forgettable snapshot from a professional, emotive image. When your lighting is off—maybe it’s too dim, too harsh, or casting a weird color—your photos just fall flat. A study published in the Journal of Consumer Research found that images with higher contrast and better lighting are perceived as more aesthetically pleasing and can even influence purchasing decisions. When lighting is flawed, photos lose the depth, detail, and emotion that pull a viewer in.
Frankly, learning how to wrangle light is the single most important skill you can build as a photographer.
And this isn't just an opinion. The global market for photography lighting equipment was valued at USD 2.5 billion in 2023 and is projected to nearly double by 2032, according to analysis by Dataintelo. This shows just how much everyone, from hobbyists to pros, invests in getting their light right. They know it's the secret sauce.
Diagnosing Common Lighting Issues
Before you can fix anything, you have to know what’s broken. So many photographers get frustrated because they know an image feels "off" but can't put their finger on why. Learning to diagnose the problem is the first step toward creating truly professional-looking photos.
The usual suspects? Harsh shadows that swallow up facial features, blown-out highlights that erase detail in bright spots, or those strange color casts you get from indoor lighting.
“Good lighting can make a mediocre subject look amazing, but bad lighting will make an amazing subject look mediocre. Light is your most powerful tool; learn to shape it, not just capture it.” — Alex Thompson, Professional Portrait Photographer
To help you get your bearings, let’s quickly break down these common issues and the tools we’ll cover in this guide to fix them.
Common Lighting Problems and Their Solutions at a Glance
Here’s a quick cheat sheet that summarizes the most frequent lighting headaches photographers face and the best ways to tackle them, both in the moment and during your edit.
Lighting Problem
In-Camera Solution
Post-Production Tool
Too Dark (Underexposed)
Increase ISO, Use a wider aperture (lower f-stop), Slower shutter speed
Use a reflector or fill flash, Move subject to open shade, Use a diffuser
Shadows Slider, Dodge Tool, Selective Adjustments
Unnatural Color Cast
Set custom White Balance (WB), Use a grey card for reference
White Balance/Temperature Sliders, Color Balance Tool
This table is a great starting point, but we'll dive deeper into exactly how and when to use these tools throughout the rest of this guide.
Getting the Light Right Before You Click the Shutter
Honestly, the best way to fix bad lighting in your photos is to deal with it before you even press the shutter button. Getting it right in the camera saves you a world of headaches later on when you're staring at a screen, trying to salvage a flawed image. It’s about taking control of your camera and the scene around you, turning a frustrating problem into a creative choice.
This is where the real magic happens. Instead of just being a passive observer, you become an active participant in creating the shot. As the legendary portrait photographer Joe McNally famously said, "Don't be a spectator of light; be a participant." Shifting to this mindset is what separates a simple snapshot from a truly compelling photograph.
The ideal workflow is pretty straightforward: first, see what the lighting problem is. Then, use your camera's settings to fix it on the spot. Editing should always be the last resort. When you prioritize getting it right in the field, you capture a much higher quality image file, which makes any final tweaks in post-production look far more natural and effective.
Master Your Camera's Core Settings
Your camera is packed with powerful tools for controlling light. If you're serious about your photography, learning to use them is non-negotiable.
Exposure Compensation: Look for the [+/-] button—it's your best friend for quick adjustments. If your subject is backlit by a bright sky, their face will likely be too dark. Just dial up the exposure compensation (+1 or +2) to expose for them properly. On the flip side, if you're shooting a bright white scene like snow, dialing it down (-1) will keep the snow from looking like a dull gray blob.
White Balance (WB): Ever take a photo that just looks… weird? The colors are all off? That’s probably your white balance. Photos under office lights can get a sickly green tint, while shots in the shade often look too blue. You can either set your WB to match the lighting conditions (like "Cloudy" or "Tungsten") or, for the most accurate colors, create a custom white balance.
Manipulate Light with Simple Tools
You don't just have to rely on camera settings; you can physically change the light hitting your subject. And you don't need a truckload of expensive gear to do it.
A simple reflector, for example, can bounce light into shadows, instantly brightening a face and adding that professional-looking catchlight to your subject's eyes. This is a go-to technique for anyone trying to get rid of shadows in pictures. In the same vein, a diffuser held between the sun and your subject can soften that harsh, direct light, creating a much more flattering, gentle look for portraits.
Portable LED lighting has also been a complete game-changer. These things are efficient, you can dial the brightness up or down, and they're easy to carry around. It's no surprise the market for them is expected to hit USD 1,489.59 million by 2030, according to Grand View Research. They’ve made professional lighting accessible to just about everyone.
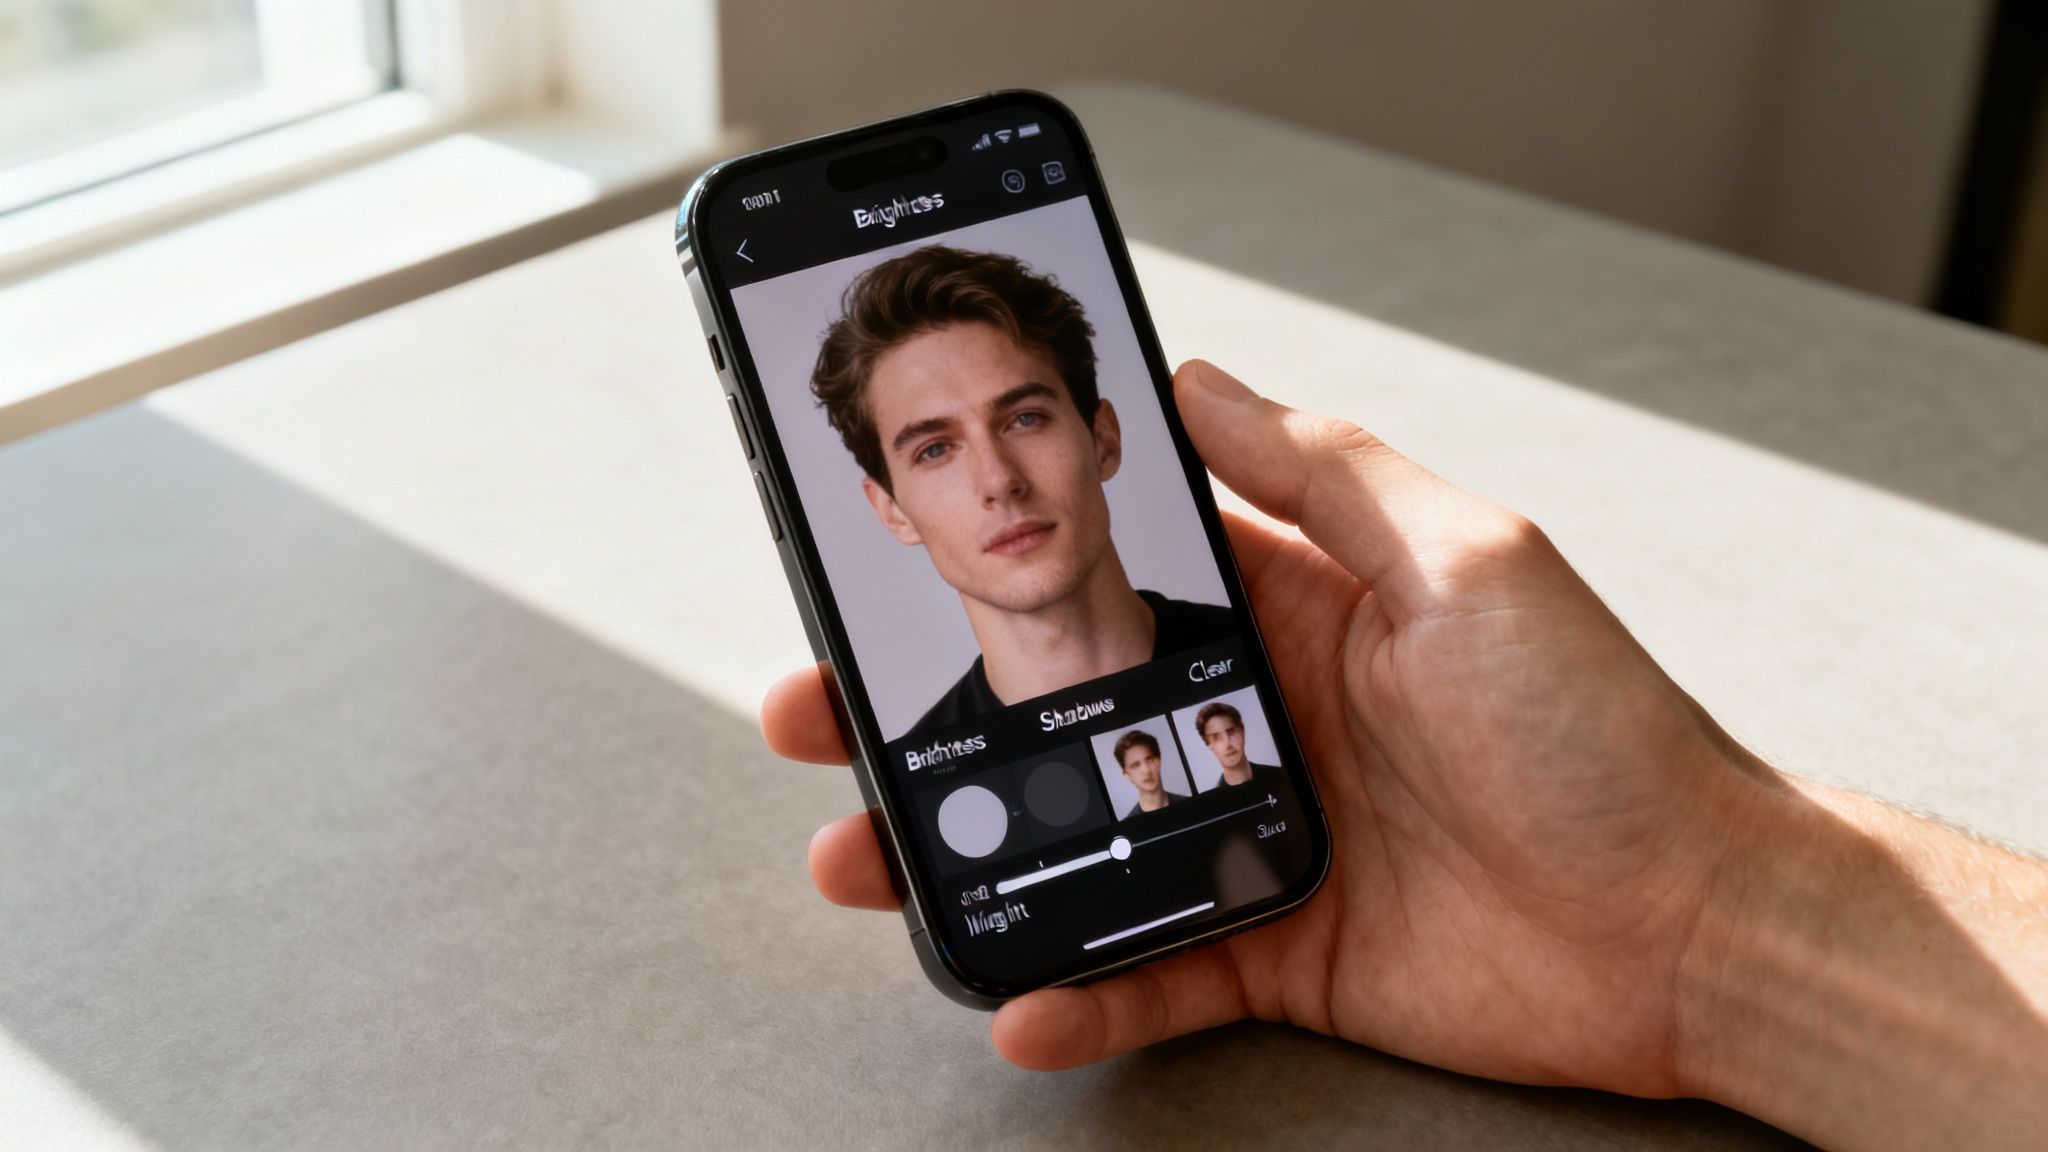
Long gone are the days when you needed a beefy desktop computer to fix your photos. The most powerful editing tool is probably the one in your pocket right now. And it makes sense—with phone cameras getting ridiculously good, it's no surprise that over 87% of all digital photos are now snapped on a smartphone, according to data from Statista. The editing apps have had to keep up.
Your phone’s built-in Photos app (whether you’re on an iPhone or an Android) is the best place to start. The sliders might look simple, but they are incredibly effective for quick fixes. Think of them as the first-aid kit for your photos; you can make a huge difference in just a few seconds.
The Three Sliders That Do Most of the Heavy Lifting
When you open a photo in your editor, these are the first tools you should look for. A tiny nudge on any of these can completely change the feel of your image.
Brightness (or Exposure): This is your big, main dial. If the whole photo feels dark and murky, a gentle bump in brightness will lift everything up, making it feel way more alive and clear.
Shadows: This one is more surgical. It zeroes in on just the darkest parts of your picture. Instead of making the whole photo brighter, it lets you pull details out of the shadows without blowing out the highlights. It's an absolute lifesaver for backlit shots where your subject is too dark.
Highlights: The exact opposite of the shadows slider. This tool is all about rescuing detail from the brightest spots. Use it to bring back the texture in a white t-shirt that looks like a washed-out blob, or to reveal the subtle colors in a sky that’s just a little too bright.
"Underexposing in camera is the BIGGEST reason for having excessive noise in your photos... Noise lurks in the shadows, so when you raise the exposure in processing, you actually make the noise more visible." — Audrey Ann, Photography Educator
This is a fantastic point from photographer Audrey Ann. As great as these mobile tools are, they can’t work miracles. If you crank the Shadows slider all the way up on a really dark photo, you’re going to start seeing a bunch of grainy digital noise. It’s always best to start with a decent exposure.
Ready for More Control? Try These Free Apps
When the basic sliders aren't quite enough, free apps like Adobe Lightroom Mobile or Snapseed give you a taste of pro-level editing. Their secret weapon? Selective adjustments.
This is where you can stop editing the entire image and start working on specific parts. You can literally paint light onto someone’s face without touching the background, or darken a bright, distracting object in the corner. This is how you move beyond just "fixing" a photo and start truly shaping it—all from the palm of your hand.
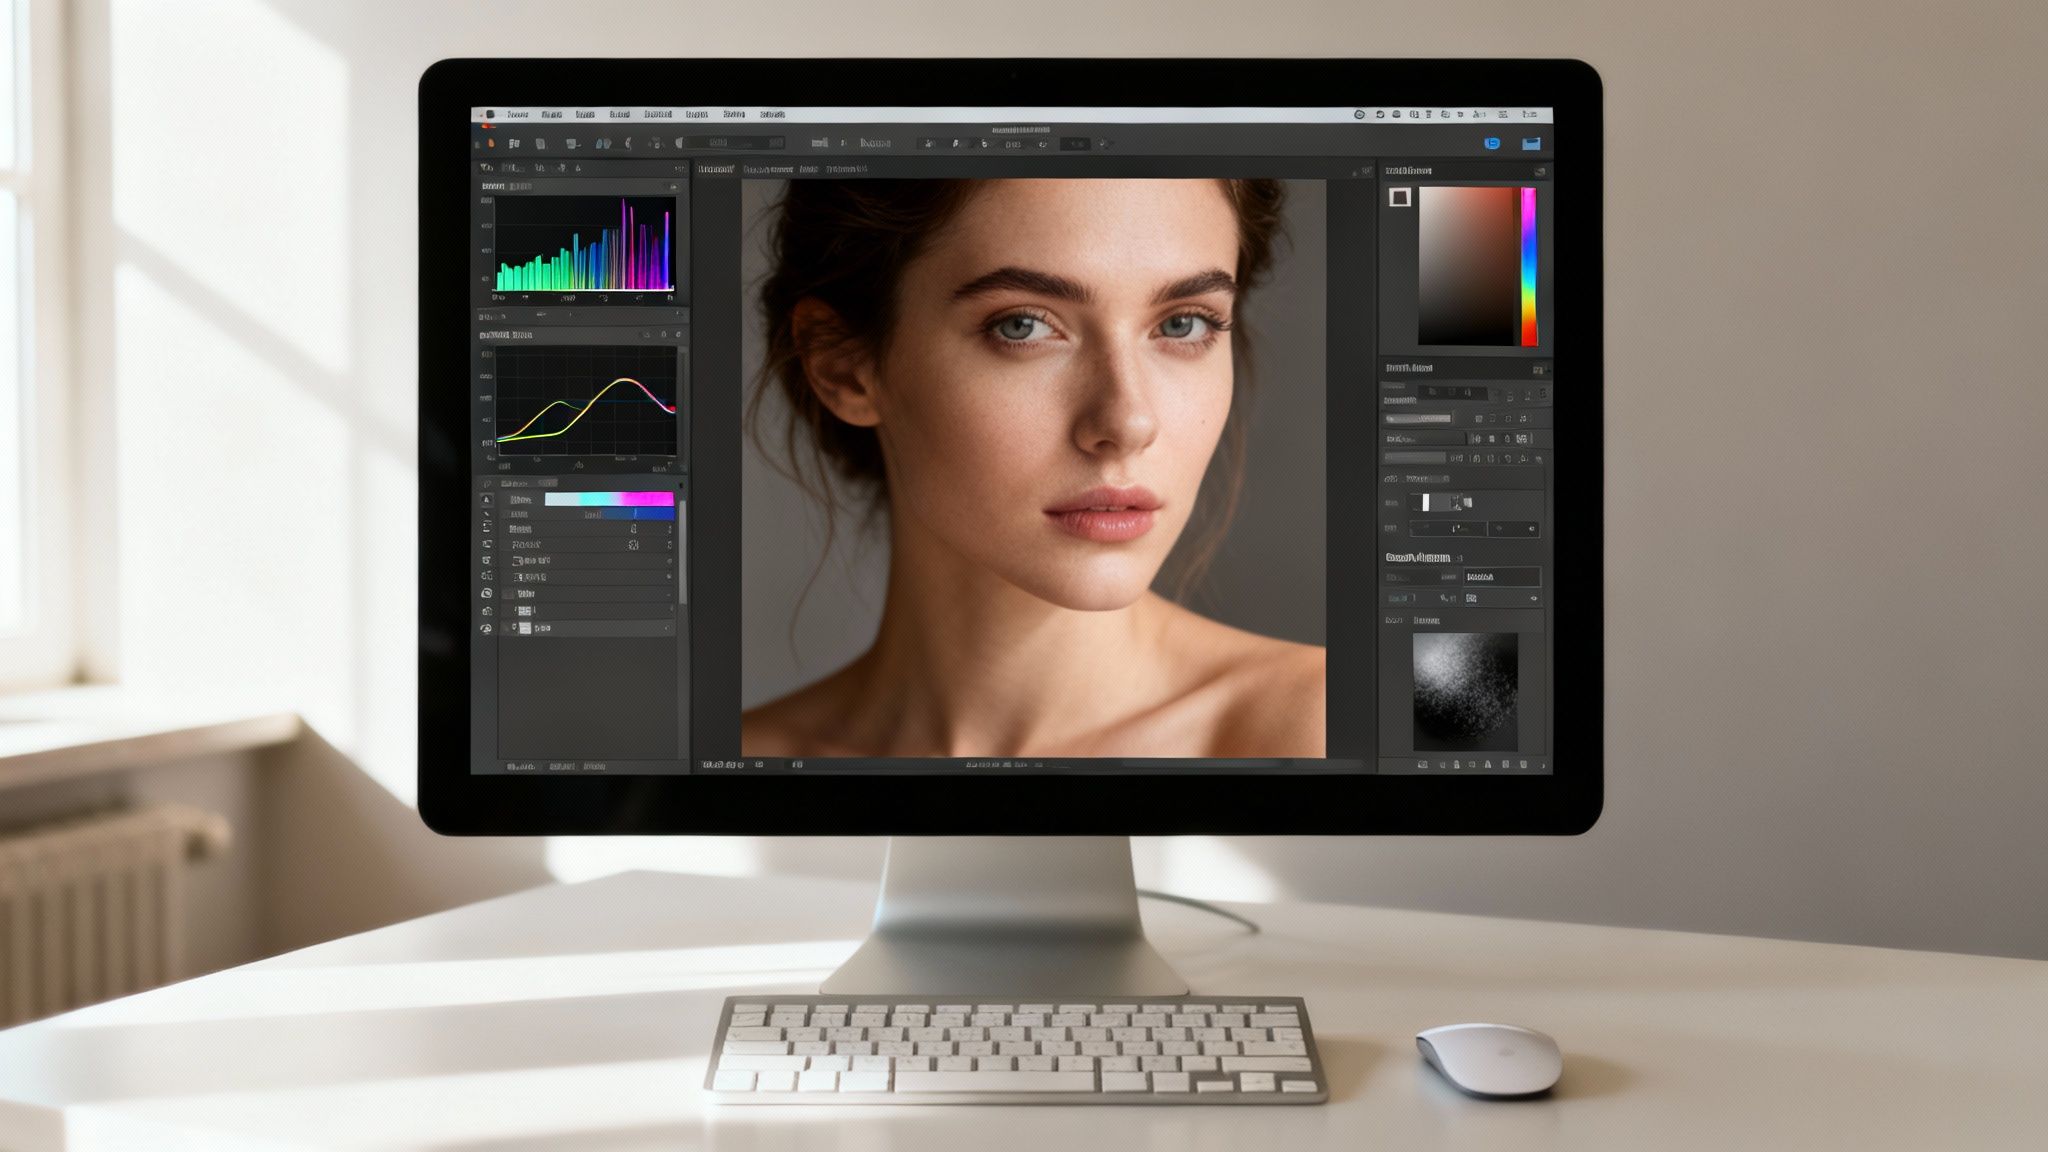
A Pro Workflow for Desktop Photo Editing
When you need absolute control over every last pixel, it's time to move beyond the phone. Desktop software like Adobe Lightroom and Photoshop is where the real magic happens. While mobile apps are great for a quick fix, a proper desktop workflow gives you the power to tackle complex lighting problems with precision, subtlety, and the safety net of non-destructive layers. This is where you graduate from basic sliders to truly sculpting light.
Your first stop is always the histogram. Think of it as your photo's brutally honest friend—it tells you the data-driven truth about your exposure. This little graph maps out the tonal range, from pure blacks on the far left to pure whites on the right. A well-exposed shot usually looks like a balanced mountain range. If the graph is crammed over to the left, your image is underexposed. Pushed all the way to the right? It's overexposed. Simple as that.
Tonal Mastery with Curves and Levels
Once you know what's wrong, your two best friends for fixing it are Curves and Levels adjustment layers. Levels is the more straightforward of the two, giving you direct control over the black, white, and mid-tone points. It's perfect for quickly expanding the dynamic range of a flat, poorly lit photo.
The Curves tool, on the other hand, is where the real artistry comes in. By adding points to the curve and gently pulling them, you can brighten shadows, deepen highlights, or add a beautiful S-curve for contrast. It’s a level of surgical precision that sliders just can't offer.
"Great editing is felt, not seen. The goal is never to show off your editing skills, but to use them to make the photograph feel more like the moment it was captured." — Elena Petrova, Professional Retoucher
This is a fantastic reminder that the best edits are the ones no one notices. Your tools should serve the photo, not scream, "I was edited!"
This kind of fine-tuned control is more important than ever. With continuous LED lights now making up 55% of the studio lighting market, according to industry reports, photographers are working with cleaner, more consistent light sources. That means the files hitting your desktop are primed for these precise adjustments.
Selective Adjustments and Dodging and Burning
The real power of desktop editing isn’t just in global changes; it’s in fixing one small part of an image without messing up the rest.
This is where tools like layer masks become indispensable. You can apply an effect—like brightening a subject's face—to a very specific area while leaving the background completely untouched.
Here are a few essential selective techniques you'll use all the time:
Radial and Graduated Filters: Perfect for drawing focus. Use a radial filter to add a subtle bright spot on your subject or a graduated filter to darken a sky that’s a bit too bright.
Layer Masks: The heart of selective editing. By painting on a mask with a soft black or white brush, you can hide or reveal adjustments with incredible accuracy. This is how pros brighten eyes or tone down a distracting hot spot.
Dodge & Burn: A classic technique borrowed from the darkroom days. You’re essentially painting with light and shadow, selectively lightening (dodging) and darkening (burning) parts of the image to add depth and guide the viewer’s eye.
Finally, a true pro workflow isn't complete without knowing how to handle digital noise. When you push your shadows hard to recover detail, you often introduce unwanted grain. Mastering advanced noise reduction techniques is the final step in turning a corrected photo into a polished, professional piece of art.
4. Let AI Do the Heavy Lifting for Instant Results
Let's be honest, sometimes you just need a fast, dramatic fix. For those moments when you don't have hours to spend dodging and burning, AI is your new best friend. What used to take painstaking manual work can now be done in seconds, and we're not just talking about slapping on a simple filter. We're talking about intelligent tools that actually understand your photo's content.
Modern editors like Adobe Lightroom have baked-in AI that can identify and isolate parts of your image with a single click. Need to brighten a face without blowing out the sky behind it? Just click "Select Subject," and AI builds the mask for you. It's a massive time-saver.
Go Beyond Basic Fixes with Dedicated AI Tools
While one-click masks are fantastic, some software is built from the ground up to manipulate light in truly mind-bending ways. Take a tool like Luminar Neo, for instance. Its 'Relight AI' feature is pure magic—it analyzes your 2D photo and builds a 3D depth map.
What does that mean for you? It means you can add virtual light sources, brighten the foreground without touching the background, and essentially repaint the entire lighting scheme of your shot. It's an unbelievably intuitive way to rescue a photo where your subject is lost in shadow, but the background is perfectly exposed.
"AI in photography is no longer a futuristic concept; it's a practical tool that democratizes professional results. The ability to relight a scene in post-production saves photographers from missed opportunities and gives them creative freedom that was once reserved for those with expensive lighting rigs." — Digital Photography Review
This shift toward intelligent editing lets us focus on the creative vision instead of getting lost in the technical weeds.
Command the Light with Simple Text Prompts
The newest frontier is generative AI, where you can literally tell the editor what to do. No more fiddling with a dozen sliders. You just type what you want. This conversational style is not only fast but opens up creative avenues that would be incredibly complex to achieve manually. It's a core feature in many of the best AI photo editors online today.
Want to add a little warmth to a portrait or soften some unflattering shadows? Instead of navigating complex menus for masking and color grading, you can just type it out. This is quickly becoming the go-to workflow for making quick changes with a huge impact.
AI Lighting Prompts for Instant Results
To give you a head start, here are a few practical prompts you can copy or adapt for your own photos. Think of these as a starting point to get your creative juices flowing.
Desired Effect
Example AI Prompt
Add Dramatic Sunlight
"Add golden hour sun rays coming from the top left corner, filtering through the trees."
Soften Harsh Shadows
"Reduce the harsh midday shadows on her face and make the lighting softer and more flattering."
Create a Moody Feel
"Darken the background and add a soft spotlight on the subject's face to create a cinematic, moody atmosphere."
Fix Underexposure
"Brighten the subject in the foreground without blowing out the highlights in the sky."
Enhance Eye Detail
"Make the eyes brighter and add a subtle catchlight to them."
The key is to experiment. The more descriptive you are, the better the AI can interpret your vision and deliver stunning, professional-looking results in a fraction of the time.
Your Go-To Checklist for Common Lighting Problems
Even the best of us run into lighting issues. It just happens. This little guide is your quick fix-it manual for the most common headaches, reinforcing everything we've talked about for getting that light just right.
Your Photos Look Too Dark
When your shots consistently come out looking like they were taken in a cave, it's usually a simple settings mix-up. Before you go cranking the exposure slider in post, run through these checks right on your camera.
What's Your Metering Mode? Take a peek. Is your camera set to Spot Metering? If it is, it might be reading a super bright spot in the scene (like the sky) and dimming everything else down to compensate. Try switching to Evaluative or Matrix Metering for a more balanced, intelligent reading of the whole frame.
Don't Be Afraid of a Higher ISO: Seriously. So many photographers are terrified of noise, but the truth is, noise hides in the shadows. As photography educator Audrey Ann puts it, "It’s MUCH better to have a higher ISO number and correctly expose, than use a lower ISO number and underexpose." She's right. A little grain is always better than a muddy, dark mess.
The Colors Feel… Off
Ever look at a photo where the whites are weirdly yellow, or skin tones have a sickly blue tint? That’s a white balance problem. It’s one of the first things people notice, and studies have shown viewers are incredibly sensitive to unnatural color casts.
The pro move? Set a custom white balance in your camera with a simple grey card. It takes ten seconds and guarantees perfect color accuracy every single time. If you missed it in-camera, no sweat. In your editing software, grab the white balance dropper tool and click on something in the image that's supposed to be neutral grey or white. Boom—instant color correction.
The Shadows Are Harsh and Unflattering
Harsh, deep shadows can completely ruin a portrait or hide important details in a product shot. You want light that wraps around your subject, not light that carves them up.
"The basic setup for food photography to produce the soft light common in our niche is: Sidelight... Diffuser... Reflector." – Rachel Korinek, Two Loves Studio
This isn't just for food—it's a golden rule for almost any kind of photography. Pop a diffuser (like a softbox or even a white sheet) between your light and your subject to soften things up. Then, on the opposite side, place a reflector or a piece of white foam board to gently bounce light back into those shadows. It’s a simple trick that creates balanced, professional-looking light instantly.
Got Questions? We've Got Answers
Even when you've got the basics down, photography is full of those little "what if" moments. When you're trying to fix bad lighting, a few questions pop up time and time again. Let's tackle them head-on.
Can I Actually Fix a Photo That’s Pure Black or White?
This is the classic photographer's dilemma. If you shot in RAW, you've got a ton of flexibility. You can pull a surprising amount of detail out of shadows in a severely underexposed photo. But there's a limit. If an area is "clipped" to pure black, that data is just... gone. Forever.
The same goes for overexposed shots. You can rescue some highlights, but once they're "blown out" to pure white, no amount of editing magic can bring that information back. This is exactly why getting the exposure right in the camera is non-negotiable. In fact, a study by the Professional Photographers of America found that proper exposure is still one of the top skills clients look for.
What's the Single Most Important Camera Setting for Light?
The "exposure triangle" (aperture, shutter speed, and ISO) is a team effort, but your most direct tool for telling the camera, "Hey, you're getting this wrong," is Exposure Compensation. It's that little [+/-] button on your camera.
Think of it as your manual override. It’s a lifesaver in tricky lighting—like a snowy landscape your camera wants to turn grey, or a dark concert it’s trying to brighten into a washed-out mess. Don't be afraid to use it.
"Don't be scared of ramping up the ISO to get the exposure right. It’s MUCH better to have a higher ISO number and correctly expose, than use a lower ISO number and underexpose." — Audrey Ann, Photography Educator
Phone vs. Computer: Which Is Better for Editing?
Honestly, it just depends on what you need the photo for. For a quick fix that you're posting to Instagram, mobile apps are absolute powerhouses. They're more than capable of producing incredible results for social media or sharing with friends.
But if you're talking about professional client work, large-scale printing, or complex edits that demand layers and precision, a desktop program like Photoshop is still king. The level of control and the non-destructive workflows you get on a computer are essential for achieving that top-tier, polished look.
Ready to fix your photos with zero hassle? DreamShootAI uses powerful AI to perfect the lighting, apply professional styles, and even generate entirely new photoshoots from your selfies. Ditch the complicated software and get studio-quality results in minutes. Give it a try now at https://dreamshootai.com.
how to fix lighting in photosphoto lightinglighting correctionphoto editing tipsphotography lighting