How to Fix Dark Photos: A Pro's Guide to Flawless Edits
Struggling with dark photos? Learn how to fix dark photos using mobile apps, desktop software, and AI. Get pro tips to brighten any image.
It's a familiar story: you capture what feels like the perfect moment, but when you look at the photo later, it’s lost in the shadows. Don't worry, you're not alone. Salvaging a dark photo is often much simpler than you think, usually boiling down to a few key adjustments like exposure, shadows, and brightness in your favorite editing app. A study published in the Journal of Vision confirms that viewers overwhelmingly prefer well-exposed images, perceiving them as higher quality and more emotionally engaging.
Whether you’re on your phone or sitting at a computer, these three core sliders can bring most underexposed images back to life in just a few clicks.
Why Are My Photos So Dark?
Ever snapped a picture only to find your subject hidden in a gloomy silhouette? It's one of the most common frustrations for photographers at every level. Our digital cameras are incredibly smart, but they're not foolproof. They can easily get confused by tricky lighting—like a bright, sunny sky behind your subject—and end up exposing for the background, plunging your main subject into darkness.
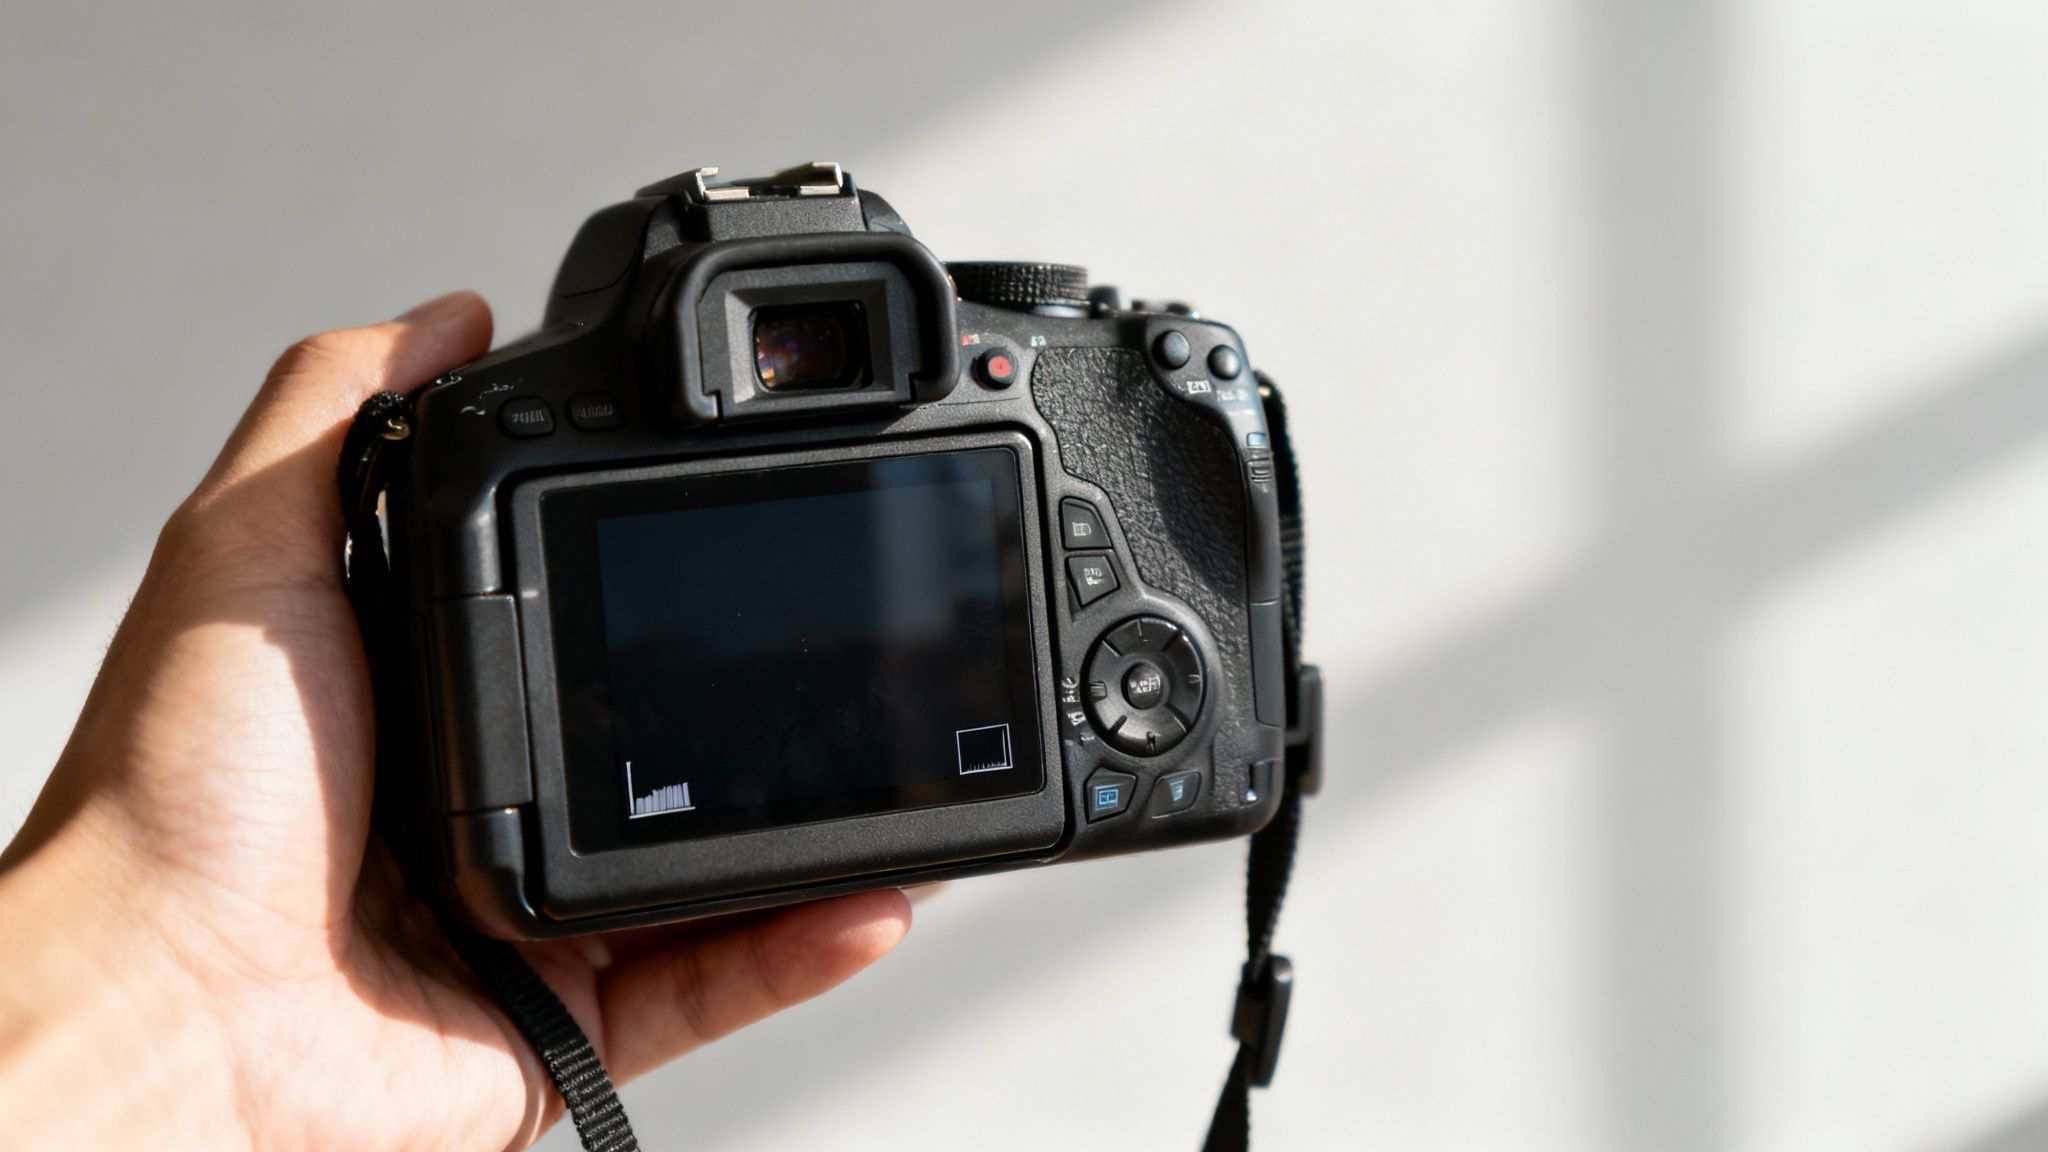
A dark photo doesn't just hide important details; it can totally kill the vibe, turning a happy memory into something dull and moody. Plus, trying to brighten a severely underexposed photo in post-production can introduce a whole new problem: digital noise.
As renowned photographer Ansel Adams once stated, "Dodging and burning are steps to take care of mistakes God made in establishing tonal relationships." The principle remains the same in the digital age; we are simply using sliders instead of darkroom tools to correct those tonal imbalances.
The Usual Suspects Behind Dark Photos
Before we dive into the fixes, it’s helpful to understand what causes dark photos in the first place. Knowing the root cause can help you avoid the issue on your next shoot.
- Backlighting is the #1 culprit. When a strong light source is behind your subject, your camera’s light meter freaks out. It sees all that brightness and adjusts the exposure for the background, leaving your actual subject looking like a shadow.
- Auto mode isn't always your friend. Your camera's AUTO mode is guessing what's important. It doesn’t know you care about the person in the foreground, not the sunset behind them.
- Your shutter speed is too fast. In low-light situations, a fast shutter speed simply doesn’t give the camera sensor enough time to soak in the light it needs, resulting in a dark, murky image.
Getting the lighting right from the start is always the best strategy. If you want to prevent these issues before they even happen, it’s worth checking out some essential tips for mastering photography lighting.
Don't Worry, We Have the Technology
The good news? We’re long past the days of needing a physical darkroom to save our shots. The photo editing software market is booming, valued at approximately $935 million in 2022 and projected to reach $1.62 billion by 2030, according to a report by Grand View Research. That explosion in growth means the tools available to us are more powerful and easier to use than ever before.
This guide will walk you through everything from quick mobile fixes to advanced AI-powered tools. But remember, not all shadows are bad! Sometimes they add depth and drama. If you're dealing with harsh, distracting shadows rather than overall darkness, you might want to check out our specific guide on how to get rid of shadows in pictures.
Quick Guide to Fixing Dark Photos
Before diving deep, here's a quick rundown of the most common methods you can use to brighten up your images. Think of this as your cheat sheet for choosing the right tool for the job.
| Method | Best For | Common Tools |
|---|---|---|
| Simple Sliders | Quick, minor adjustments on the go. | Phone Gallery Apps, Instagram, VSCO |
| Desktop Software | Detailed control over RAW files. | Adobe Lightroom, Capture One, Luminar |
| Curves Tool | Precise control over specific tones. | Adobe Photoshop, GIMP, Affinity Photo |
| AI Tools | One-click fixes & advanced enhancements. | DreamShootAI, Topaz Photo AI, Skylum |
| HDR Blending | High-contrast scenes with brights & darks. | Adobe Lightroom, Photomatix Pro |
Each of these methods has its place, from a quick fix on your phone to a detailed edit on your computer. Let's get into how you can use them to make your photos shine.
Fixing a Dark Photo in Seconds, Right on Your Phone
Ever snap a great candid shot in a dimly lit café, only to find it looks murky and dark? Don't delete it! The fix is probably already in your pocket. Modern smartphones are seriously powerful little editing studios, and you can often rescue a photo in less than a minute.
Whether you're using your phone’s built-in photo editor or a popular app like Snapseed or VSCO, the game plan is pretty much the same. You just need to know which tools do the heavy lifting.
The Only Three Sliders You Really Need
Forget getting lost in a sea of editing options. To bring a dark photo back to life, you only need to master three key adjustments. Pretty much every mobile editing app has them.
- Exposure: This is your master brightness control. It brightens or darkens the entire image at once. A little nudge to the right is often a great starting point, but be careful. Pushing it too far will blow out the brightest parts of your photo, leaving you with ugly, pure-white patches where detail used to be. This is called "clipping highlights."
- Shadows: This one is pure magic, especially for backlit shots. The shadows slider only targets the darkest parts of your photo, leaving everything else untouched. It's the perfect tool for revealing the details on someone's face without turning the bright sky behind them into a white blob.
- Brightness: This is often confused with exposure, but it works a bit differently. Brightness mostly affects the midtones—the shades that aren't pure black or pure white. Think of it as a more gentle, refined way to add a touch of light after you've already set your main exposure.
The trick is to use these three tools together. Start with a small exposure boost to get the overall light level right. Then, lift the shadows to pull detail out of the dark spots. Finally, use the brightness slider for a subtle finishing touch. This layered approach is how you avoid that unnatural, over-edited look.
"The goal is to enhance, not to overhaul," advises professional editor Scott Kelby. "A gentle touch on the shadows slider often does more than cranking up the exposure."
This is something you learn with experience: subtlety is everything. You're not trying to make the photo uniformly bright; you're trying to restore a natural-looking balance between light and dark.
Think back to that café photo. Lifting the shadows will brighten up your friends' faces while keeping the cozy, ambient glow of the lights in the background. If you had just cranked up the exposure, the whole scene would look flat and artificial, completely losing the vibe you wanted to capture in the first place.
Mastering Desktop Tools for Flawless Results
When you need that extra layer of precision, mobile apps just won't cut it. For professional-grade results, you’ll want to turn to desktop software like Adobe Lightroom or Luminar Neo. This is where you move beyond simple one-tap fixes and into the real art of photo editing, giving you surgical control over every pixel.
This struggle isn't new. Back in the film days, photographers spent hours in the darkroom, using techniques like dodging and burning to selectively lighten or darken parts of a print. Digital tools have brought that darkroom onto our computers, but the core challenge remains the same: how to bring back detail without making the photo look fake.
Decoding the Histogram for Perfect Exposure
Before you even think about touching a slider, you need to learn how to read your photo's data. Your best friend here is the histogram. Think of it as a cheat sheet for your image's brightness levels. It’s a simple graph showing the distribution of tones—pure blacks are on the far left, pure whites on the far right, and everything else is in between.
If your photo is dark and underexposed, you'll see all the data scrunched up on the left side of the histogram, with a big empty space on the right. That’s your visual proof that the image is missing bright tones. Your goal is to gently stretch that data across the entire graph, balancing it out without creating harsh spikes on either end.
The Power of Shooting in RAW
Let’s talk file formats for a second, because this is a big one. If you’re serious about getting the best results, shooting in RAW is non-negotiable. A standard JPEG file is basically a "cooked" image; your camera has already made a bunch of decisions about color and exposure, and in the process, it has thrown out a massive amount of data to keep the file size small.
As cited in The Digital Photography Book, a typical JPEG retains only 8 bits of tonal data per channel, while a RAW file captures 12 or 14 bits. That exponential increase in data is what gives you the latitude to recover seemingly lost details in post-production.
A RAW file, on the other hand, is exactly what it sounds like—it’s the raw, unprocessed data straight from your camera’s sensor. This gives you a huge advantage when fixing dark photos because there's so much more information hidden in those shadows just waiting to be recovered. A badly underexposed JPEG might be a lost cause, but its RAW counterpart can often be brought back to life.
This workflow is a great starting point. You begin with a broad exposure adjustment to get the overall brightness right, then dive into the shadows to fine-tune the details.
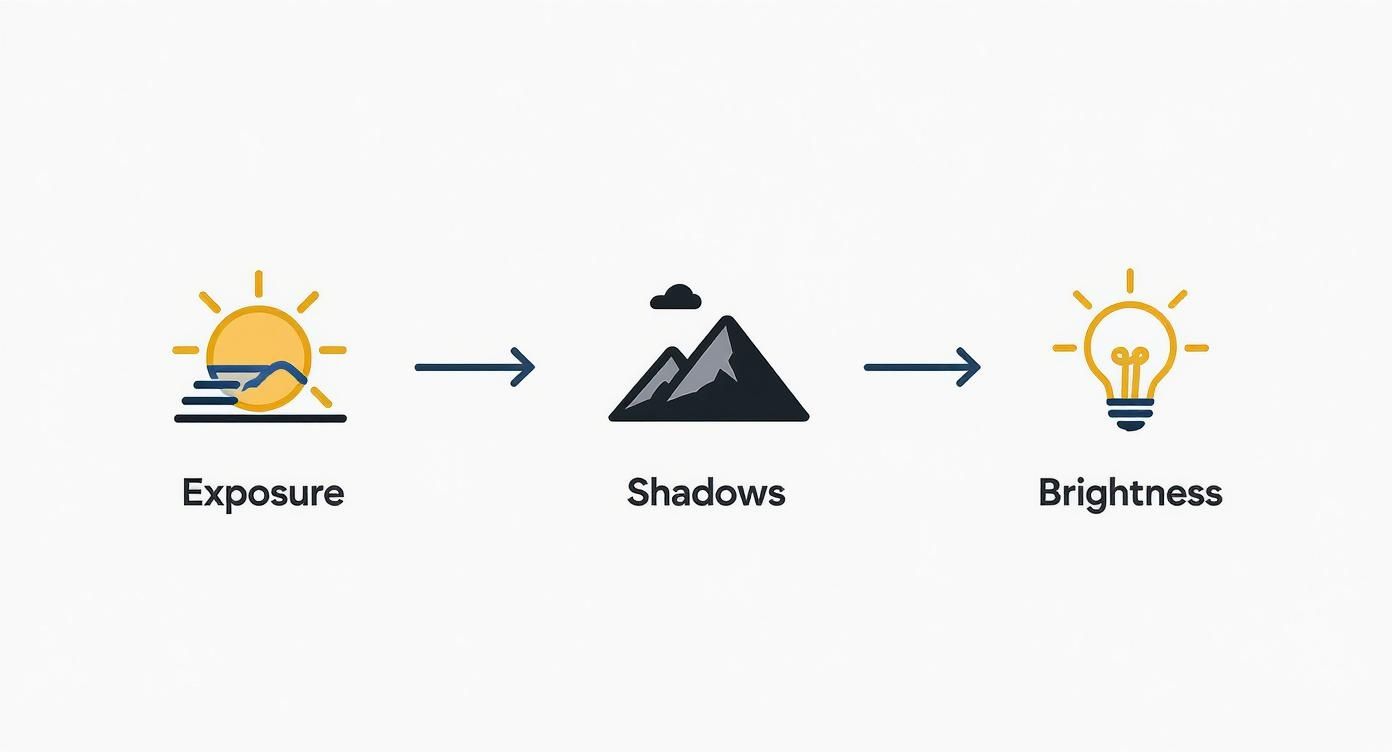
Following this order helps establish a good baseline before you get into the nitty-gritty, which keeps the final image looking balanced and natural.
Targeted Adjustments for Surgical Precision
This is where desktop software really shines. Instead of brightening the whole image and washing everything out, you can make localized edits that target specific problem areas.
- Local Adjustment Brushes: Got a photo where your subject's face is in shadow but the background is perfectly lit? An adjustment brush lets you metaphorically "paint" brightness just onto the face, leaving the rest of the image alone. It’s a game-changer.
- The Tone Curve: This is easily the most powerful—and often the most intimidating—tool in your arsenal. It gives you precise control over shadows, midtones, and highlights independently. A gentle "S" curve is a classic move to add contrast, while lifting the bottom-left part of the curve specifically brightens the shadows without blowing out your highlights. When you're wrestling with tricky lighting, you can also get amazing results using advanced AI color correction tools that analyze and rebalance tones for you.
- Noise Reduction: Brightening dark areas often reveals an unwanted side effect: digital noise. It looks like a grainy, speckled texture. Good editing software has sophisticated noise reduction sliders, but use them with a light touch. This should be one of your final steps. Applying too much will make your photo look soft and plasticky. The goal is to reduce the distracting grain, not eliminate it entirely, so you can maintain some natural texture.
Using AI to Instantly Enhance Your Photos
Welcome to the future of photo editing, where you can skip the tedious manual work and let intelligent tools do the heavy lifting. While tweaking sliders and curves in programs like Lightroom gives you ultimate control, AI-powered solutions offer incredible speed and simplicity. This makes them perfect for anyone who wants to fix dark photos without spending hours learning complex software.
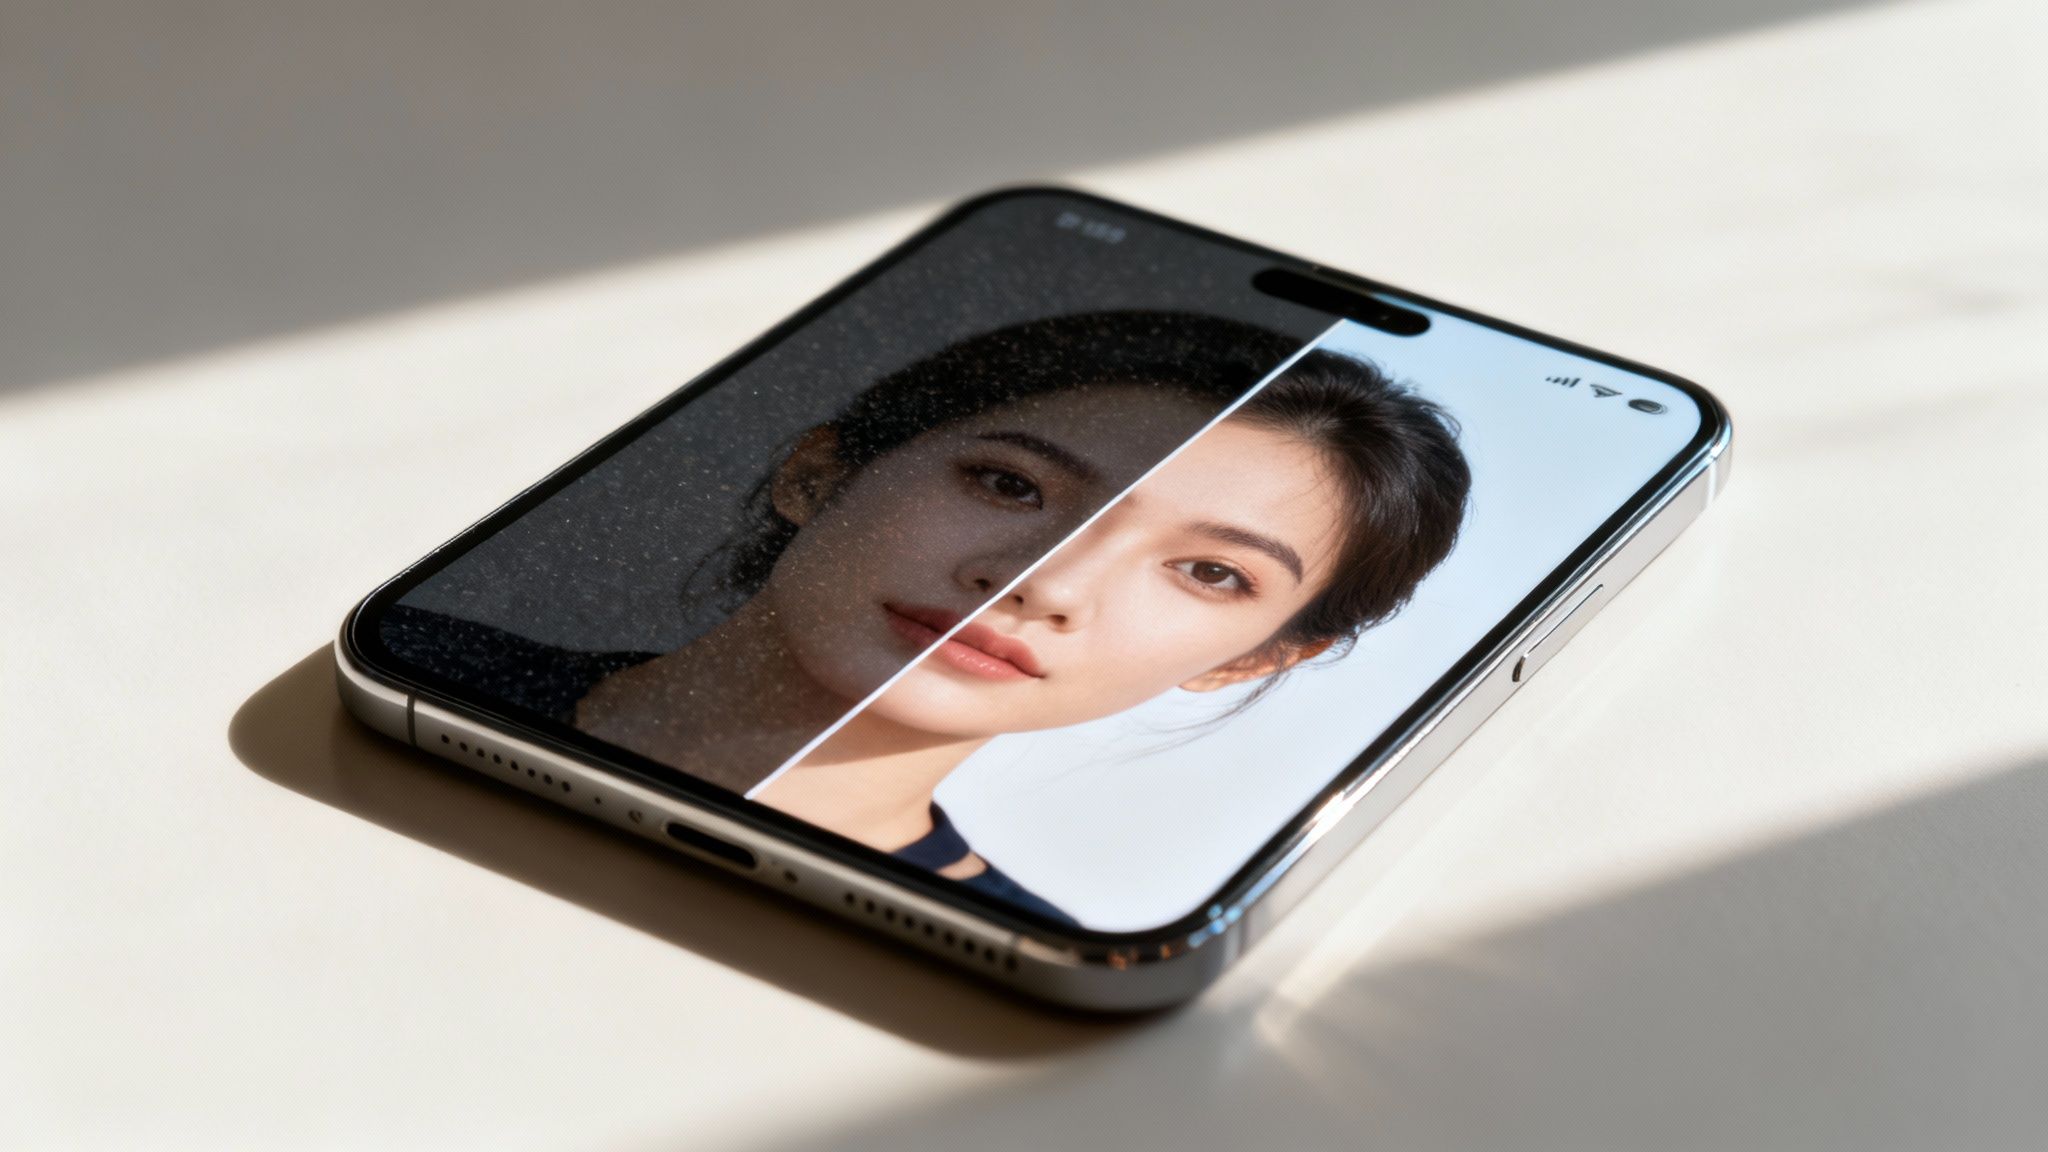
Forget wrestling with dozens of adjustments. Modern AI tools can analyze and correct an underexposed image with a single click or even a simple text command.
Imagine just typing "make the person's face brighter and bring out the details in the background" and watching your photo transform in seconds. This isn't a gimmick—it's the new reality of photo editing. These tools have been trained on millions of images, so they know how to identify subjects, separate them from the background, and apply subtle adjustments that look like they were done by a professional.
Beyond Just Making It Brighter
The real magic of AI is that it goes way beyond a simple brightness boost. These advanced platforms can intelligently recover details you thought were lost forever in the shadows of a dark photo.
- Smart Exposure Correction: Instead of just blasting the entire image with light, AI analyzes what's in the photo. It can apply targeted brightness to a face or a key subject while keeping the moody atmosphere of the background intact.
- Noise Reduction: Brightening a dark photo almost always introduces that ugly, grainy digital noise. AI is exceptionally good at cleaning this up while keeping important details sharp—something that’s tricky to do by hand.
- AI Upscaling: Some tools can even increase the photo's resolution as they brighten it. This can turn a slightly blurry, low-light shot into something crisp and clear enough for a large print.
This intuitive approach is why the global AI in Media and Entertainment market size was valued at USD 17.6 billion in 2022 and is projected to expand significantly. People are quickly catching on to how powerful these tools are.
"AI gives everyone access to professional-level results," notes tech analyst Ben Thompson of Stratechery. "It lets you achieve in seconds what used to take hours of painstaking manual work."
This is the core of the shift. Tools once reserved for pros are now in everyone’s hands, moving the focus from technical skill back to your creative vision.
Manual Editing vs AI-Powered Editing
So, should you stick with traditional software or jump into AI? Both have their place. Here’s a quick breakdown to help you decide which approach fits your needs.
| Feature | Manual Editing (e.g., Lightroom) | AI Editing (e.g., DreamShootAI) |
|---|---|---|
| Speed | Slower; requires individual adjustments for each slider. | Nearly instant; often one-click or prompt-based corrections. |
| Learning Curve | Steep; requires understanding concepts like curves, histograms, and masking. | Minimal; designed to be intuitive for beginners. |
| Control | Granular, pixel-level control over every aspect of the image. | Less direct control; you guide the AI to the desired outcome. |
| Consistency | Can be difficult to replicate exact edits across multiple photos. | Excellent for applying a consistent style quickly to many images. |
| Best For | Professional photographers, artists, and users who need precise control. | Hobbyists, social media creators, and anyone needing fast, quality results. |
Ultimately, the best tool is the one that gets the job done for you. For quick fixes and impressive results without the headache, AI is hard to beat. For those who love the craft of editing and need absolute precision, manual tools will always have a role.
How to Fix Dark Photos with Text Prompts
One of the coolest new developments is editing with plain English. Platforms like DreamShootAI have a Photo Edit by prompt feature that literally turns your words into edits. Instead of hunting for the right tool, you just describe what you want to see.
Here are a few examples of prompts that work great:
- "Brighten the person's face but keep the background moody."
- "Increase the overall exposure and make the colors more vibrant."
- "Fix the dark areas in the photo without losing detail."
This is a game-changer because it makes photo editing feel natural and accessible, no matter your experience level. To see it in action, check out our guide on using an AI photo editor online.
AI doesn't just stop at fixing photos, either. It’s making the entire creative workflow simpler. For example, there are now amazing tools for AI social media content creation that help you turn your freshly edited images into posts that grab attention. When you let AI handle the technical stuff, you free up more time to focus on what really matters—your ideas.
Common Editing Mistakes and How to Avoid Them
Learning how to fix dark photos is a bit of a balancing act. It's tempting to just crank up the sliders and call it a day, but that’s a fast track to creating an image that looks... well, edited. The real skill lies in knowing how far to push things without making the photo look unnatural.
Let's walk through a few common editing traps I've seen countless times and how you can sidestep them for a much more professional finish.
Don't "Clip" Your Highlights
One of the easiest mistakes to make is creating "clipped highlights." This is what happens when you get a little too enthusiastic with the brightness, and the brightest parts of your image turn into flat, pure white blobs with zero detail. Think of a beautiful, cloudy sky that suddenly looks like a solid white sheet—all that lovely texture is just gone.
The best way to avoid this is to keep one eye on your histogram while you edit. If you see the graph slamming up against the right-hand wall, that’s your warning sign. You're clipping. Gently pull back on the exposure or highlights slider until you see that data move back into the frame. This simple check preserves those crucial details in the brightest spots.
The Overcorrection Trap
Another pitfall is going way too heavy on noise reduction. When you brighten up the shadows, you’re also amplifying any digital noise—that grainy texture that loves to hide in the dark parts of a photo. It's tempting to try and wipe it out completely, but that often leaves your photo looking soft, waxy, and artificial.
"Noise lurks in the shadows," warns professional photographer Audrey Ann, "so when you raise the exposure in processing, you actually make the noise more visible throughout your image." This phenomenon, known as "noise floor," is a critical concept in digital imaging.
Instead of trying to obliterate every last speck of grain, the goal should be to reduce it just enough so it isn't distracting. A little bit of texture often looks more natural and pleasing than an overly smoothed-out, plastic-y image. Think of noise reduction as a final, delicate touch, not your primary weapon.
Watch Out for Weird Color Shifts
Finally, be careful with those shadow and black sliders. Pushing them too far can sometimes introduce bizarre color casts into the darkest areas, often weird greens or magentas. This happens because you're trying to boost color information that was barely there to begin with, and the software is essentially guessing what color should be there.
If you start seeing funky colors creep into your shadows, here’s how to fight back:
- Tweak Tint and Temperature: Make tiny adjustments to the temperature (blue/yellow) and tint (green/magenta) sliders. Often, a small nudge is all it takes to neutralize the color cast.
- Use Saturation Carefully: Sometimes, just slightly pulling down the saturation only in the shadows can tone down the weird colors without making the rest of your image look dull.
Mastering photo editing isn't just about knowing which sliders to move; it's about knowing when to stop. By keeping an eye out for clipped highlights, over-smoothing, and strange color shifts, you can edit with confidence. The goal isn't just a brighter photo—it's a better, more believable one.
Your Questions on Fixing Dark Photos Answered
Even with the best tools in your arsenal, you're bound to run into a few questions when you start bringing dark photos back to life. Let's tackle some of the most common ones I hear, so you can edit with total confidence.
Can I Fix a Completely Black Photo?
This is the million-dollar question. The honest answer? Probably not. If a part of your photo is pure, absolute black, there's no digital information there for software to recover. You can't create detail out of thin air.
But don't give up just yet. Most of the time, what looks black is actually just very, very dark. In those cases, you can often pull back a surprising amount of detail, especially if you shot in RAW. RAW files are packed with so much more image data than a standard JPEG, giving you a lot more to work with.
A quick glance at your histogram will tell you the whole story. If all your image data is smashed into a single, flat line on the far-left edge, you're likely out of luck.
Does Brightening a Photo Reduce Its Quality?
It can, but it doesn't have to. When you crank up the brightness on a severely underexposed photo, you're also amplifying everything that was hiding in the shadows—including digital noise. This is that grainy, speckled texture that can make an image look low-quality. You're boosting the image signal, but you're boosting the noise signal right along with it.
So, how do you minimize the damage? A few best practices go a long way:
- Always shoot in RAW. I can't stress this enough. It captures the maximum amount of data, giving you way more flexibility in post-production.
- Nail the exposure in-camera. As photographer Audrey Ann puts it, "under-exposing in camera is the BIGGEST reason for having excessive noise in your photos." It's far better to bump up your ISO and get a correct exposure than it is to shoot at a low ISO and have to fix a dark image later.
- Lean on modern tools. Software like Lightroom or AI-powered editors have incredible noise-reduction algorithms that can smooth out grain without turning your photo into a blurry mess.
At the end of the day, even if a few artifacts pop up, the brightened photo is almost always a huge improvement in perceived quality over the original dark mess.
A photo taken with a lower ISO and underexposed will have MORE grain than an image taken with a higher ISO, but correctly (or even over) exposed. This counterintuitive fact underscores the importance of gathering enough light at the moment of capture.
What Is the Difference Between Exposure and Shadows?
This is a classic point of confusion. While both sliders make your photo brighter, they approach the job from completely different angles.
Think of the Exposure slider as a sledgehammer. It’s a global adjustment that brightens the entire image at once, hitting the midtones the hardest. It’s powerful, but not very precise.
The Shadows slider, on the other hand, is a scalpel. It’s a much more targeted and delicate tool. It specifically lifts the brightness of only the darkest parts of your image, leaving the brighter midtones and highlights pretty much untouched. If you have a photo of a person in a shadow with a bright sky behind them, the Shadows slider is your best friend for balancing the scene without blowing out the sky.
Ready to let AI handle the heavy lifting? With DreamShootAI, you can use simple text prompts to make your dark photos shine in seconds. Give the Photo Edit by prompt feature a try and see just how easy it is to get professional results at https://dreamshootai.com.
Written by Jocelyn Grey for the DreamShootAI blog.
Spotted something out of date? Tell us at [email protected] and we'll fix it.