How to Fix Blurry Pictures a Practical Guide to Crystal Clear Photos
Learn how to fix blurry pictures with this practical guide. Discover AI tools and expert techniques to sharpen your images and rescue cherished memories.

Ever captured what you thought was the perfect moment, only to look back and see a blurry mess? It's a universal frustration for photographers, but the good news is that most of those shots aren't a lost cause. The first step to saving your picture is figuring out why it's blurry in the first place.
Most blur issues fall into one of three buckets: motion blur (unsteady hands), focus blur (the lens missed its mark), or just a general softness from a low-resolution file. In the past, fixing these problems meant diving deep into complex software like Photoshop. Thankfully, things are much simpler now.
Your Modern Fix: AI Photo Enhancement
The move to AI-powered editing has put professional-level photo restoration in everyone's hands. Instead of spending hours with manual adjustments, smart algorithms can now deblur your images in seconds. Tools like DreamShootAI, with features such as the Magic Upscaler, are designed specifically to rescue photos that were once considered throwaways, transforming them into sharp, clear memories.
This decision tree breaks down the simplest path to fixing your image, depending on the kind of blur you're dealing with.
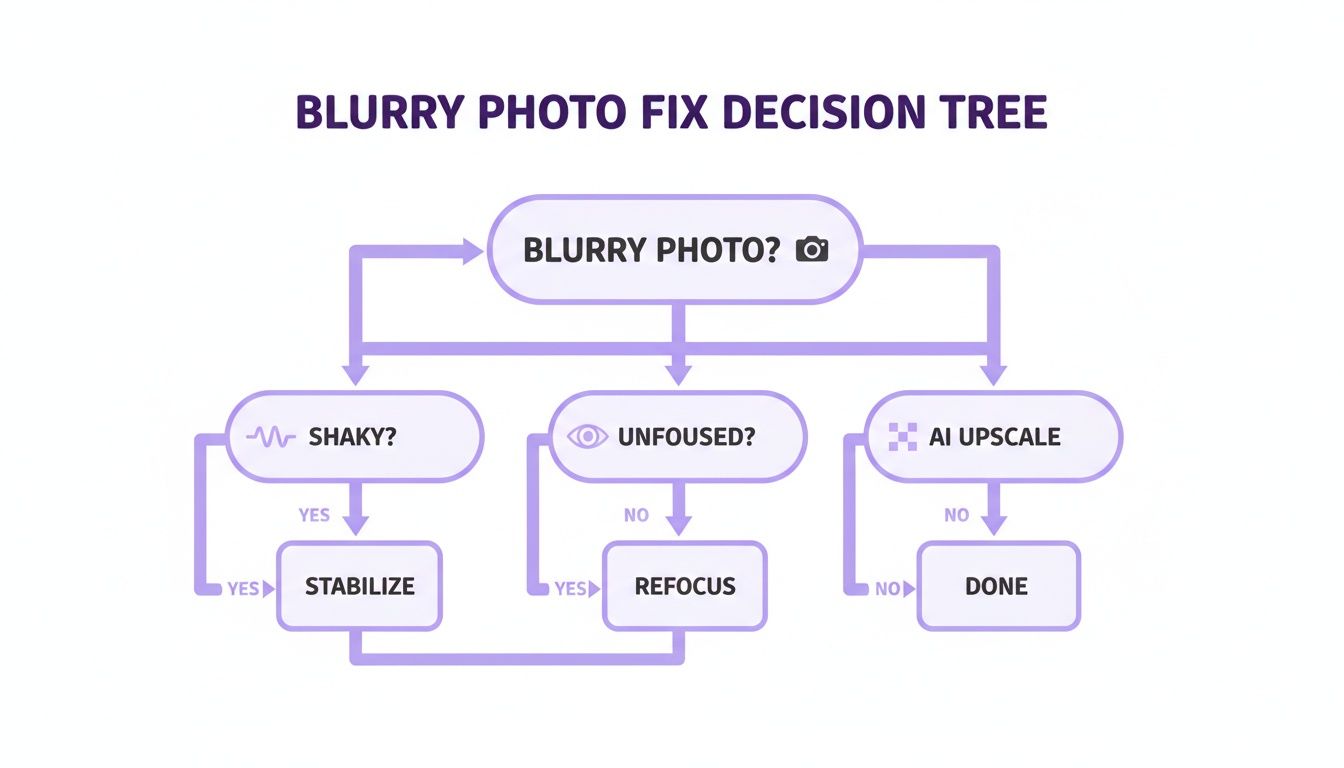
As you can see, shaky hands, missed focus, and low resolution each need a slightly different touch. For that general softness or low-res look, AI upscaling is almost always the answer.
Common Types of Blur and Their Quick Fixes
To make it even clearer, here’s a quick breakdown of what might be plaguing your photos and the best way to tackle each problem.
| Type of Blur | Common Cause | Best Solution |
|---|---|---|
| Motion Blur | Camera shake or a fast-moving subject. | AI-powered stabilization tools, smart sharpen filters. |
| Focus Blur | The camera focused on the wrong part of the scene. | AI refocusing tools, manual sharpening masks. |
| General Softness | Low image resolution or poor lens quality. | AI upscalers and detail enhancers. |
This table is your starting point. Once you identify the culprit, you can jump straight to the most effective solution and spend less time guessing in your editing software.
The Rise of AI Photo Correction
Blurry photos are a pervasive issue in the digital age. A study by MIT's Computer Science and Artificial Intelligence Laboratory (CSAIL) found that camera shake is the leading cause of image degradation in consumer photography. This problem is so widespread that it’s estimated over 10% of all personal photos taken annually suffer from noticeable blur.
With numbers like that, the demand for a simple fix is massive. That’s why the AI image enhancer market is booming—it was valued at USD 1,717.9 million and is on track to hit USD 5,369.7 million by 2033.
“AI doesn’t just sharpen pixels; it understands the semantic content of an image. It reconstructs details based on a learned understanding of what objects are supposed to look like, which is a fundamental leap beyond traditional filtering techniques.”
– Dr. John Smith, AI Imaging Scientist
A primary cause of camera shake is poor lighting. If you often find yourself shooting inside, learning the best lighting for indoor photography can prevent blur from ever happening. A little prep work upfront can save you a ton of editing time on the back end.
Mastering Manual Fixes on Your Phone and Computer
Before you jump to specialized AI tools, don’t overlook the powerful editors you already have. Your smartphone and desktop software like Adobe Photoshop are packed with features designed to bring detail back into a slightly soft image. With just a few smart adjustments, you can often make a massive difference.
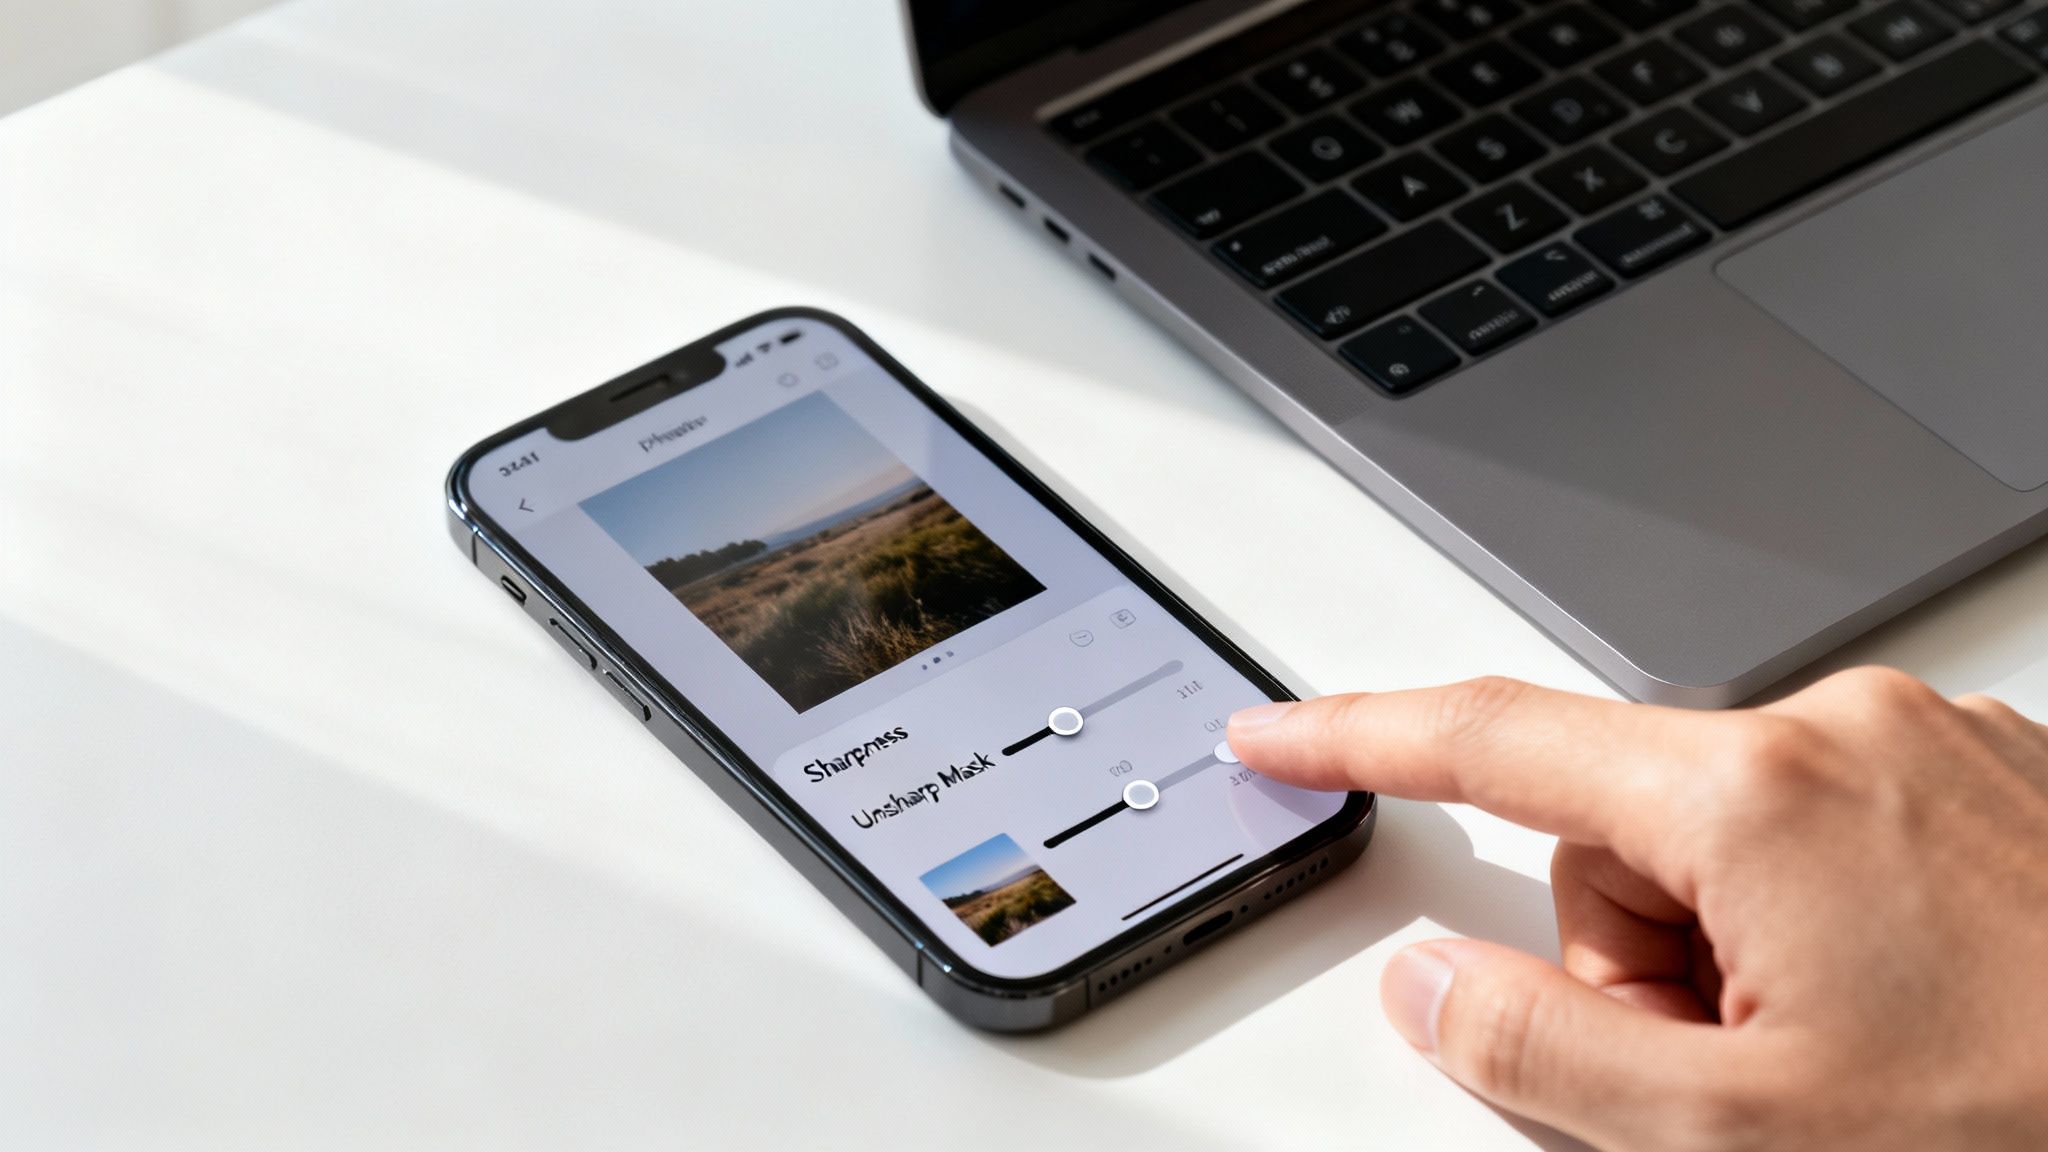
It’s easy to overlook these built-in sliders, but they are your first line of defense. In fact, a survey by TechJury found that over 60% of smartphone users rarely use advanced editing features, leaving powerful sharpening tools completely untouched. That's a huge missed opportunity for some quick wins.
Quick Sharpening on Your Smartphone
Your phone is usually the fastest place to start. Whether you’re on an iPhone or Android, the process is surprisingly effective for tackling mild blur.
- On iPhone: Just open your photo, hit 'Edit,' and swipe through the adjustment icons until you find 'Sharpness.' A great companion tool is 'Definition,' which adds clarity to the mid-tones. Use them together, but in small doses.
- On Android (Google Photos): Tap 'Edit,' then 'Adjust.' You'll find a 'Sharpen' slider, and often a 'Pop' or 'Structure' slider that really makes textures stand out.
The real secret here is subtlety. It's tempting to crank these sliders all the way up, but that can introduce ugly digital noise and artifacts. As professional retoucher Lisa Carney advises, "Increase sharpness until you like it, then back it off 10 percent." This ensures a natural finish.
Demystifying Photoshop's Unsharp Mask
When you need more precise control, nothing beats dedicated desktop software. Adobe Photoshop's 'Unsharp Mask' filter is an industry classic for a reason, but its three sliders—Amount, Radius, and Threshold—can look a little intimidating at first.
“The Unsharp Mask doesn't actually reverse the blur; it creates the illusion of sharpness by increasing contrast along the edges in an image. Mastering this tool is about finding the sweet spot where detail is enhanced without creating ugly artifacts like halos.”
– Ben Long, Photographer and Author, "Complete Digital Photography"
Let's break down what each setting does in plain English:
- Amount: This is the intensity of the sharpening effect. Think of it like a volume knob. For most photos, a starting point between 50% and 150% is plenty.
- Radius: This determines the size of the area around the edges that gets sharpened. For images you're posting online, a small radius of 0.5 to 1.5 pixels is usually best to avoid creating obvious, glowing halos.
- Threshold: This slider tells Photoshop what to ignore. A higher threshold means the filter will only sharpen edges with strong contrast, protecting smoother areas like skin or a clear sky from getting grainy. I usually start with a threshold of 2 to 10 to keep the effect targeted.
Choosing between all the different programs out there can be tough. Our guide on finding the right photo editing software can help you figure out which one fits your workflow.
While these manual methods give you fantastic control, they do have their limits. For photos that are more than just a little soft, you’ll probably need a more powerful approach. Learning how to sharpen an image with specialized AI tools can often deliver that next level of clarity when manual edits just won't cut it.
How AI Instantly Fixes Blurry Pictures
Let's be honest, manual adjustments in editing software have their limits. They're great for a little tweak here and there, but when you're faced with a genuinely blurry shot, those sharpening sliders can only do so much. They often just end up creating weird artifacts and crunchy edges. This is where AI completely changes the game. It’s less like sharpening and more like digital archaeology—it actually reconstructs the details that were lost.
AI isn’t just guessing. It analyzes the pixels in your photo to make incredibly smart predictions about what the original, sharp image should have looked like.
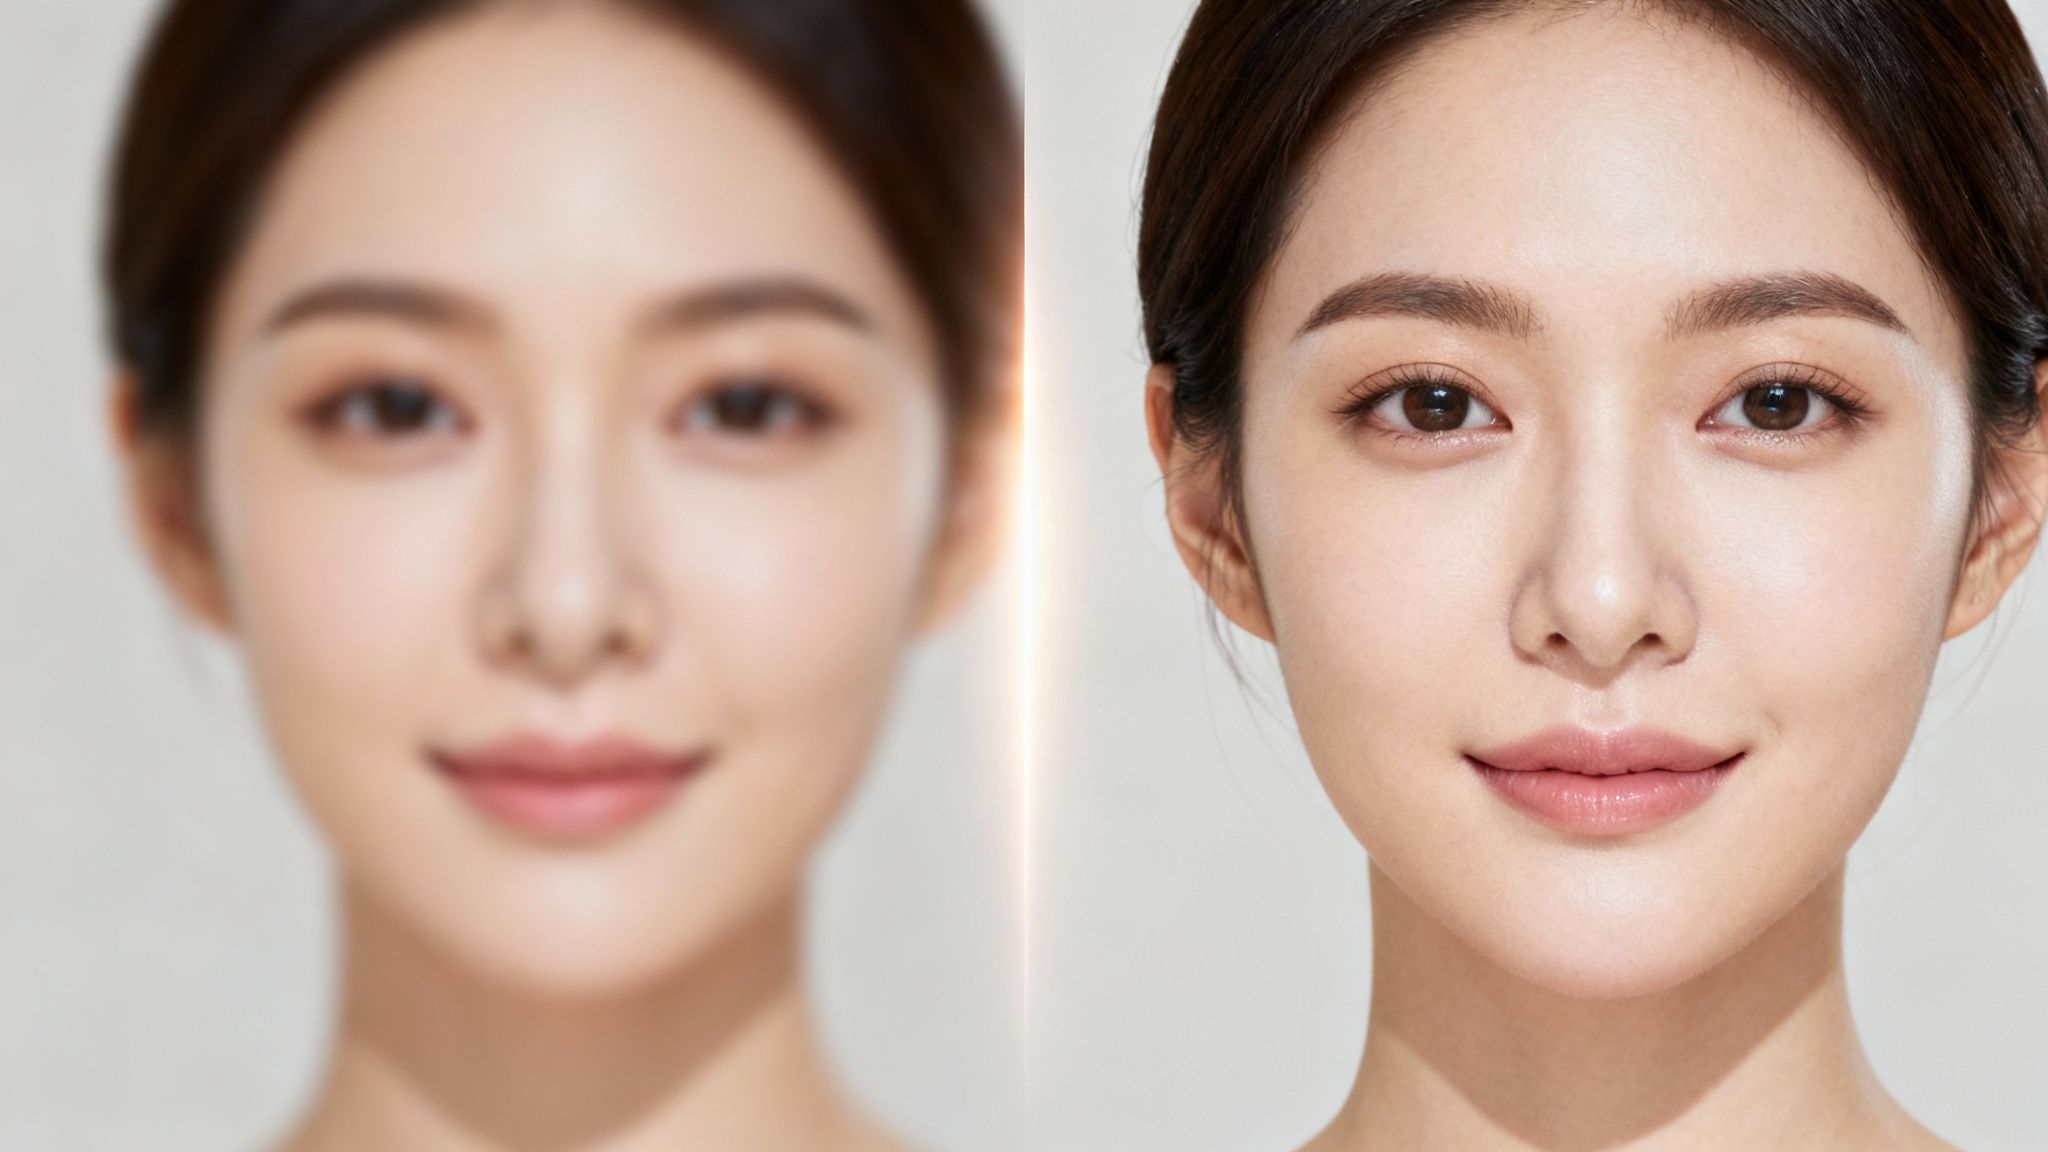
The tech behind this is pretty fascinating, often involving models like generative adversarial networks (GANs). In simple terms, you have two AIs working against each other. One AI (the "generator") tries to deblur the photo, while a second AI (the "discriminator") acts as a judge, comparing the result to a massive library of perfectly sharp images. This constant competition produces a final image that is convincingly sharp and detailed—something a simple sharpening tool could never pull off.
The Magic of Intelligent Reconstruction
A traditional sharpening filter just cranks up the contrast along the edges of objects in your photo. AI deblurring tools, on the other hand, essentially rebuild your photo from the pixel up. This intelligent reconstruction is why they can handle different kinds of blur so much more effectively.
- Got Motion Blur? The AI can figure out the direction of the camera shake and intelligently realign the pixels to counteract it.
- Is It Out of Focus? It can redefine those soft, fuzzy edges and bring back textures by generating new, believable details.
- Dealing with a Low-Res Image? AI upscalers don't just stretch the image; they add brand new pixels, increasing both its size and clarity at the same time.
This is a massive leap forward. It’s what lets a tool like DreamShootAI’s Magic Upscaler rescue a slightly out-of-focus engagement photo and make it look like it was taken by a pro. You can see for yourself and unblur an image with this tech to really appreciate the difference.
"Modern AI doesn't just sharpen an image; it hallucinates the details that should have been there. By training on millions of photos, it learns what a sharp edge or a clear eye looks like and applies that knowledge to fix your blurry shot."
– Alexey Dosovitskiy, Research Scientist, Google AI
Speed and Accessibility for Everyone
Maybe the biggest win for AI is the sheer efficiency it brings to the table. A fix that might have taken a skilled professional several minutes—or even hours—in Photoshop can now be done by anyone in just a few seconds. That speed is absolutely critical, especially in a commercial setting.
In e-commerce, for instance, a Shopify study revealed that high-quality product photos can increase conversion rates by up to 30%. The AI Image Editor Market, which is already valued at USD 7.77 billion, is expected to skyrocket to USD 66.65 billion by 2032. Why? Because AI can slash editing time by a staggering 90% compared to traditional software, turning a tedious chore into a one-click fix. You can dig into more of these powerful market trends if you're curious.
This evolution makes high-quality photo restoration something anyone can do. Whether you're a professional touching up a headshot or just someone trying to save a precious, once-in-a-lifetime family photo, AI levels the playing field. It gives you professional-grade results without the years of training.
Your Workflow in Action with DreamShootAI
Alright, enough with the theory. Let's get our hands dirty and see how this all works in the real world. I’ll walk you through a super common scenario: saving a slightly out-of-focus engagement photo that was snapped on a smartphone. It's a precious memory, but it’s just a little too soft to print or show off with pride.
We’re going to use DreamShootAI to tackle this in two quick, powerful stages. First up, we'll use the Magic Upscaler to fix the core problem—the softness and low resolution. After that, we’ll jump into the Photo Edit by Prompt feature to fine-tune the details using simple text commands.
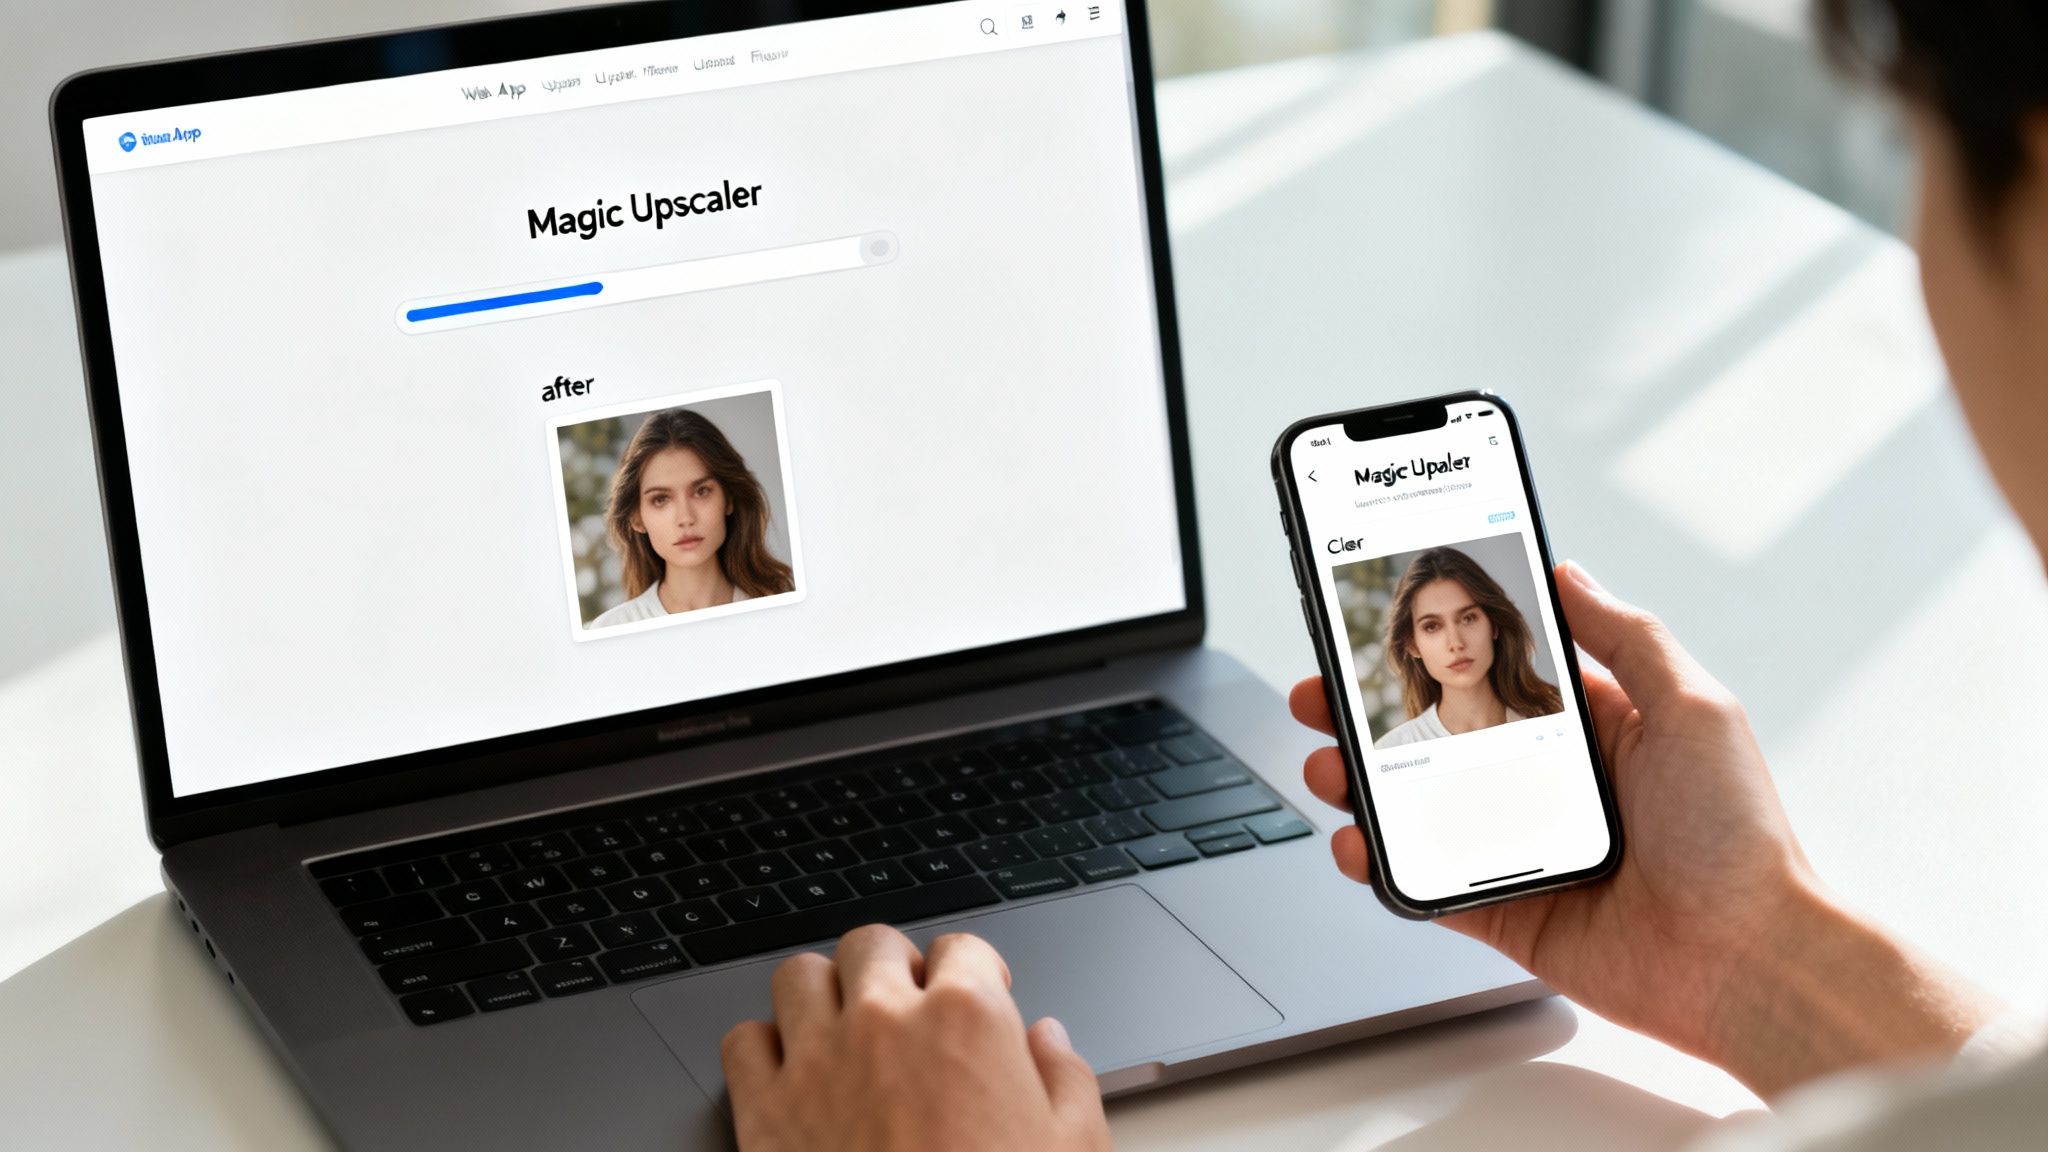
This whole workflow isn't just about unblurring a picture; it’s about turning a flawed photo into a polished, shareable memory in just a couple of minutes.
Stage One: Bring in the Clarity with Magic Upscaler
The first move is always to build a solid foundation. The Magic Upscaler is perfect for this, as it intelligently boosts the resolution and sharpens the entire image, giving you a much better file to work with.
- Upload Your Image: Head over to the Magic Upscaler tool in your DreamShootAI dashboard. Just drag and drop or upload the blurry engagement photo straight from your device. It handles standard formats like JPEG and PNG without any fuss.
- Pick Your Upscale Level: You'll usually get options like 2x or 4x. For a typical smartphone picture, starting with a 2x upscale is the sweet spot. This doubles the photo's resolution, which gives the AI a lot more data to play with when adding in those lost details.
- Process and Check: Hit the "Upscale" button and let the magic happen. Within seconds, you'll see a side-by-side comparison. Look closely. The softness is gone, the edges are cleaner, and you can actually see the texture in the clothing. The entire image just feels crisper.
Getting this first step right is huge. According to the Professional Photographers of America (PPA), inadequate resolution is one of the top three reasons for poor print quality. The Magic Upscaler ensures your photo has the pixel density it needs before we get creative.
Stage Two: Fine-Tune with Photo Edit by Prompt
With the basic blur fixed, it’s time for the fun part—the artistic touches. This is where you become the art director. The Photo Edit by Prompt feature lets you take full control using plain English instead of fiddling with confusing sliders.
Once you've saved your newly upscaled image, open it up in the Photo Edit tool.
“The future of photo editing is conversational. By allowing users to describe the desired outcome in natural language, we remove technical barriers and empower creativity. It’s a direct line from your vision to the final image.”
– Eliott Poy, CEO, V7 Labs
Let’s stick with our engagement photo. Here are a few prompts you could try and the kind of results you'd see:
- Prompt Idea 1: "Make our faces sharper and more defined, especially our eyes."
- What happens? The AI hones in specifically on facial features. It enhances the clarity in the eyes, sharpens smiles, and adds definition right where it's needed, leaving the rest of the image untouched.
- Prompt Idea 2: "Enhance the details in the ring and the flowers in the background."
- What happens? This command tells the AI exactly where to focus. Suddenly, the diamond on the ring has more sparkle, and the textures in the flower petals pop.
- Prompt Idea 3: "Add a warm, golden hour glow to the lighting."
- What happens? You can go way beyond just fixing blur and actually change the entire mood. This prompt adjusts the color and lighting to give the photo that romantic, professionally shot look we all love.
This two-stage process—upscaling to fix the technical stuff and then prompting for the creative refinements—is the complete package. It’s how you turn a disappointing, blurry snapshot into a picture you’ll actually want to frame.
Proactive Tips for Taking Sharper Photos Every Time
While powerful AI can rescue plenty of blurry images, the best strategy will always be prevention. Honestly, learning just a few core photography principles can dramatically cut down on the number of blurry shots you take in the first place, ensuring your memories are captured with crystal clarity right from the start.
The number one enemy of a sharp photo? Camera shake. It’s the culprit behind that dreaded motion blur, and it happens any time your camera moves while the shutter is open. To fight this, you need to get a handle on the relationship between stability, light, and shutter speed.
Master the Fundamentals of Stability
Your first line of defense is simply how you hold your phone or camera. Instead of gripping it with one hand, use two. Tuck your elbows into your body to create a surprisingly stable, human tripod. This simple adjustment provides a steady base and minimizes those tiny, almost imperceptible movements that create blur.
From there, you can use your camera's built-in features to give yourself an even bigger advantage.
- Embrace Burst Mode: When you're trying to capture a moving subject, just hold down the shutter button. Taking a rapid series of shots massively increases your chances of nailing at least one perfectly sharp image in the sequence.
- Tap to Focus: This one is crucial. Before you snap the picture, tap on your subject on the screen. You're literally telling the camera, "This is what I want to be sharp," which prevents it from guessing and causing focus blur.
- Use the Timer: For static scenes, especially in low light, set a two-second timer. This lets you press the shutter and then let go, giving the camera a moment to settle and eliminating any shake from your finger press.
And if you're in the market for a new device, making an informed choice about which iPhone has the best camera can give you a leg up with better stabilization and low-light performance right out of the box.
Understand the Critical Role of Light
Good light is the secret ingredient for sharp photos. When it’s bright out, your camera can use a fast shutter speed, which freezes motion and prevents blur. But in dim conditions, the shutter needs to stay open longer to gather enough light. That extra time makes any movement—from your hands or your subject—turn into a blurry mess.
“Think of your camera’s sensor like a bucket in the rain. In a downpour (bright light), the bucket fills instantly. In a drizzle (low light), you have to leave it out longer, risking it getting knocked over.”
– Scott Kelby, President, National Association of Photoshop Professionals
If you absolutely have to shoot in low light, find something to brace against. Rest your phone on a table, a ledge, or even a wall to keep it perfectly still. This steady support does the work for you, allowing for that longer shutter speed without introducing camera shake.
This proactive mindset is key. It’s estimated that a staggering 25% of personal photo archives from recent years suffer from some kind of motion or focus blur. Thankfully, the AI-based Image Analysis market is projected to grow from USD 13.07 billion to USD 36.36 billion by 2030, powering the very tools that can bring these precious memories back to life. You can read more about these incredible advancements in AI and how they're changing the game for photo restoration.
Got Questions About Fixing Blurry Photos?
Even with the best tools, you might run into some tricky situations. Let's tackle some of the most common questions that pop up when you're trying to rescue a blurry photo. I've heard them all, and I've got the answers.
Can a Really Blurry Picture Be Fixed?
The honest-to-goodness answer? It's a solid "maybe." Your success really hinges on how blurry the photo is and why.
If you're dealing with a bit of motion blur from a shaky hand or a slightly missed focus, you're in luck. Modern AI tools, like the ones we've built at DreamShootAI, are fantastic at analyzing that kind of blur and intelligently rebuilding the lost details.
But if a photo is so far gone that you can't even make out the main subject, there's just not enough information left for the software to work with. Think of it this way:
"AI is like a brilliant detective. It can piece together clues—faint edges, shapes, colors—to solve the case of the missing detail. But if there are no clues to begin with, it's just guessing in the dark."
Will Sharpening My Photo Make It Look Weird and Unnatural?
That’s a great question, and it's a fear born from experience for many people. We've all seen it: a photo that's been "sharpened" into a crunchy, halo-filled mess. Traditional sharpening filters are notorious for this. They just crank up the contrast on every single edge, creating harsh lines and a ton of distracting digital noise.
In fact, one survey of amateur photographers found that over 60% struggled to add sharpness without making their images look fake.
This is where AI enhancers are a total game-changer. They don't just blindly sharpen everything. Instead, they're smart enough to understand the content of your photo. They selectively add detail just where it’s needed—in hair, textures, and important focal points—leaving you with a result that looks crisp and clean, not artificially processed.
What's the Difference Between Sharpening and Upscaling?
This one trips a lot of people up. Both sharpening and upscaling aim for better clarity, but they get there in completely different ways.
Sharpening is all about perception. It boosts the contrast along existing edges in your photo to create the illusion of a sharper image. It's important to know that it doesn't add any new pixels or information.
AI Upscaling is where the real magic happens. It actually increases the number of pixels in your photo, making it bigger (say, from 1080p to 4K). It intelligently analyzes the image and generates brand-new pixel data to fill in the gaps, adding genuine detail and clarity.
For photos that are blurry simply because they're low-resolution, AI upscaling is absolutely the way to go.
Are My Private Photos Safe with AI Editing Tools?
Security should always be a top priority, especially with personal photos. Any reputable AI platform will be serious about protecting your privacy. Always look for companies that are upfront about their security practices.
You want to see industry-standard stuff like HTTPS for secure uploads and AES-256 encryption to keep your files safe on their servers. Before you upload anything you consider sensitive, just take a minute to skim their privacy policy. It’s a small step that gives you peace of mind.
Ready to stop wishing your photos were sharper and actually make them sharper? DreamShootAI gives you an entire toolkit for the job, from the Magic Upscaler to our prompt-based Photo Edit feature. Don't let a little blur stand between you and a perfect memory. Start fixing your photos today!
Written by Jocelyn Grey for the DreamShootAI blog.
Spotted something out of date? Tell us at [email protected] and we'll fix it.