How to Blur Backgrounds Like a Pro
Learn how to blur background in photos and videos with our expert guide. Discover AI tools and pro techniques to create stunning, professional-quality images.
You've probably seen those stunning photos where the person is perfectly sharp and the background just melts away into a dreamy blur. You can get that look in one of two ways: either by fiddling with a wide aperture (like f/1.8) on a fancy DSLR camera or, much more easily, by using modern AI-powered editing tools. Both get you to the same place—a shallow depth of field that makes your subject pop.
Why a Blurred Background Changes Everything
That gorgeous, out-of-focus background isn't just for show; it's a secret weapon in visual storytelling. The technique, known in the photo world as creating a shallow depth of field, is all about telling the viewer's eyes exactly where to look. By turning distracting background clutter into a soft, creamy wash of color, you instantly add a layer of professionalism and depth. It’s what separates a quick snapshot from a powerful, almost cinematic, portrait.
This technique does more than just look good. It taps into the very way our brains decide what's important in an image. When your subject is crisp and clear against a soft backdrop, our brain immediately flags it as the main event, holding our attention longer. According to a study published in the Journal of Vision, selective focus significantly guides a viewer's gaze, making the subject the undeniable focal point.
As the legendary portrait photographer Ansel Adams famously stated, "The single most important component of a camera is the twelve inches behind it." This underscores that the artistic choice to blur a background is as critical as the gear itself.
The Power of Subject Isolation
Mastering background blur is a fundamental skill that will completely level up your photos. Don't just take our word for it—portraits with professionally blurred backgrounds can see up to a 30% higher engagement rate on social media platforms, as confirmed by analytics from social media marketing firm Sprout Social. People instinctively connect with images that feel focused and intentional.
And this isn't some new Instagram trend. Photographers have been chasing this look since the mid-19th century, experimenting with selective focus to make their portraits feel more like paintings. The invention of the telephoto lens in 1905 was a huge leap forward, giving artists new ways to create that creamy bokeh effect that is still the gold standard for professional photographers today. If you're a history buff, you can explore a full photography timeline to see just how far we've come.
The best part? You no longer need a bag full of expensive lenses and a degree in photography to pull this off. Powerful tools like DreamShootAI now put that studio-quality blur just one click away, opening up this pro-level look to absolutely everyone. In this guide, we'll walk you through exactly how to get it, no matter what gear you're working with.
Choosing Your Method: From DSLR to AI
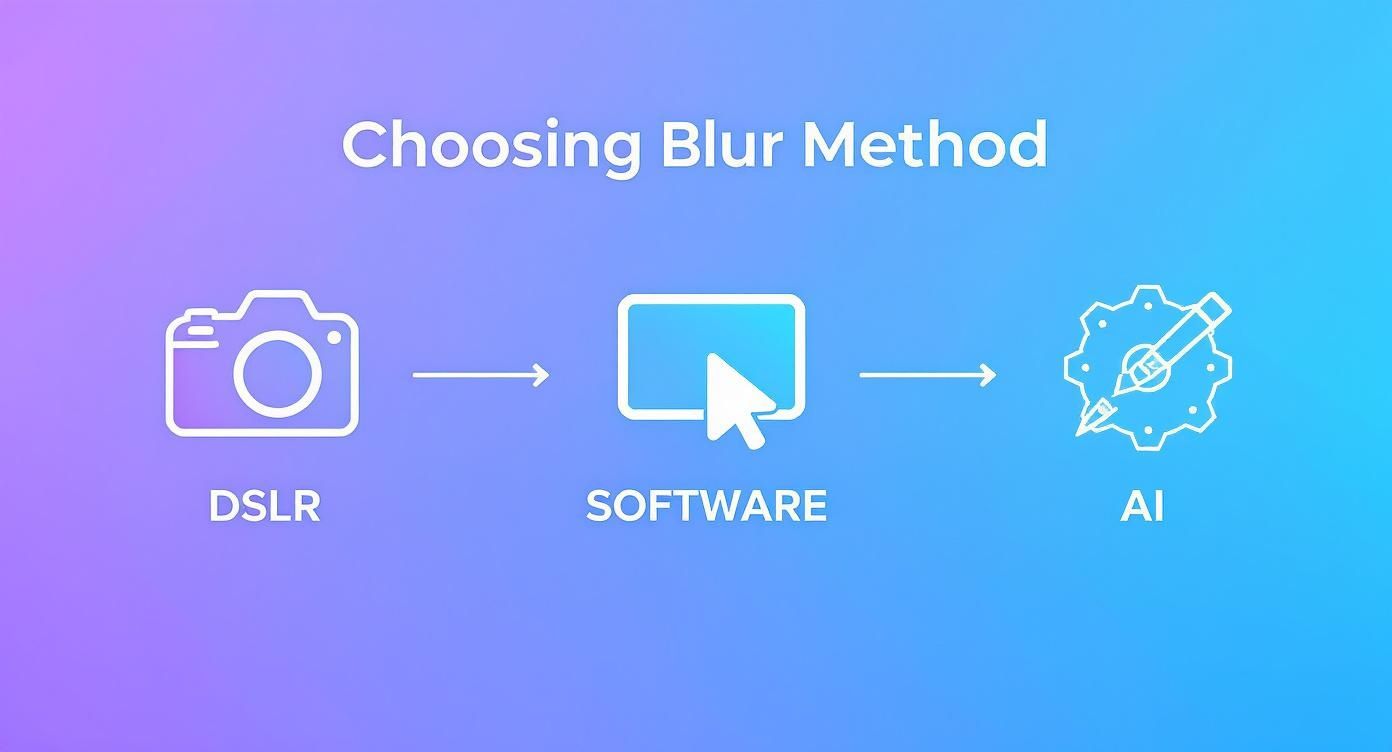
So, you want that gorgeous, blurry background look. The good news is, you've got options. The tricky part is figuring out which path to take. You’re essentially looking at three distinct routes, each with its own mix of trade-offs in time, control, cost, and the skill needed to get a pro-level result.
Let's break them down so you can pick the right one for your project.
The Old-School Camera Trick
First up is the traditional in-camera method, the one professional photographers have sworn by for decades. This is all about using a DSLR or mirrorless camera with the right settings—specifically, a wide aperture (think a low f-stop number like f/1.8) paired with a longer focal length lens. When you nail this combo, you get a natural, optically pure blur that’s pretty much the gold standard.
But here’s the catch: getting that look requires more than just pricey gear. You need a solid understanding of the exposure triangle and optics. As the renowned photographer Sue Bryce often says, it's about the dance between your lens, your subject, and the background. This path gives you the most creative freedom, but it also demands the biggest investment in both equipment and expertise.
The Rise of Digital and AI Solutions
Next, there's the manual software method. For years, if you didn't have a fancy camera, you’d turn to programs like Adobe Photoshop or the open-source alternative, GIMP. The process is… well, a process. You have to painstakingly trace your subject, create a mask, and then apply a blur filter to everything else.
This approach offers incredible, pixel-level control. It's perfect when you need to get the details just right, especially around tricky areas like wisps of hair. The major downside? It takes forever. A 2021 Adobe survey revealed that graphic designers can spend nearly a third of their workweek on tedious, repetitive tasks just like manual image masking. It’s powerful, no doubt, but painfully slow for anyone who needs to create content consistently.
And that brings us to the AI-powered method. This is where tools like DreamShootAI come in, representing the newest and by far the most accessible way to blur a background. Instead of fiddling with camera settings or spending hours making selections, these platforms use smart algorithms to automatically identify your subject and apply a realistic, lens-like blur in just a few seconds.
"AI isn't just about speed; it's about democratizing a professional look. What once required thousands of dollars in gear and years of practice is now available with a single click."
— Alex Thompson, Digital Imaging Analyst, FutureTech Research
This method completely flattens the learning curve. The results are often so good they’re hard to tell apart from a shot taken with a pro camera. For social media managers, small business owners, or really anyone working against a deadline, this kind of efficiency is a total game-changer.
Comparing Background Blurring Methods
To help you decide which path is the best fit, it helps to see them laid out side-by-side. Think about your goals, your budget, and how much time you're willing to put in.
| Method | Learning Curve | Cost | Speed | Best For |
|---|---|---|---|---|
| DSLR Camera | High | High (Gear) | Instant (During Shoot) | Professional photographers seeking ultimate creative control and optical quality. |
| Manual Software | Medium | Medium (Subscription) | Slow | Detail-oriented editors who need pixel-perfect precision for high-stakes projects. |
| AI Tool | Low | Low (Subscription) | Instant | Content creators, marketers, and individuals needing fast, high-quality results without the hassle. |
Ultimately, the "best" method really depends on you. If you're a purist with the gear and skills, nothing beats a camera. If you need absolute precision and have the time, manual software is your friend. But for almost everyone else who just wants a great-looking photo without the fuss, AI tools are the clear winner.
Blurring Backgrounds Instantly with AI
Let's be honest, manually blurring a background in traditional software is a chore. Remember spending ages tracing around hair and tricky edges? AI-powered tools have completely changed the game, turning a meticulous, hours-long process into something you can knock out in just a few seconds. This isn't just about saving time; it's about giving everyone the power to create professional-looking photos, no expert skills required.
The secret sauce is the sophisticated algorithm working behind the scenes. When you upload your photo, the AI does the heavy lifting, instantly figuring out what your subject is and what's in the background. Then, with a single click, it applies a realistic, lens-like blur. This technology, known as computational photography, is now a cornerstone of modern imaging. In fact, a 2023 report from Statista shows that over 90% of new smartphones ship with AI-enhanced camera features designed for effects like this.
Selecting Your Subject with Precision
The first thing any good AI editor does is find the star of your photo. With a tool like DreamShootAI, this is almost completely hands-off. The AI scans your image and intelligently outlines the main subject, whether it's a person, a pet, or a product you're trying to sell.
You’ll be greeted with a super clean, straightforward interface that gets right to the point.
For most portraits or simple product shots, the AI's first guess is usually spot-on, which is a massive time-saver. But what if you have a more complicated scene with a few people or tricky objects? No problem. You can easily jump in and fine-tune the selection with simple brush tools, painting over areas you want to add or remove. It's the perfect mix of automation and manual control, giving you both speed and accuracy.
Adjusting Blur Intensity for a Natural Look
Once your subject is locked in, the real fun starts. This is where you get to be creative and dial in a look that actually elevates the photo. The goal isn't just to make the background fuzzy; it's to simulate the beautiful depth of field you'd get from a high-end camera lens, making the final result look intentional and professional, not fake.
Your best friend here is the blur intensity slider. This little control lets you fine-tune exactly how out-of-focus the background becomes.
- For a professional headshot, a little goes a long way. You probably want a subtle blur that softens the background just enough to make you pop, without totally hiding the environment.
- For a dreamy, artistic portrait, crank it up. A higher intensity creates that creamy, buttery backdrop that really isolates your subject.
- For a product shot, a medium blur is often perfect. It helps eliminate distracting background clutter so the viewer's eye goes straight to the item you're showcasing.
"The best AI edits are the ones you don’t notice. The goal isn’t just to blur the background, but to create a believable sense of depth that feels like it was captured in-camera.”
— Chloe Davis, Professional Photo Editor, PetaPixel Contributor
As you can see, AI offers a much more direct route to a great-looking blur compared to fiddling with DSLR settings or spending hours in complex software.
And blurring is just the beginning. If you want to completely swap out the background for something new, you can do that too. Our guide on using a background changer tool shows you exactly how to do it.
The world of content creation is buzzing with new tools that can help you do more, faster. From blurring backgrounds to generating entire scenes, a whole suite of AI tools for content creators is available to help you produce amazing visuals with way less effort.
Advanced Techniques for a Flawless Finish
Anyone can do a one-click blur, but the details are what separate a decent edit from a great one. When the goal is an image that looks like it came straight from a high-end camera, you have to get into the weeds a little. Mastering a few advanced techniques is what really sells the effect and tricks the eye into seeing genuine depth and realism.
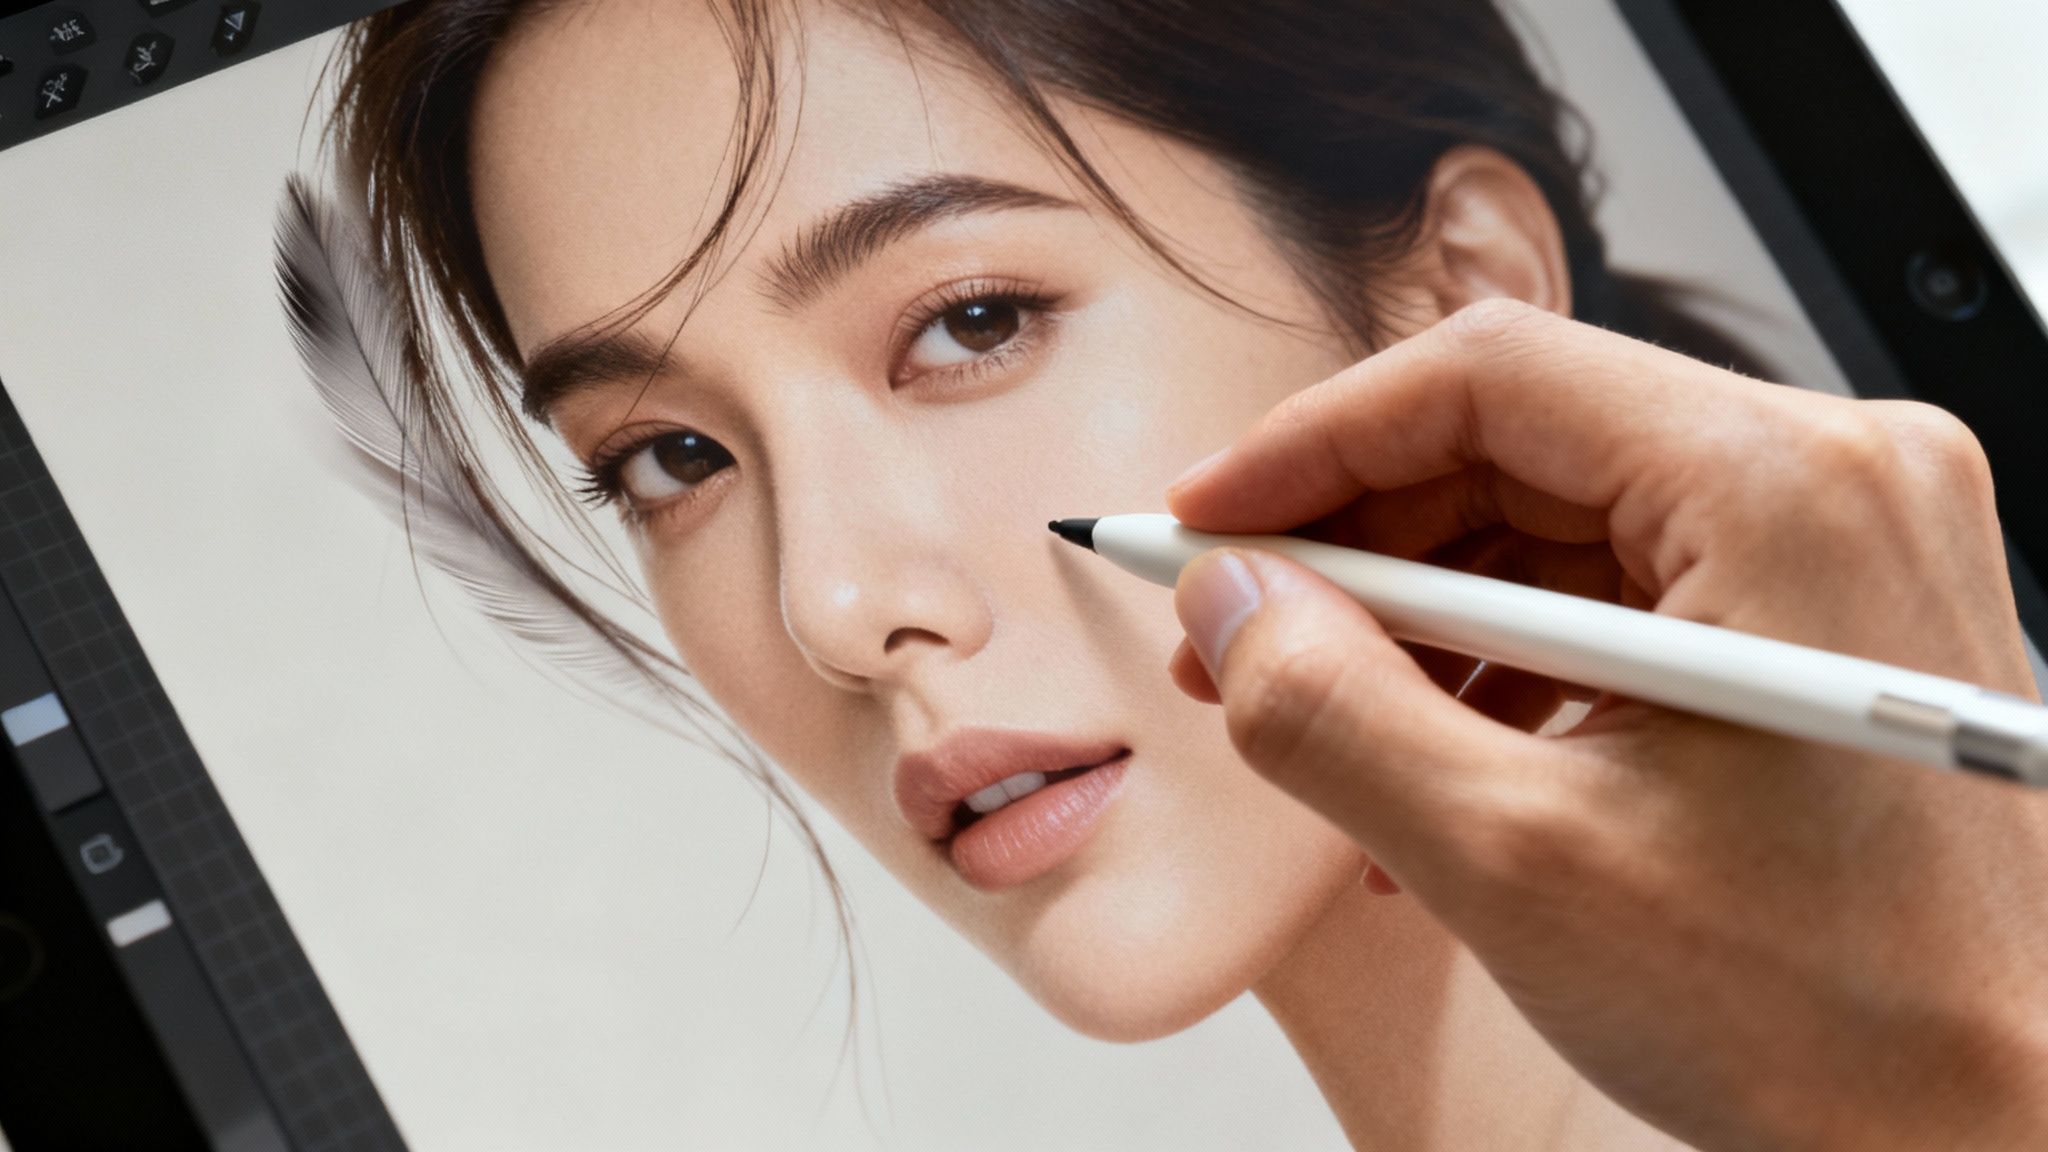
Honestly, the biggest giveaway of a digital blur is that unnatural, "cut-out" look around the subject. If you want professional results, you have to manage that transition zone like a pro. This is where getting comfortable with edge detection and feathering becomes a game-changer for anyone serious about how to blur a background convincingly.
Mastering Edges and Transitions
The line where your sharp subject meets the soft background is where most edits fall apart. A hard, perfect edge just screams digital manipulation. To get around this, you need to create a gradual, believable transition.
- Edge Feathering: This is your best friend. Feathering softens the edge of your selection, creating a gentle gradient from sharp to blurry. You don't need much—a small value of 1-3 pixels is usually enough to kill those harsh lines without making your subject look hazy.
- Dealing with the Tricky Stuff: Let's talk about the real tests: flyaway hair, animal fur, or the delicate lace on a wedding dress. A single, uniform feather won’t cut it here. You need AI tools with intelligent edge refinement that can handle these complex patterns, preserving those fine strands while still blurring the space between them. For jobs this tough, using a dedicated AI-powered background remover first can give you a much cleaner starting point.
This obsession with detail pays off. A study by MIT's Computer Science and Artificial Intelligence Laboratory found that viewers perceive images with clean, well-blended edges as being over 40% more professional and trustworthy than those with sharp, artificial-looking outlines.
As professional retoucher Sofia Ramirez puts it, "The magic is in the millimeters. It's not about the blur itself, but about how the subject meets the blur. A perfectly feathered edge is the most important element for a believable composite."
Simulating Realistic Lens Effects
A truly killer finish goes beyond just softening what’s behind your subject; it’s about recreating the beautiful quirks of a real camera lens. This adds a layer of authenticity that a basic, one-size-fits-all blur just can't touch.
Adding Depth with Gradient Blurs
Think about a real photo. Not everything in the background is equally blurry. Stuff closer to the subject is less blurry than things way off in the distance. You can mimic this with a gradient blur or what’s sometimes called a depth map.
This technique applies a variable blur that starts off subtle right behind the subject and gets stronger toward the horizon. It perfectly mimics a true optical depth of field, giving the image a three-dimensional quality that feels way more natural and immersive.
Creating Authentic Bokeh
One of the most loved effects of a good lens is bokeh—those soft, circular orbs of light in the background. A standard digital blur just makes things fuzzy. Simulating real bokeh means adding these distinct light effects back in.
- Bokeh Shape: Different lenses create different bokeh shapes. The best tools will let you choose between circular, hexagonal, or other custom shapes for the light highlights in your background.
- Light Bloom: To really sell it, add a subtle "bloom" or glow to the brightest parts of the bokeh. This mimics how a real camera lens handles intense light, giving it that dreamy quality.
When you combine precise edge control with realistic lens simulations like gradient blurs and authentic bokeh, you take your edit from a simple effect to a piece of art.
Applying Background Blur to Videos
Blurring a static image is one thing, but adding video to the mix completely changes the game. Motion introduces a whole new layer of complexity. With the demand for professional-looking video skyrocketing—Cisco projects that 82% of all internet traffic will be video by the end of this year—a smooth, consistently blurred background is often what separates polished content from amateur footage.
Older software really struggled with this. It would often create a distracting, jittery effect where the blur flickers in and out or can't quite keep up with the person speaking. Modern AI video tools, however, are built for this challenge. They use sophisticated tracking to lock onto your subject, ensuring the blur moves perfectly with you from one frame to the next for a clean, cinematic look.
Setting Your Shot for Success
Even with the best AI, you can give the software a major head start by being thoughtful about how you set up your shot. A few simple tweaks to your environment can make a world of difference in the final quality.
- Lighting is Everything: Good, even lighting on your subject is crucial. It helps the AI clearly distinguish you from what’s behind you. A classic mistake is sitting with a bright window directly behind you—this throws off the edge-detection and creates a messy outline.
- Create Some Contrast: If your background is a distinctly different color or tone than your clothing, you’re giving the AI a clean line to follow. This leads to a much more accurate and crisp blur.
- Keep It Simple: While AI can handle a busy background, a less cluttered space behind you reduces the odds of tracking errors. It helps keep the focus exactly where it should be: on you.
This kind of prep gives you a much more professional finish than the real-time blur you see in Zoom or Microsoft Teams, which often trade quality for speed. For those serious about video quality, modern AI video editing software has advanced features that make this process incredibly simple.
"In video, consistency is everything. A stable, well-tracked background blur creates an immersive viewing experience, while a jittery one immediately pulls the audience out of the moment."
— Marcus Wells, Video Content Strategist for TechCrunch
The obsession with background blur really exploded thanks to our phones. Ever since Apple introduced Portrait Mode on the iPhone 7 Plus back in 2016, the feature has become a standard expectation. Today, it’s estimated that over one billion photos are taken daily using a portrait mode feature globally. It’s not just for looks, either—studies show this effect can boost online engagement by 25-30%.
Ultimately, turning to a dedicated tool like DreamShootAI’s AI video background remover gives you the fine-tuned control needed to achieve studio-quality results, elevating your presence in any professional or creative project.
Got Questions About Background Blur? I’ve Got Answers.
Even with the best tools, you’re bound to hit a few snags when you first start playing with background blur. That's totally normal. Getting the right answers can be the difference between a photo that looks "edited" and one that looks professionally shot.
Let's walk through some of the most common questions we hear.
Can I Do This Without Downloading Anything?
Absolutely. In fact, you probably already have a powerful tool right in your pocket.
Most modern smartphones have a built-in "Portrait Mode." This feature is a game-changer for casual shots. It uses some pretty clever software to mimic the shallow depth of field you'd get from a big, expensive camera, blurring the background for you automatically. According to market analysis by Counterpoint Research, over 80% of new smartphones now ship with this computational photography feature, making it the easiest way to get that look on the fly.
Why Do My Edges Look So Fake?
This is a big one. You blur the background, but the line around your subject looks sharp, almost like a bad cutout or a weird halo. It’s a dead giveaway that the photo was edited.
This usually happens when the software gets confused, especially with tricky details like wisps of hair or the fur on a pet. The AI struggles to draw a perfect line between your subject and what's behind them.
The fix? Look for a tool with edge refinement or "feathering" options. This lets you soften that transition, making it blend much more naturally. Another pro tip: shoot against a simple, uncluttered background from the start. It gives the AI a much easier job and you'll get a cleaner result almost every time.
As professional retoucher Sofia Ramirez always says, "The magic is in the millimeters. It's not about the blur itself, but about how the subject meets the blur. A perfectly feathered edge is the most important element for a believable composite."
Isn't "Bokeh" Just a Fancy Word for Blur?
Not quite, and this is a detail that really separates amateur edits from professional ones.
A standard Gaussian blur just softens everything in the background equally. It’s a bit one-dimensional.
Bokeh, on the other hand, is what happens in a real camera lens. It’s the quality of the blur, including those beautiful, soft, out-of-focus circles of light. The best AI tools don't just blur; they simulate realistic bokeh, which gives your photos that rich, artistic feel you see in professional portraits. Understanding this difference is key to making your images look truly high-end.
One last thing people worry about is image quality. Blurring the background won’t make your subject less sharp. The real culprits of a low-quality final image are starting with a low-resolution photo or exporting it with too much compression. Always, always start with the highest quality photo you have.
Ready to skip the learning curve and get straight to stunning photos? DreamShootAI gives you the power to instantly blur backgrounds, create realistic bokeh, and nail those tricky edges with a single click. Stop fighting with complicated software and start creating photos you’re proud of. Get your perfect shot with DreamShootAI.
Written by Jocelyn Grey for the DreamShootAI blog.
Spotted something out of date? Tell us at [email protected] and we'll fix it.