Instantly Add Hair to Photos with AI
Discover how to add hair to photos with AI. Our guide offers expert tips for trying new hairstyles, colors, and volume for a realistic virtual makeover.
Ever wanted to add hair to a photo without wrestling with complicated software? A recent survey by CyberLink revealed that 57% of Americans edit their photos before posting, with hairstyle adjustments being a common tweak. The easiest way is with an AI photo editor like DreamShootAI. You just type what you want, and boom—instant new hairstyle. This tech makes virtual hair makeovers fast, realistic, and something anyone can do.
How AI Became Your New Virtual Hairstylist
We've all been there. You see a photo and wish you could try a different look—maybe go blonde for a day or add some serious volume before a big night out. Not long ago, that meant either fighting with editing software or making a permanent (and risky) trip to the salon. Now, AI has completely changed the game.
The desire to change our hair is nothing new, of course. People have been using extensions and wigs for centuries, from the status symbols of ancient Egypt to the seamless extensions of the 1960s. The modern hair extension market, valued at over $7 billion globally, shows just how long we've been obsessed with switching up our style.
Now, that transformation happens right on your screen. You just upload a photo and type a simple prompt to make a change.
The AI figures out your command, like 'add long, wavy brown hair,' and generates a new version of the image in seconds. It's really that easy.
This leap from physical additions to digital creation is a massive deal. It gives you the freedom to experiment without any risk. This same AI technology is also shaking up commercial visuals, from personal branding to fields like AI product photography.
As expert digital imaging consultant Dr. Alistair Finch notes:
"AI-driven photo editing democratizes creativity. What once required hours of skilled manual work can now be achieved in seconds with a well-crafted prompt, opening up new possibilities for personal expression and professional content creation."
Ready to try it yourself? This guide will show you exactly how to master these tools and bring all your creative hair ideas to life.
Choosing the Right Photo for Your AI Makeover
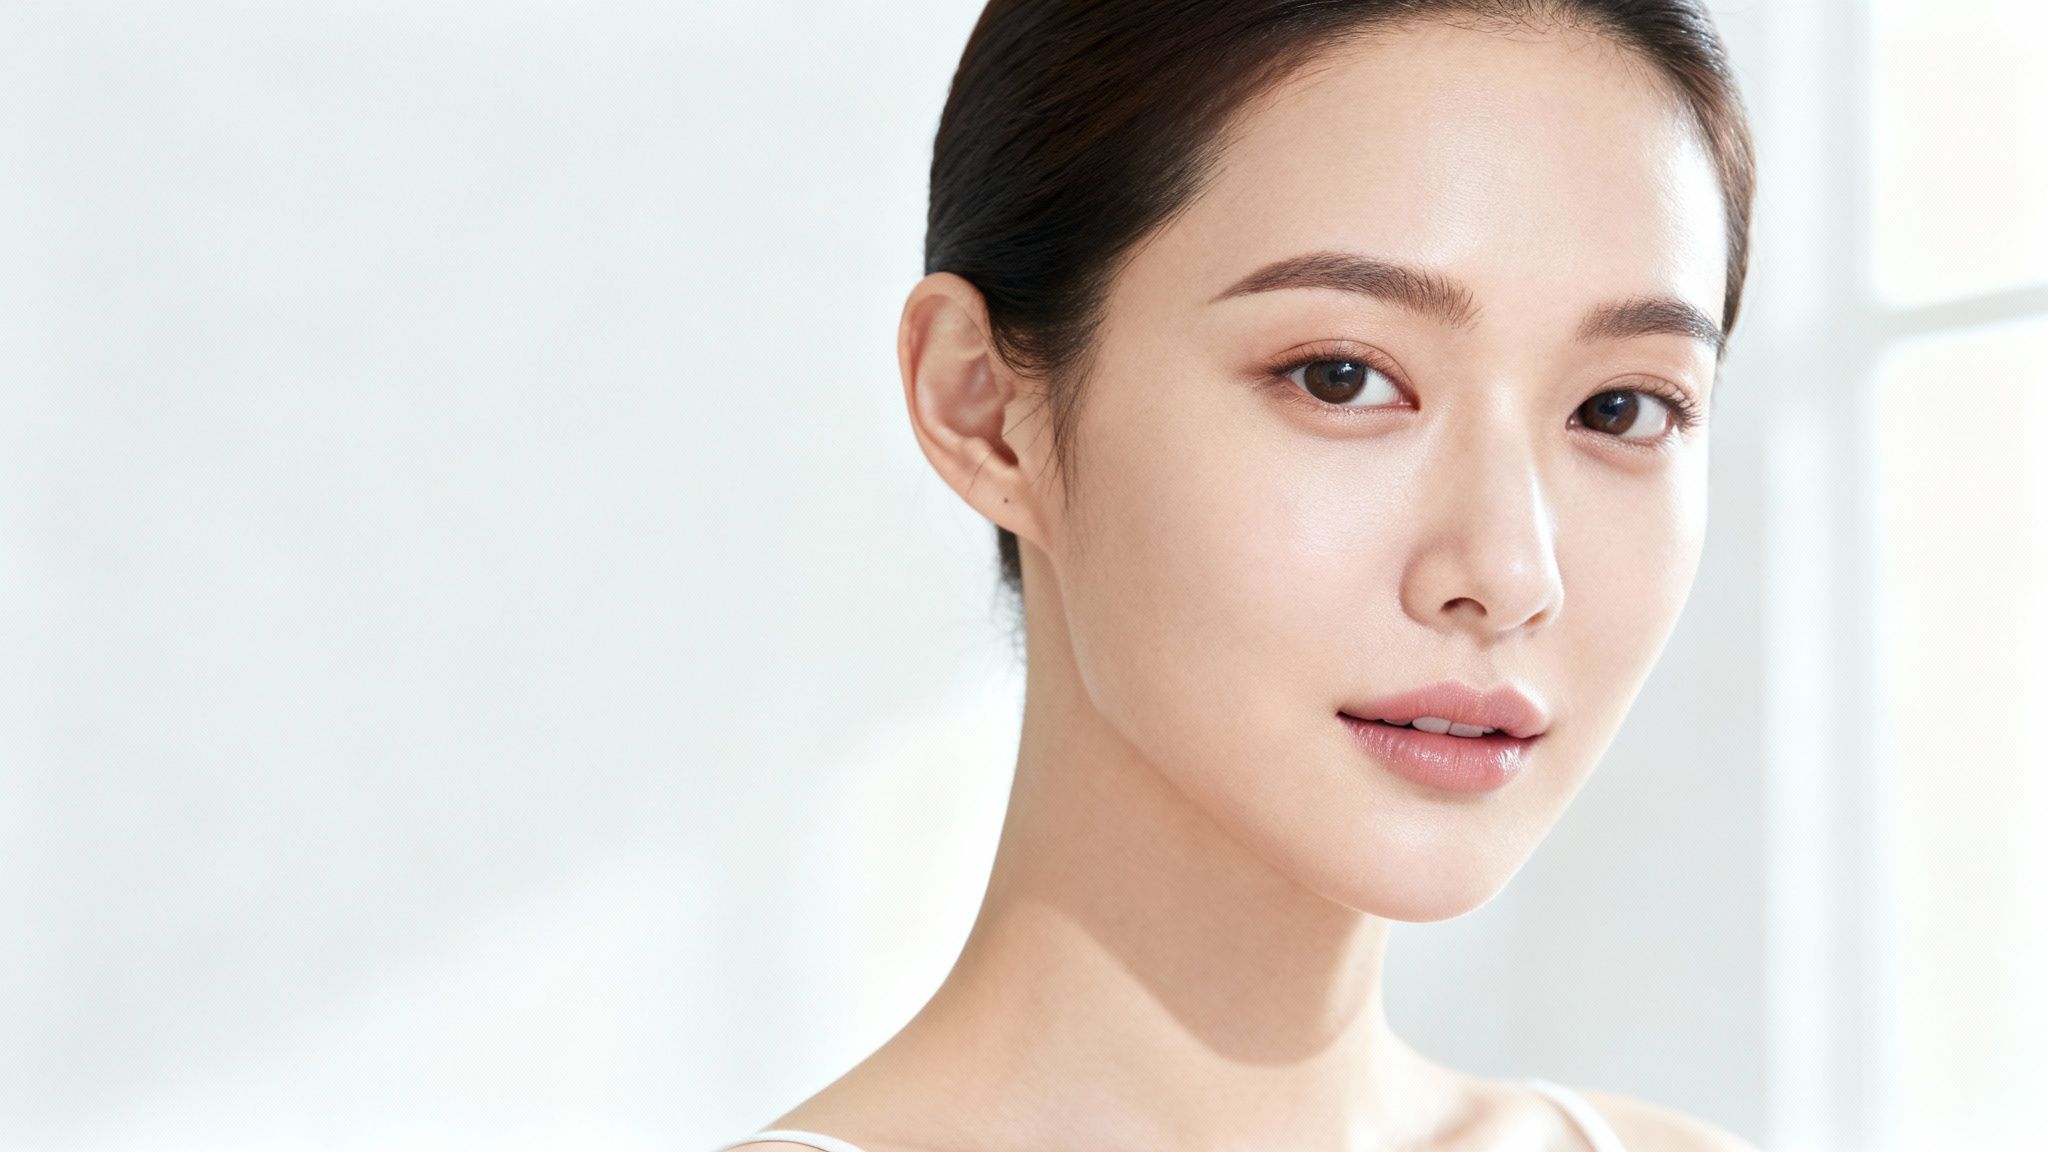
The secret to a jaw-dropping AI hair transformation isn't just in the AI—it’s the photo you start with. Your source image is the foundation, and a shaky one will compromise the final result, no matter how powerful the tech is. It's the classic "garbage in, garbage out" rule, and it's especially true when you're asking an AI to add or change hair.
A high-quality picture gives the AI all the right clues about lighting, skin texture, and the shape of your head. These details are what make the final edit look real. In fact, a study from MIT's Computer Science and Artificial Intelligence Laboratory found that image generation models perform significantly better with high-resolution, well-lit inputs, as it reduces algorithmic ambiguity.
Setting Yourself Up for Success
Before you even think about uploading a photo, take a second to check if it's ready for its AI debut. A few simple tweaks can make a world of difference.
Lighting is Your Best Friend: Find a spot with soft, even lighting. Harsh sunlight or intense overhead lights create dark shadows that can seriously confuse the AI, making the new hair look like a bad cut-and-paste job.
Keep the Background Simple: A cluttered background is just noise to the AI. A plain, neutral backdrop lets the algorithm put all its energy where it matters: on your face and the hairstyle you’re trying on.
Frame Yourself Properly: A clear, front-facing portrait showing your head and shoulders is perfect. Avoid shots where your hair is hidden by a hat, your hands, or taken from a strange angle.
Getting the source photo right is half the battle. Think of it like a professional photoshoot—the better the raw image, the less work you have to do in post-production. The table below breaks down exactly what to look for.
Photo Selection Checklist for Best AI Results
| Characteristic | Ideal for AI | What to Avoid |
|---|---|---|
| Lighting | Soft, even, and natural light. | Harsh shadows, direct sunlight, backlighting. |
| Background | Simple, neutral, or blurred. | Busy patterns, clutter, crowds of people. |
| Angle | Straight-on, front-facing portrait. | Extreme high/low angles, side profiles. |
| Obstructions | Face and shoulders are fully visible. | Hands in hair, hats, sunglasses, scarves. |
| Resolution | High-quality, clear, and in-focus. | Blurry, pixelated, or low-resolution images. |
Nailing these points ensures the AI has a clean canvas to work with, which is key for a realistic transformation.
As digital imaging specialist Janine Jarman of Hairroin Salon puts it, "The biggest mistake is not prepping the canvas. You have to start with a clean, well-lit shot. Otherwise, you’re just creating more work for the technology and setting yourself up for a less-than-perfect result."
Once you've got the perfect photo, head over to our library of AI-generated hairstyles to get some inspiration. Seeing what's possible with a great starting image will get you excited to start your own makeover.
Writing AI Prompts That Create Amazing Hair
This is where the real magic happens. Crafting a great prompt is the secret sauce to getting the exact hairstyle you're dreaming of. It's less about giving a simple command and more about guiding the AI with rich, descriptive language. Think of yourself as an artist directing a masterpiece, not just typing “add long hair.”
The difference between a so-so result and a jaw-dropping one is all in the details. In fact, research from Stanford University shows that highly specific, multi-term prompts generate far more accurate and higher-quality images than simple, vague ones. Every single adjective counts.
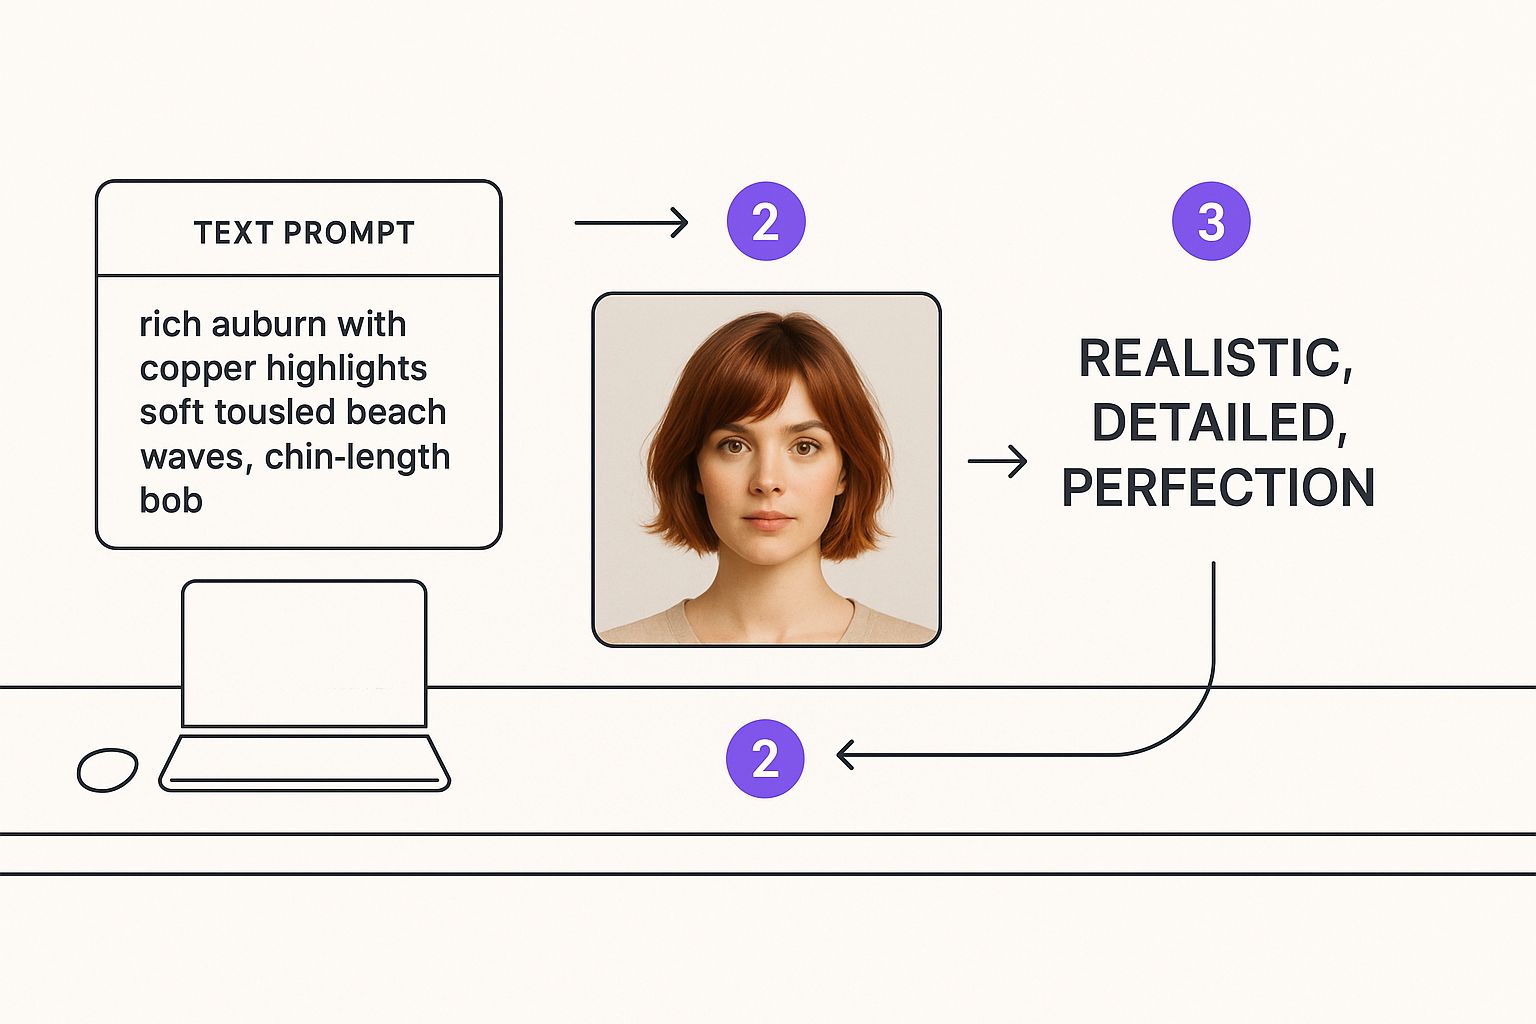
As you can see, layering descriptive terms for color, texture, and style gives the AI a much clearer roadmap to follow. That precision is what lets you add hair to photos with results that look stunningly real.
Mastering Descriptive Language
The best prompts I've seen always break down a hairstyle into its core elements. Try to describe at least three key attributes to really paint a picture for the AI.
Here are the components I always try to include:
- Color: Don't just say "blonde." Get specific with "honey blonde with subtle golden highlights" or "icy platinum blonde."
- Texture: Instead of a generic "wavy," try "soft, tousled beach waves" or "defined, bouncy spiral curls."
- Length and Style: Precision is your friend here. "A sharp, chin-length bob with a center part" is worlds better than just "short hair." Same for "a chic pixie cut with feathered layers."
- Volume and Shine: These are the finishing touches that make a huge difference. Adding phrases like "natural volume at the roots" or "a healthy, glossy shine" can elevate the entire look.
As digital imaging specialist Dr. Eva Rostova puts it, "The nuance is in the adjectives. Specificity is the bridge between your imagination and the AI's creation."
Real-World Prompt Examples
Let’s see this in action. A vague prompt like "make hair thicker" often ends up looking a bit off or unnatural. But a more detailed prompt? That gives the AI something solid to work with.
Imagine you want to see yourself with a trendy, voluminous style.
- Vague Prompt:
add more hair - Specific Prompt:
Add thick, voluminous, dark brown hair styled in a 90s blowout with soft, face-framing layers and a healthy shine.
See the difference? That level of detail ensures the AI understands not just the volume you want, but also the exact color, style, and finish you have in mind. You can play around with this yourself using DreamShootAI's Photo Edit by prompt tool, which is built to understand this kind of descriptive language. Once you get the hang of prompt writing, you have total creative control over your virtual makeover.
A Practical Walkthrough to Add Hair with AI
Alright, you've got the perfect photo picked out and a killer prompt in mind. Now for the fun part: bringing that vision to life. This whole process is way more intuitive than wrestling with traditional editing software. Forget layers and clone stamps; we're turning a seriously complex task into just a few clicks.
Let's walk through how you can add hair to photos using DreamShootAI.
First thing's first: upload your chosen image. Simple enough. Once it's loaded, you’ll see the text box where the magic happens. This is where you'll paste or type in that descriptive prompt you came up with. Don't hold back here—the AI is built to understand nuance, so the more detail you feed it, the closer that first result will be to what you're picturing.
From Prompt to First Draft
After you hit 'generate,' the AI kicks into gear. It scans your photo, taking note of the existing lighting, shadows, and the structure of the face. Then, it uses your prompt as a guide to create a brand-new hairstyle from scratch. The whole thing takes just a few seconds.
This first image is your starting point. Sometimes it’s a home run on the first try, but more often, it's a fantastic first draft that just needs a little fine-tuning. For instance, maybe the AI nailed the color but the texture is a bit off. That’s a totally normal part of the creative flow. Instead of ditching it and starting over, you just adjust your prompt to nudge the AI in the right direction.
The idea of adding or changing hair is nothing new, of course. Back in 1955, during the filming of 'Moby Dick,' the crew used special hair "flashes" with spirit gum to make actor Gregory Peck look older. The story goes that a female assistant wore them to a dance, it caused a sensation, and by the end of the year, salons were getting slammed with requests. That’s how modern tape-in extensions were born. You can read more about the wild history of hair extensions on PerfectLocks.com.
Refining Your AI Hairstyle
So, what happens when that first attempt isn't quite there? This is where AI really flexes its muscles. Let's say your prompt was long, wavy red hair but the result came back looking more carrot-orange than the rich auburn you wanted.
"A common rookie mistake is giving up after the first generation," explains Dr. Alistair Finch. "The best results often come from small, targeted adjustments. Think of it as a conversation with the AI—you provide feedback with each new prompt."
For your next attempt, just get a little more specific with your prompt:
- Original Prompt:
long, wavy red hair - Refined Prompt:
long, wavy auburn hair with deep copper tones
See the difference? That small tweak gives the AI much clearer instructions. Each adjustment gets you closer to the exact style you imagined. If you want to dive deeper into this, you can also explore our guide on using DreamShootAI's image-to-image tool to really perfect that realistic look. It's all about iterating until it's perfect.
Pro Tips for a Seamless and Natural Look
Ready to take your edits from good to genuinely jaw-dropping? When you add hair to photos, getting a polished, realistic finish is all about the little details. I've found the single most critical element for a believable result is nailing the lighting.
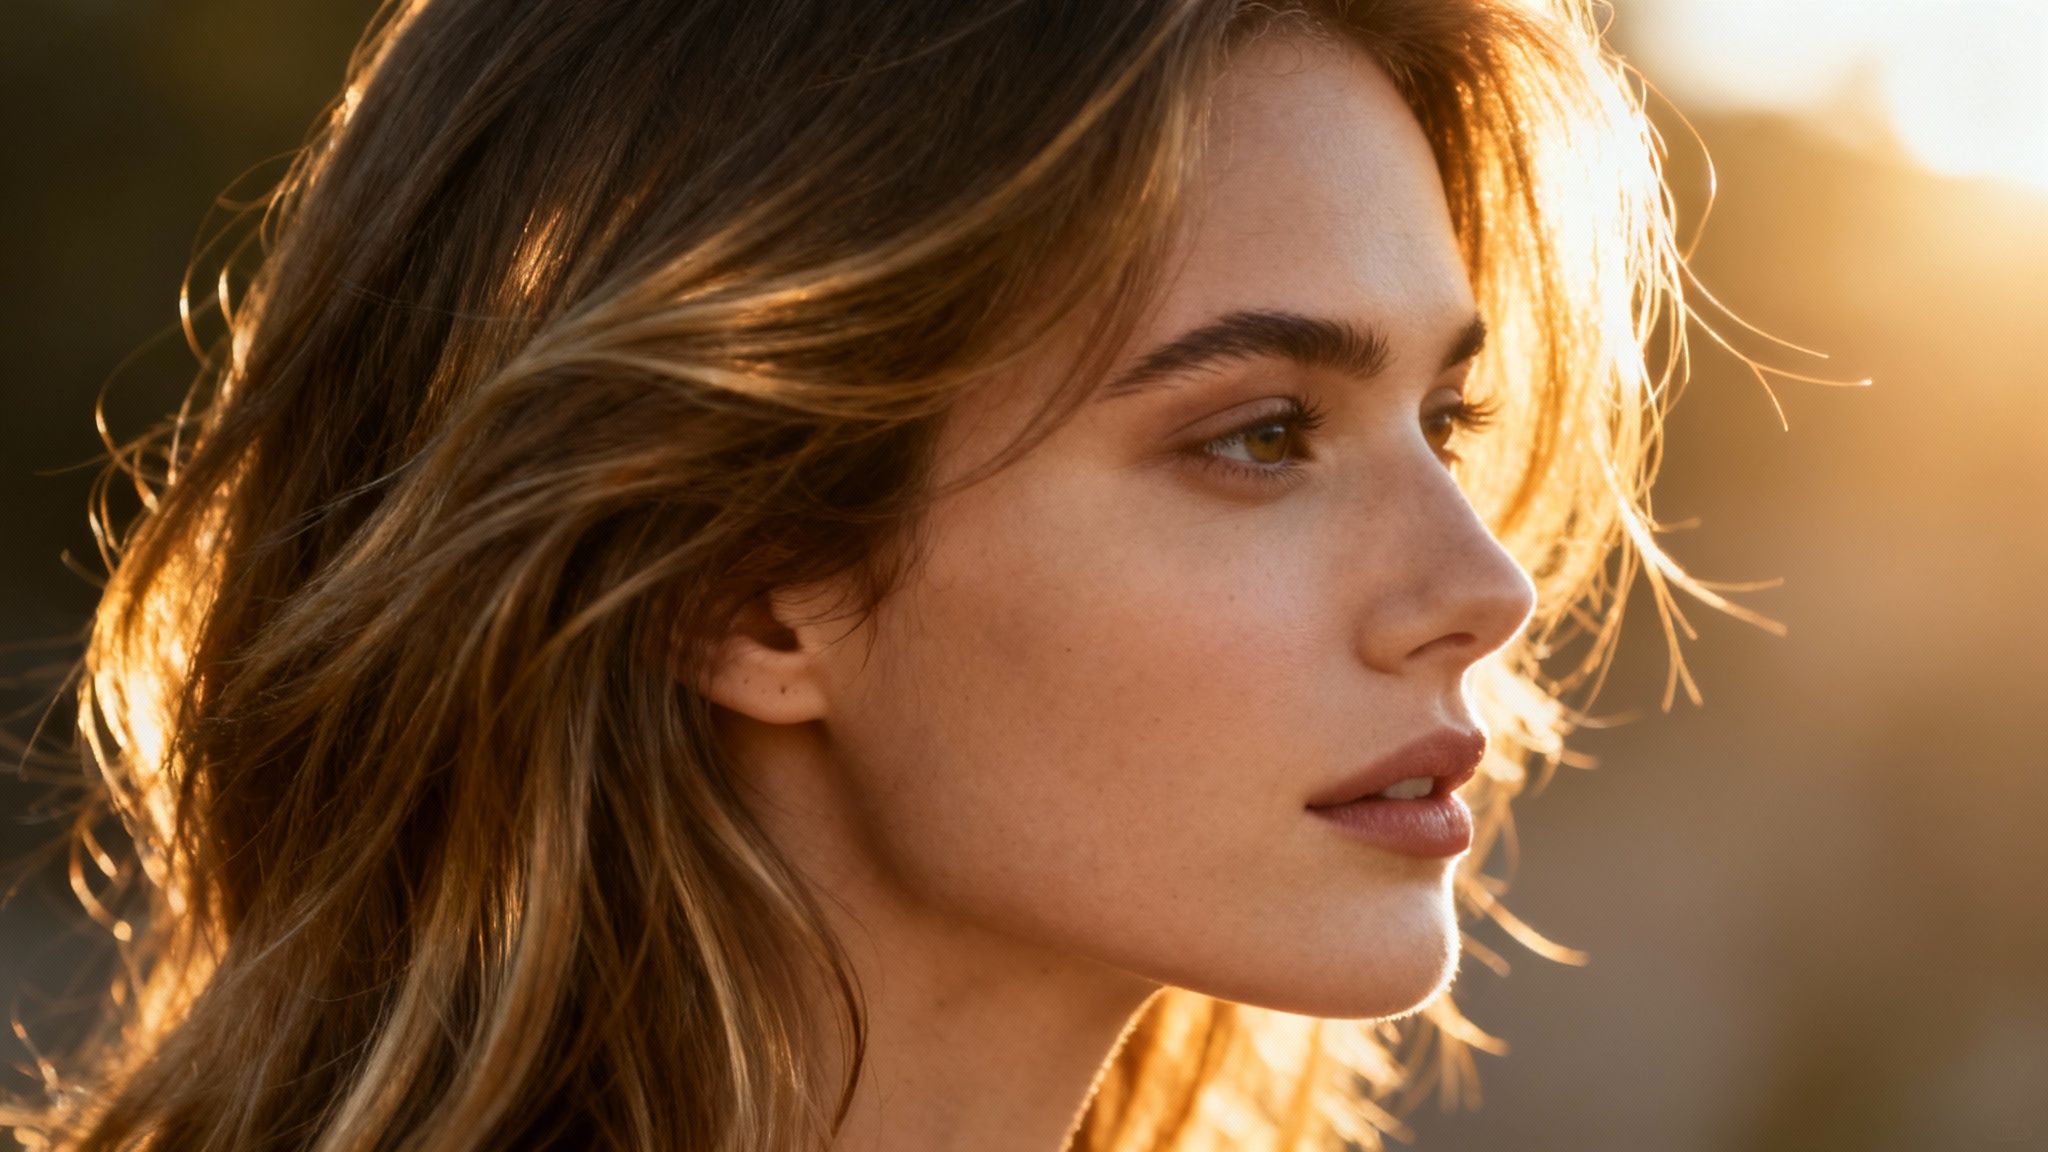
Think of your prompts as lighting directions for the AI. Don't just describe the hair; guide the light source. I get fantastic results by adding phrases like with warm afternoon sunlight from the right or lit by soft, overcast skies. This simple trick ensures the new hairstyle perfectly matches the lighting in your original photo.
Beyond a Full Style Change
Sometimes, the most powerful edits are the most subtle ones. AI is incredibly good at making minor touch-ups that have a massive impact on the final image.
- Taming Flyaways: A quick prompt like
smooth out flyaway hairscan clean up a portrait in seconds. - Adding Healthy Shine: Use descriptive words like
add a healthy, glossy shineto give dull-looking hair a vibrant, realistic sheen. - Increasing Density: To add some volume without a complete style overhaul, try prompting for
increased hair density at the roots.
The desire for fuller, more styled hair isn't new—it's driven trends for decades. The 70s and 80s saw the rise of weaves, and the early 2000s brought us innovations like tape-in extensions, which quickly became a global industry thanks to celebrity culture.
"The biggest mistake is not prepping the canvas... you have to start with a clean, well-lit shot."
— Janine Jarman, Hairroin Salon
That advice from a top salon owner applies just as much to AI editing as it does to physical styling. A good foundation is everything.
If you're really aiming for maximum realism, digging into some advanced techniques can make a world of difference. Checking out a guide on prompt key words to make images less fake looking is a great next step. These pro tips will give you the power to create edits that are both stunning and completely natural.
Your Questions About AI Hairstyles, Answered
Jumping into AI hair editing for the first time? It's normal to have a few questions, especially when you're after a look that’s both stunning and believable. Let's clear things up so you can start creating with confidence.
A big question we hear is, "Just how real will it look if I add hair to a photo?" The honest answer is: your results are only as good as what you give the AI. A 2023 Adobe survey found that 78% of consumers are more likely to engage with content that feels authentic. For AI, authenticity comes from combining a clear, well-lit picture with a descriptive prompt to get results that are almost impossible to tell from a real photograph.
Nailing Specific Colors and Textures
People often wonder if AI can pull off wild colors or really diverse hair textures. Absolutely. This is where the AI really shines, letting you play with fantasy colors like pastel pink or electric blue without any commitment. The trick is to be incredibly specific. Instead of just "green hair," try prompting "vibrant emerald green with subtle dark roots."
The same logic applies to texture. The AI has learned from a massive library of images, so it knows everything from tight 4C coils to silky, pin-straight strands. To get the exact texture you're picturing, use detailed descriptions like "soft, loose spiral curls" or "thick, voluminous wavy hair."
As digital imaging specialist Dr. Eva Rostova puts it, "The nuance is in the adjectives. Specificity is the bridge between your imagination and the AI's creation."
So, what’s the perfect photo to start with? Your best bet is a clear, forward-facing portrait where your head and shoulders are nicely framed. Stick to simple backgrounds and soft, even lighting—this helps avoid harsh shadows and lets the AI focus all its energy on crafting a hairstyle that blends in perfectly.
Ready to stop wondering and start creating? With DreamShootAI, you can turn any photo into a professional-quality headshot, try on endless hairstyles, and generate stunning themed photoshoots in minutes. Start your transformation today and bring your vision to life.
Written by Jocelyn Grey for the DreamShootAI blog.
Spotted something out of date? Tell us at [email protected] and we'll fix it.